INTRODUCTION
In this lab you’ll learn how to animate a pendulum. To follow along, use follow_along.mb
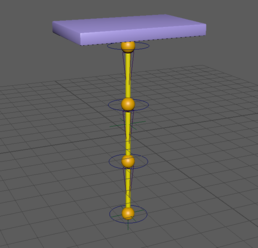
When I say a pendulum I mean something like this: a base, and a chain that responds to the movements in the base.
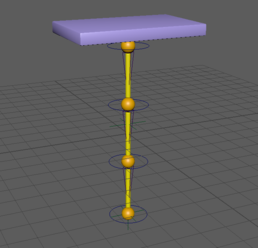
This will allow us to practice overlapping action.
So let’s say we have the following:
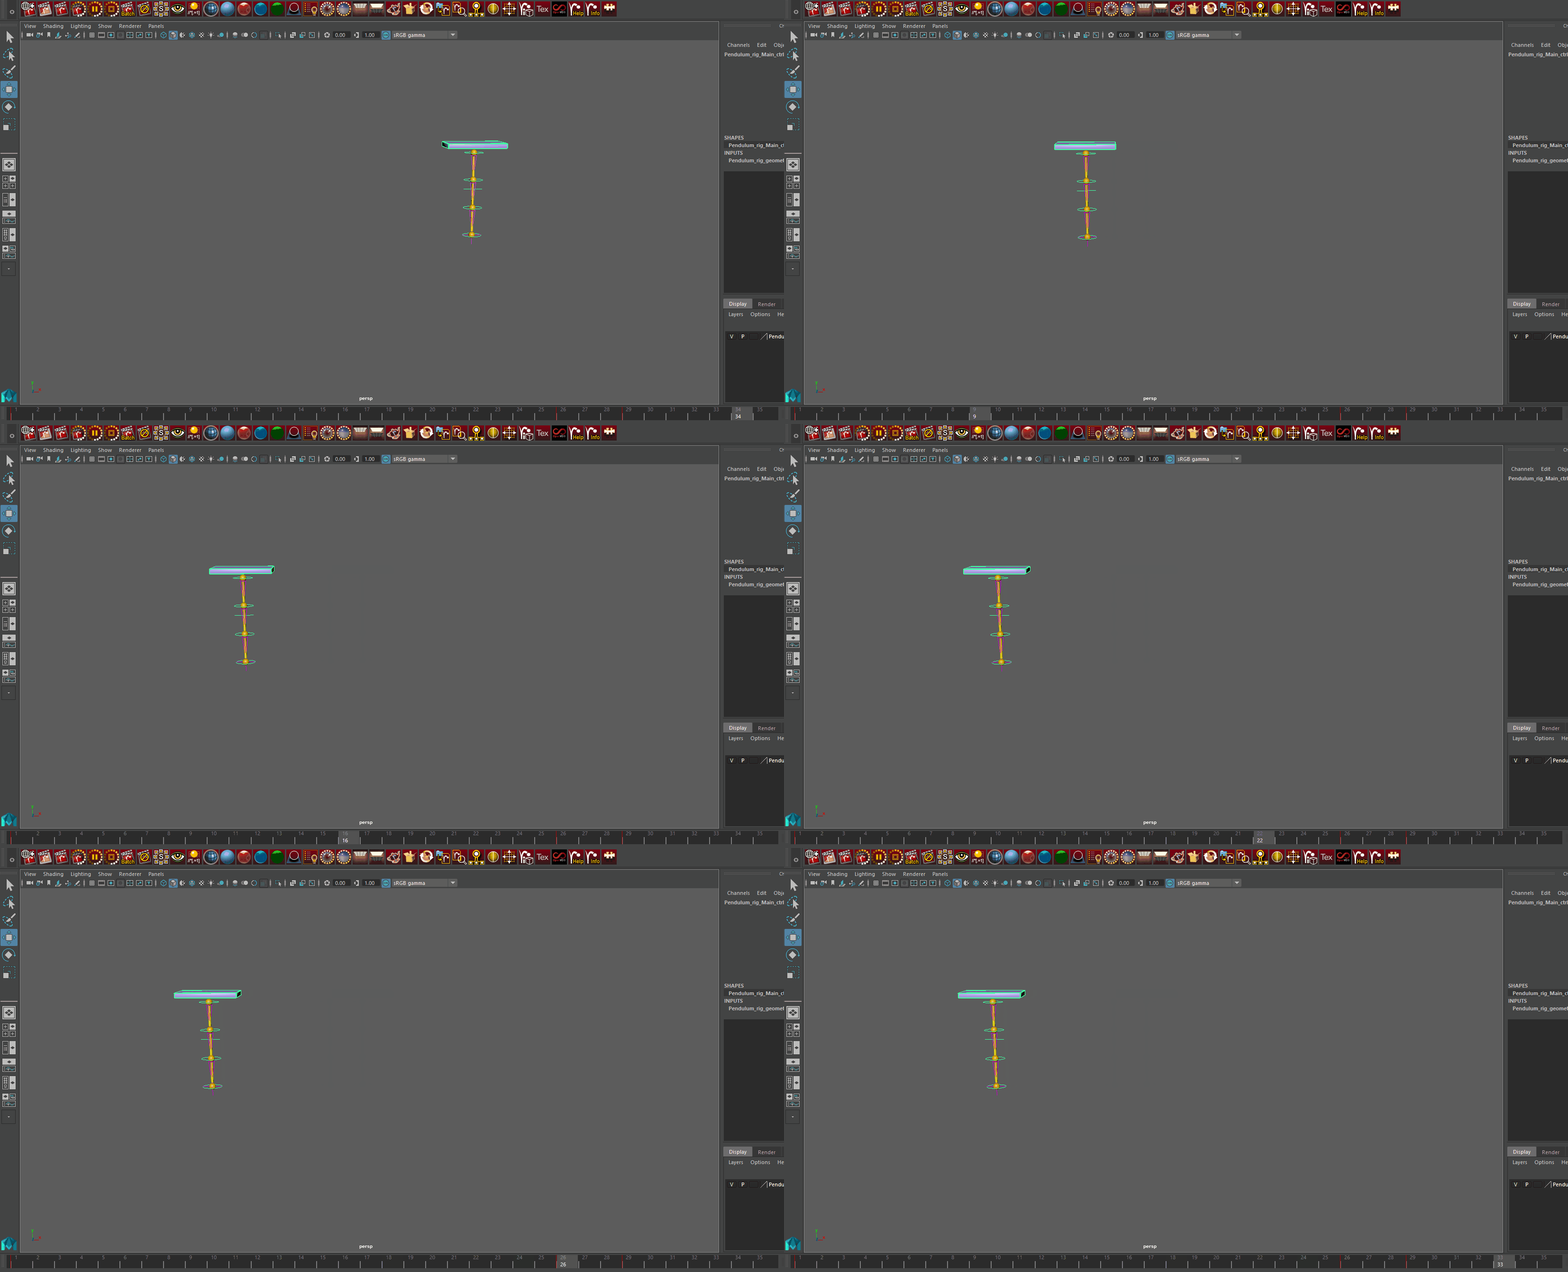
How would the chain behave? Let’s start with the top of the chain and work our way to the bottom.
CREATING BELIEVABLE MOTIONS
As the platform moves left, the chain will actually rotate opposite the motion, dragging behind due to inertia. It should look something like this:
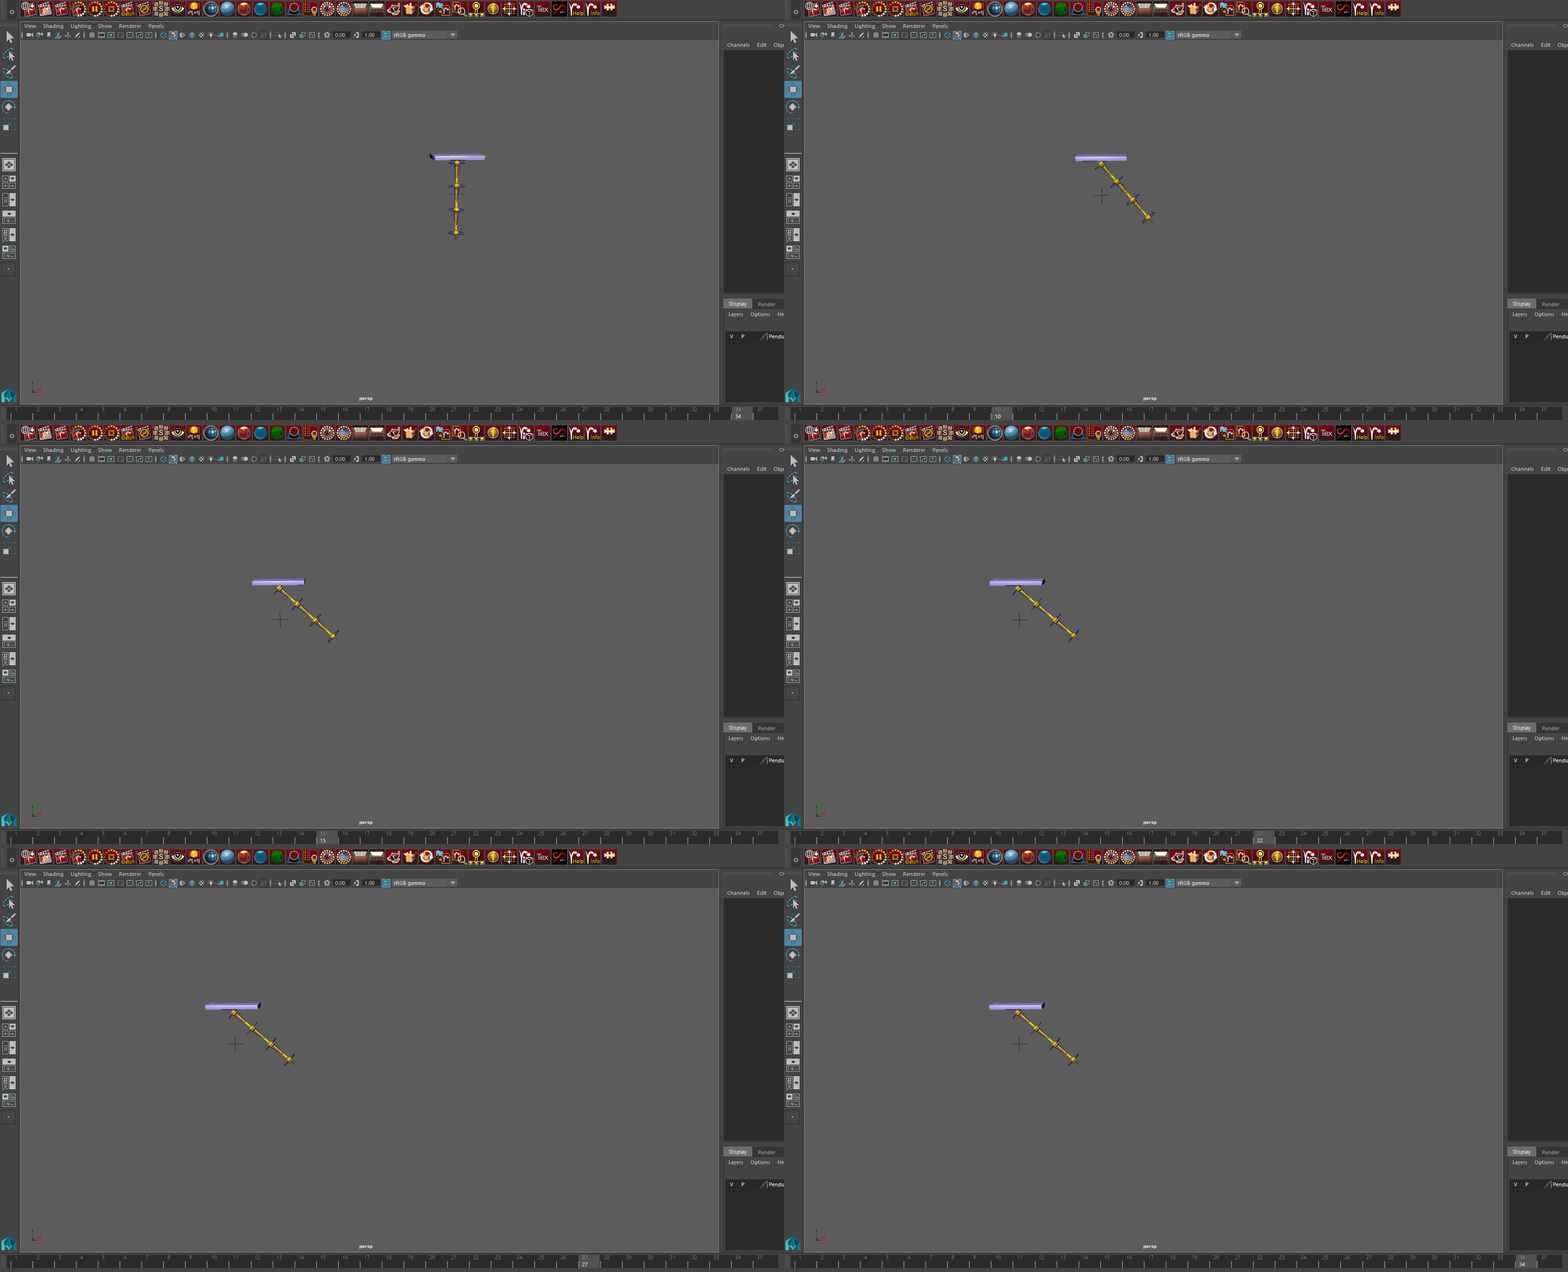
But what about when the pendulum base slows down and stops? Well then we go to Newton. Objects in motion want to stay in motion, so the pendulum will swing back the opposite way. So we get something like this:
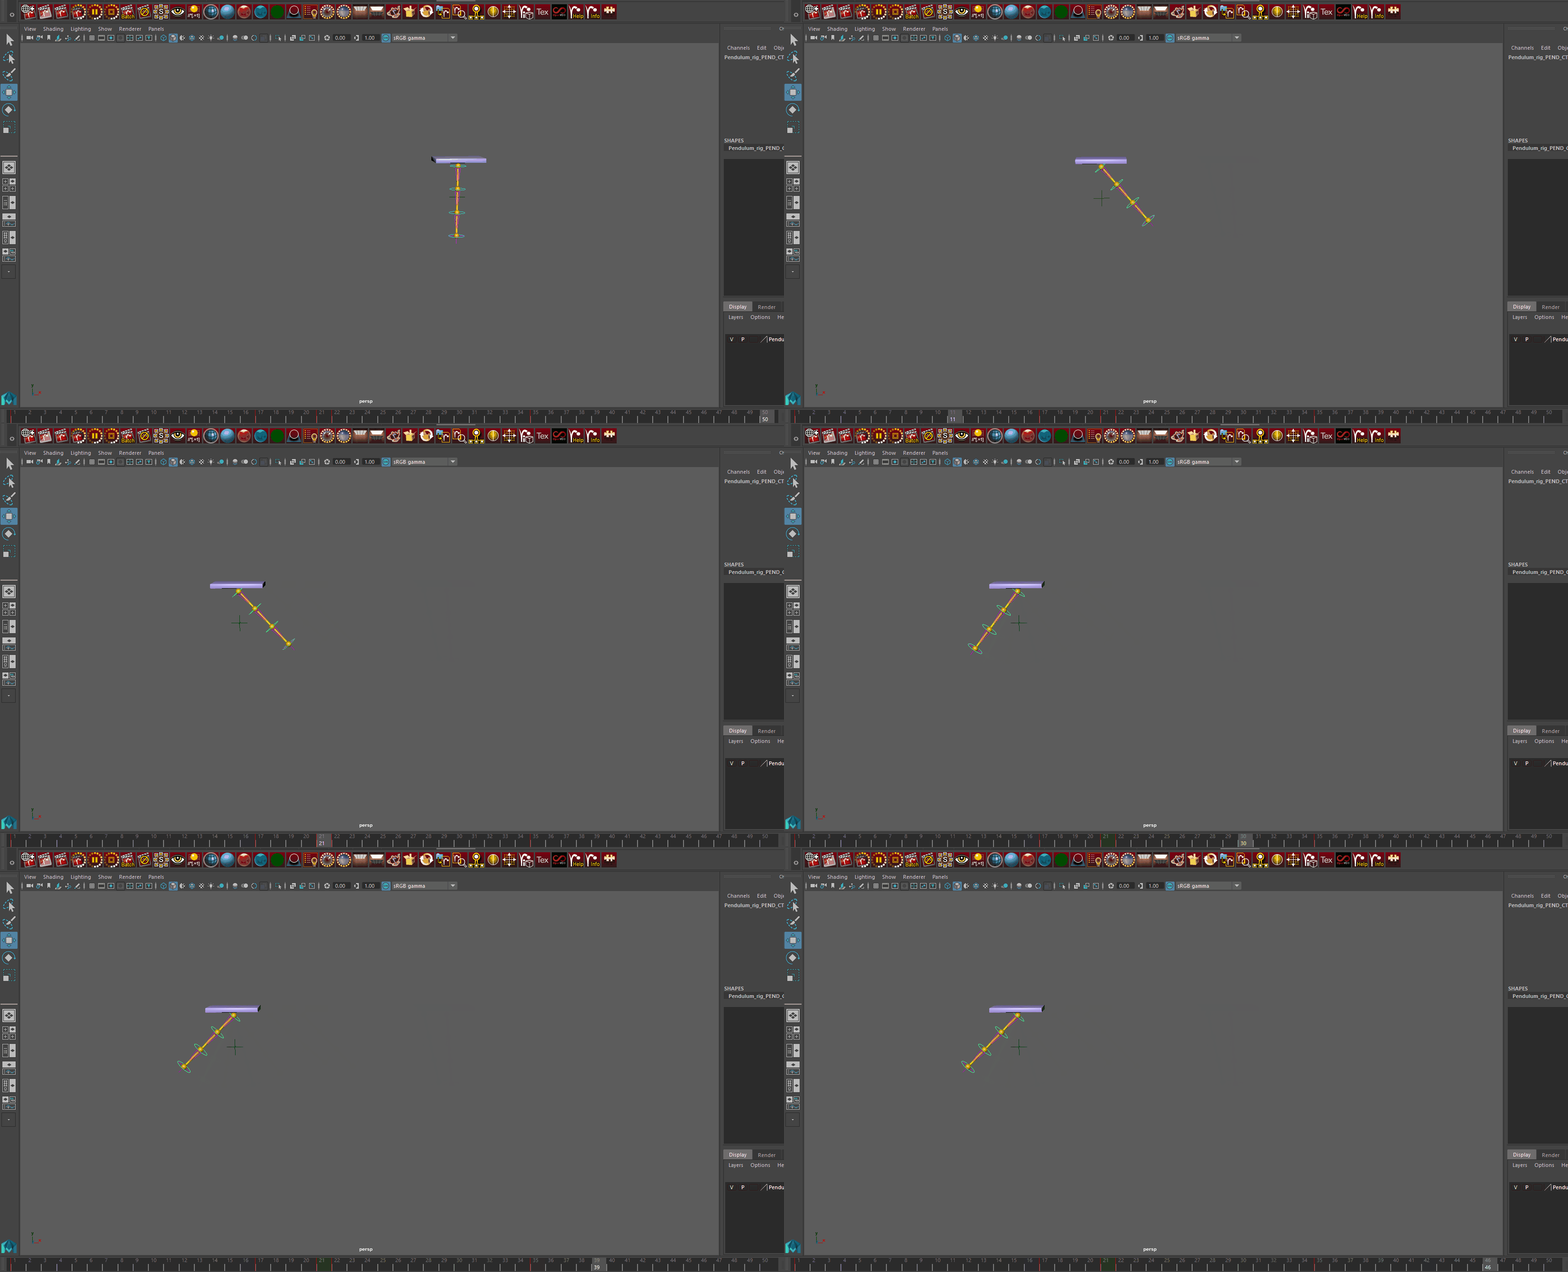
The chain will then continue to swing back and forth until it loses most of its energy.
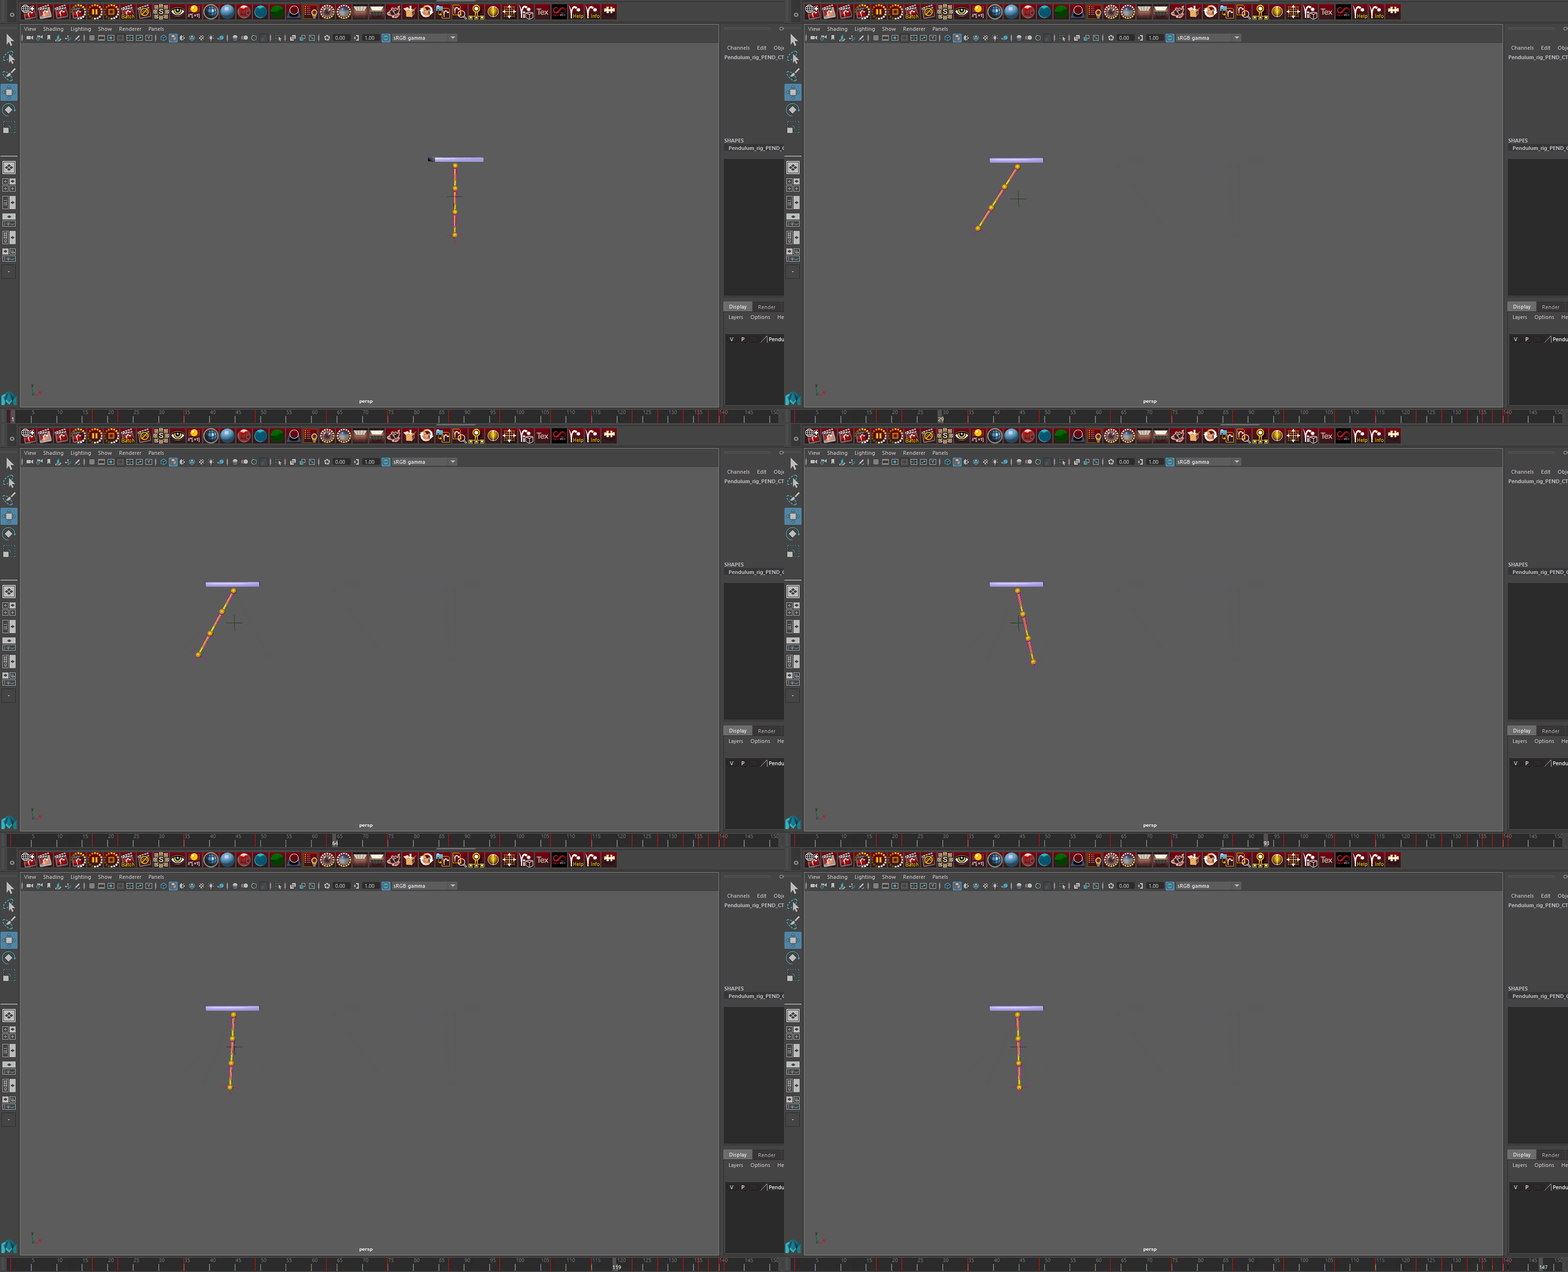
Great. Now that we’re done with the first link in the chain, it’s time to do the rest of the links.
We could go through and animate them by hand the same way we did the first one, but let’s try to be more clever. Every successive link in the chain will be moving in the same way as the previous link, but offset by some time delay and damping factor.
Please note that your base rotation curve doesn’t need to look exactly like mine: do whatever looks the most realistic to you. Copy-paste your curve from the first link into the second link.
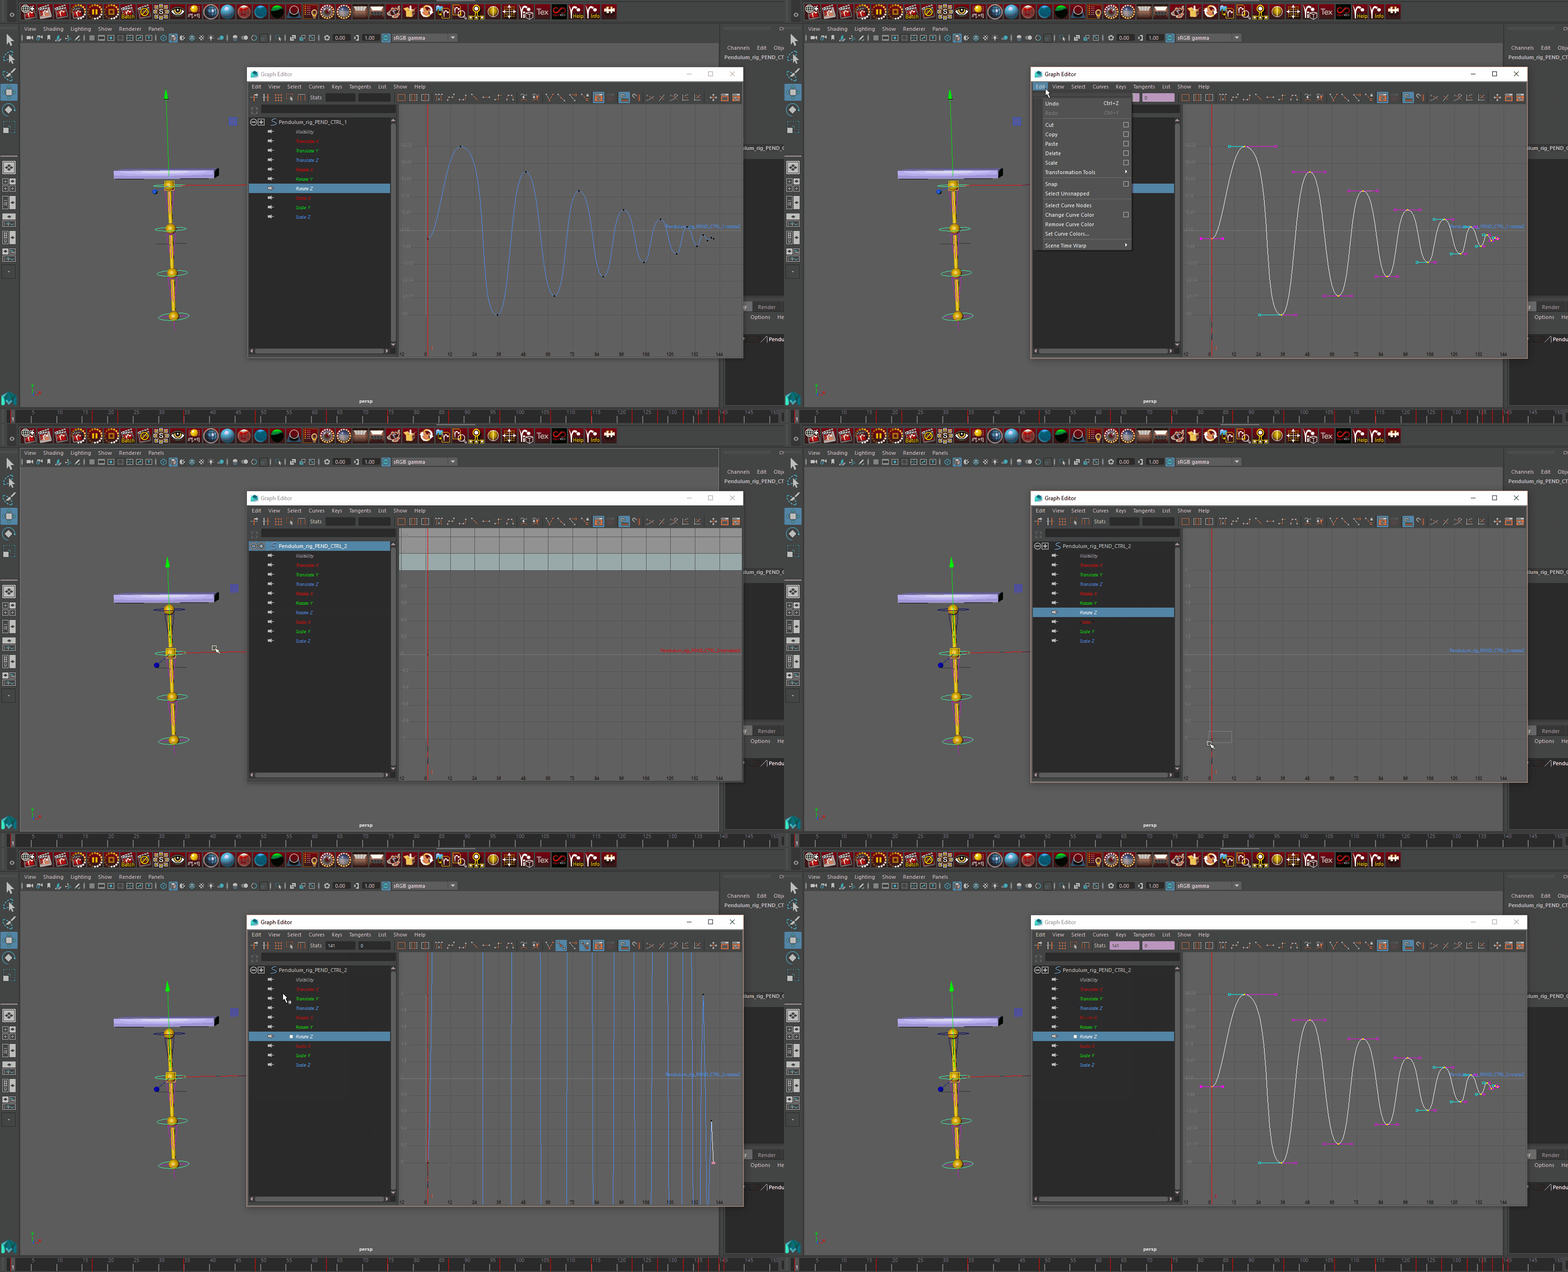
Let’s see what that looks like by hitting play.
(DE)AMPLIFYING CURVES
To me, that looks a little too intense. Let’s deamplify the second links rotation. I do this by selecting the curve and typing in _=.5 in the second stats box. _=.5 means “for all the selected keys, multiply their magnitude by .5. This deamps our curve by half.
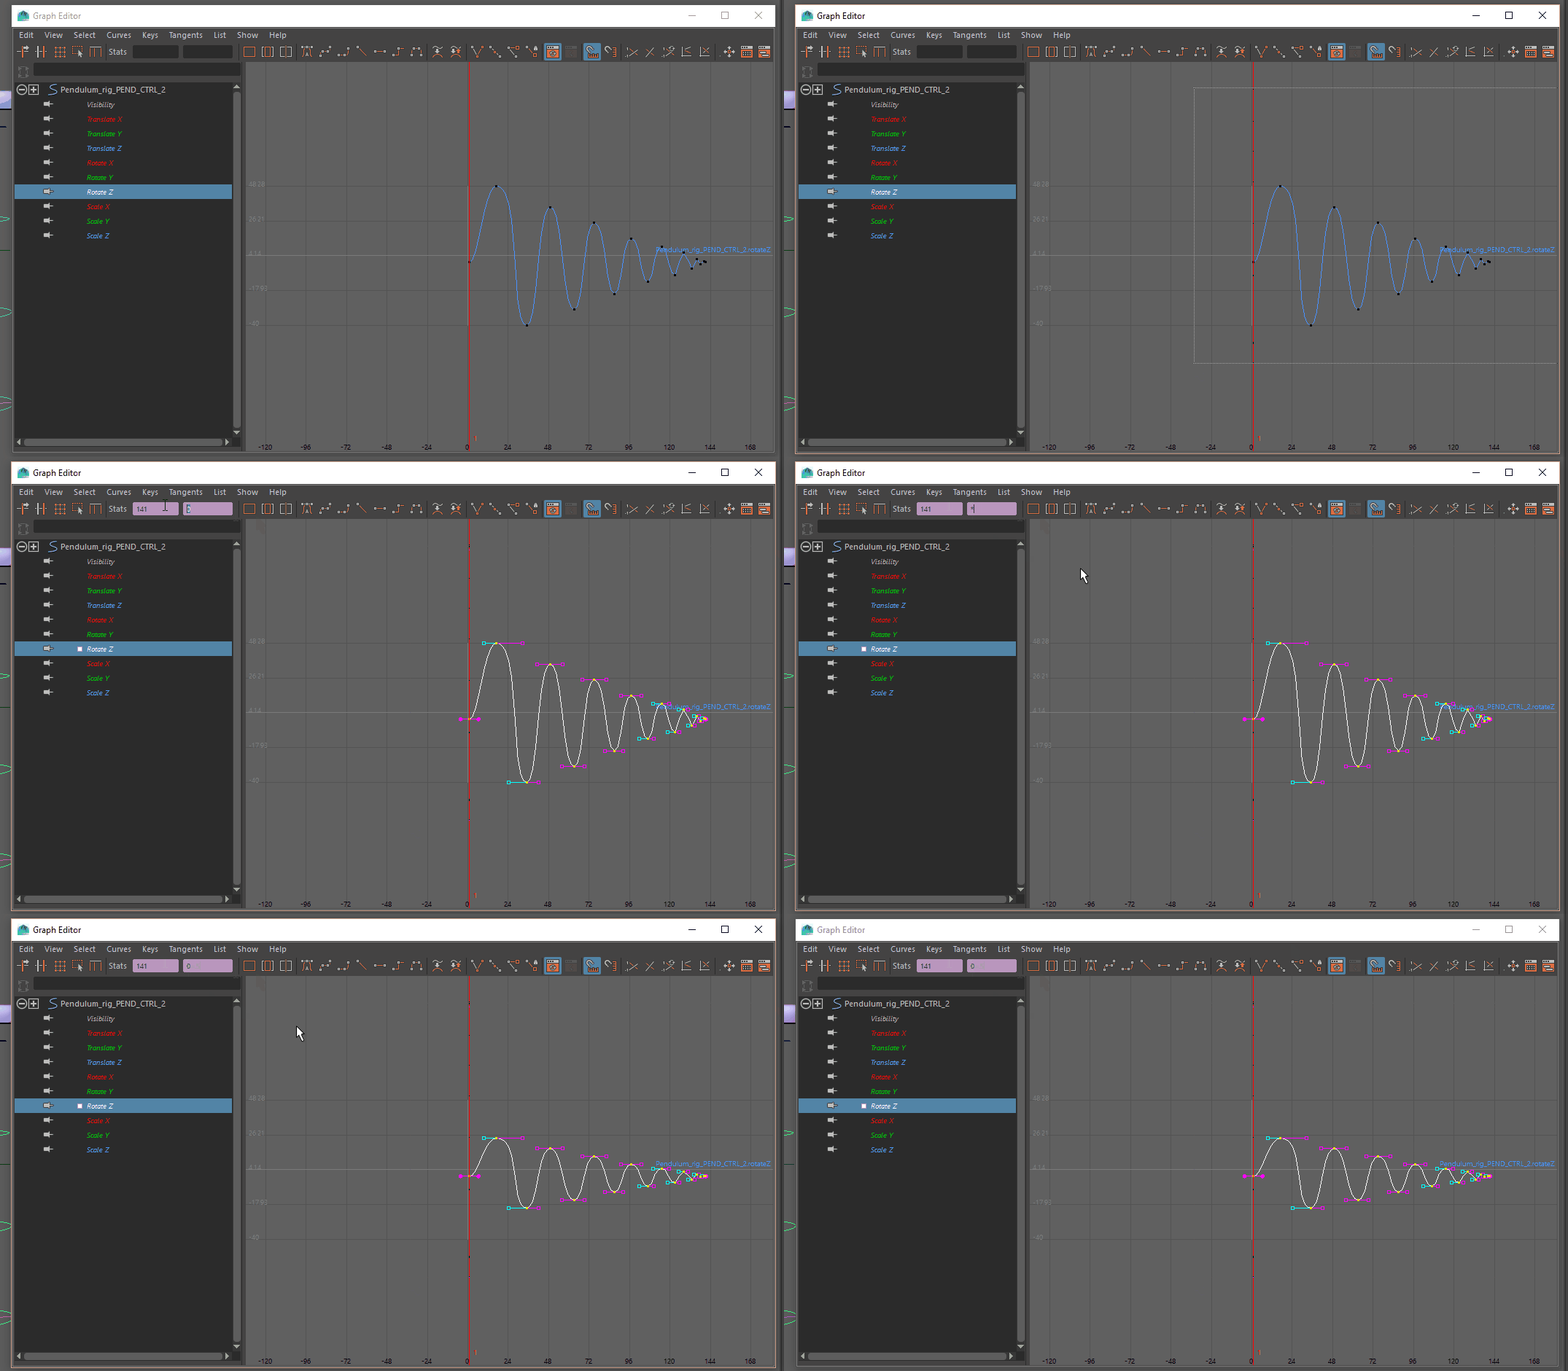
Notice you can type in anything, it doesn’t have to be .5. If you want your curve to be a quarter of it’s former amplitude just type in .25. If you want to double the amplitude just type in 2.
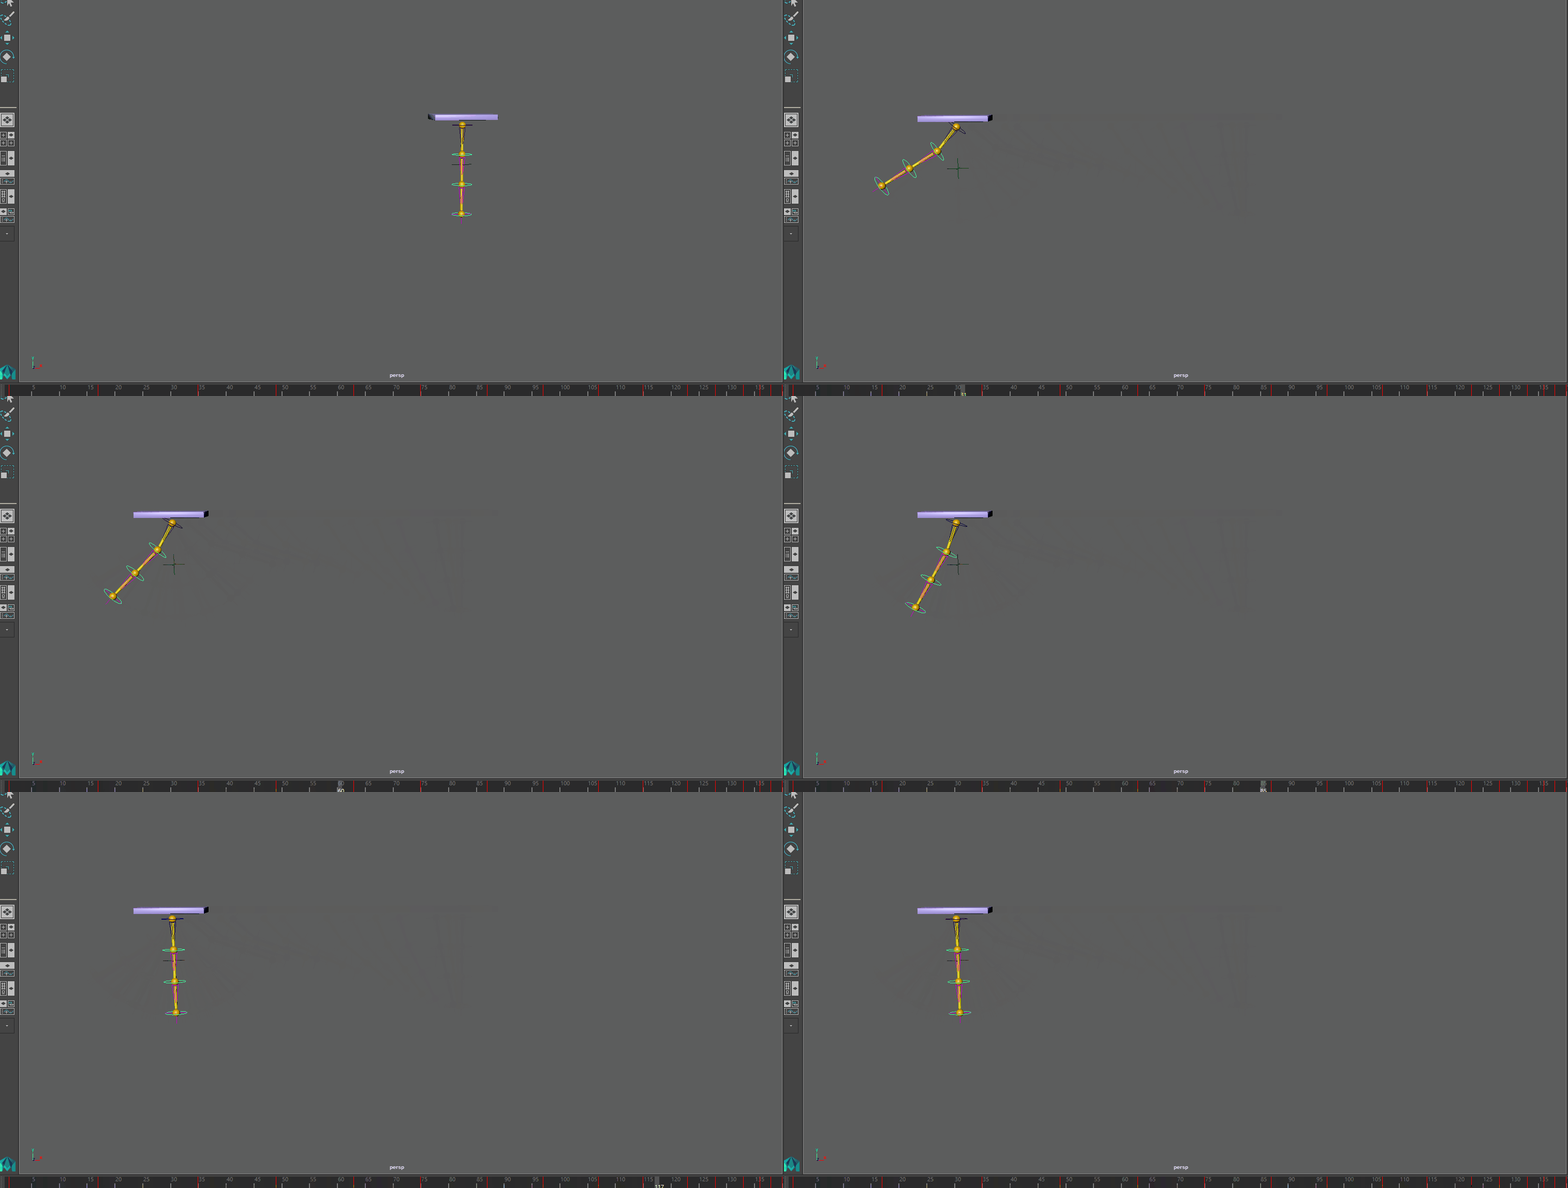
This is what it looks like now.
SHIFTING FRAMES
Notice, however, that right now we have a 1 to 1 relationship between the rotation in the first link and the second link. What I mean is that just as the first link starts rotating clockwise, so does the second link. To create a more realistic flowing motion, let’s offset the rotation of the second link by a couple frames.
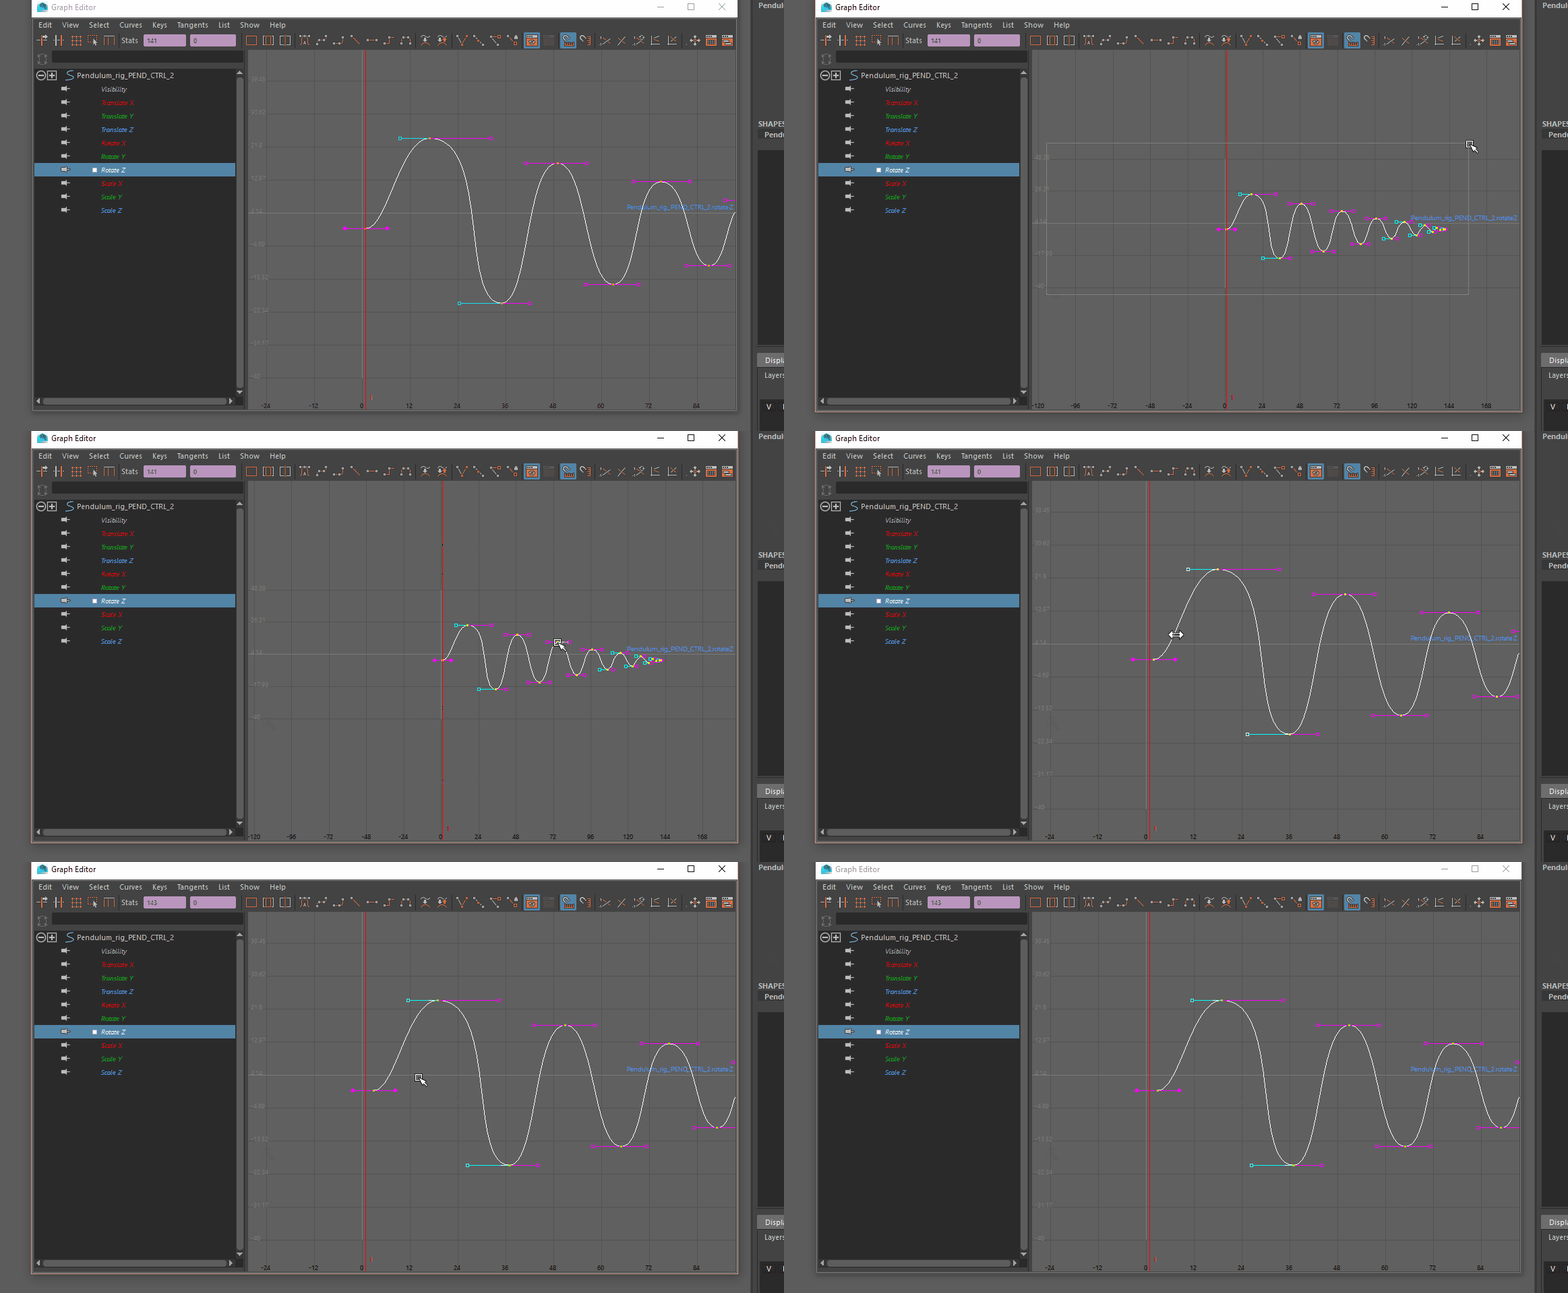
Notice that I shifted it over by 2 frames. But you can do as many or as little as you like based on what you’re looking for. Less frames makes it more rigid, more frames makes it more flowy.
So now we have this.
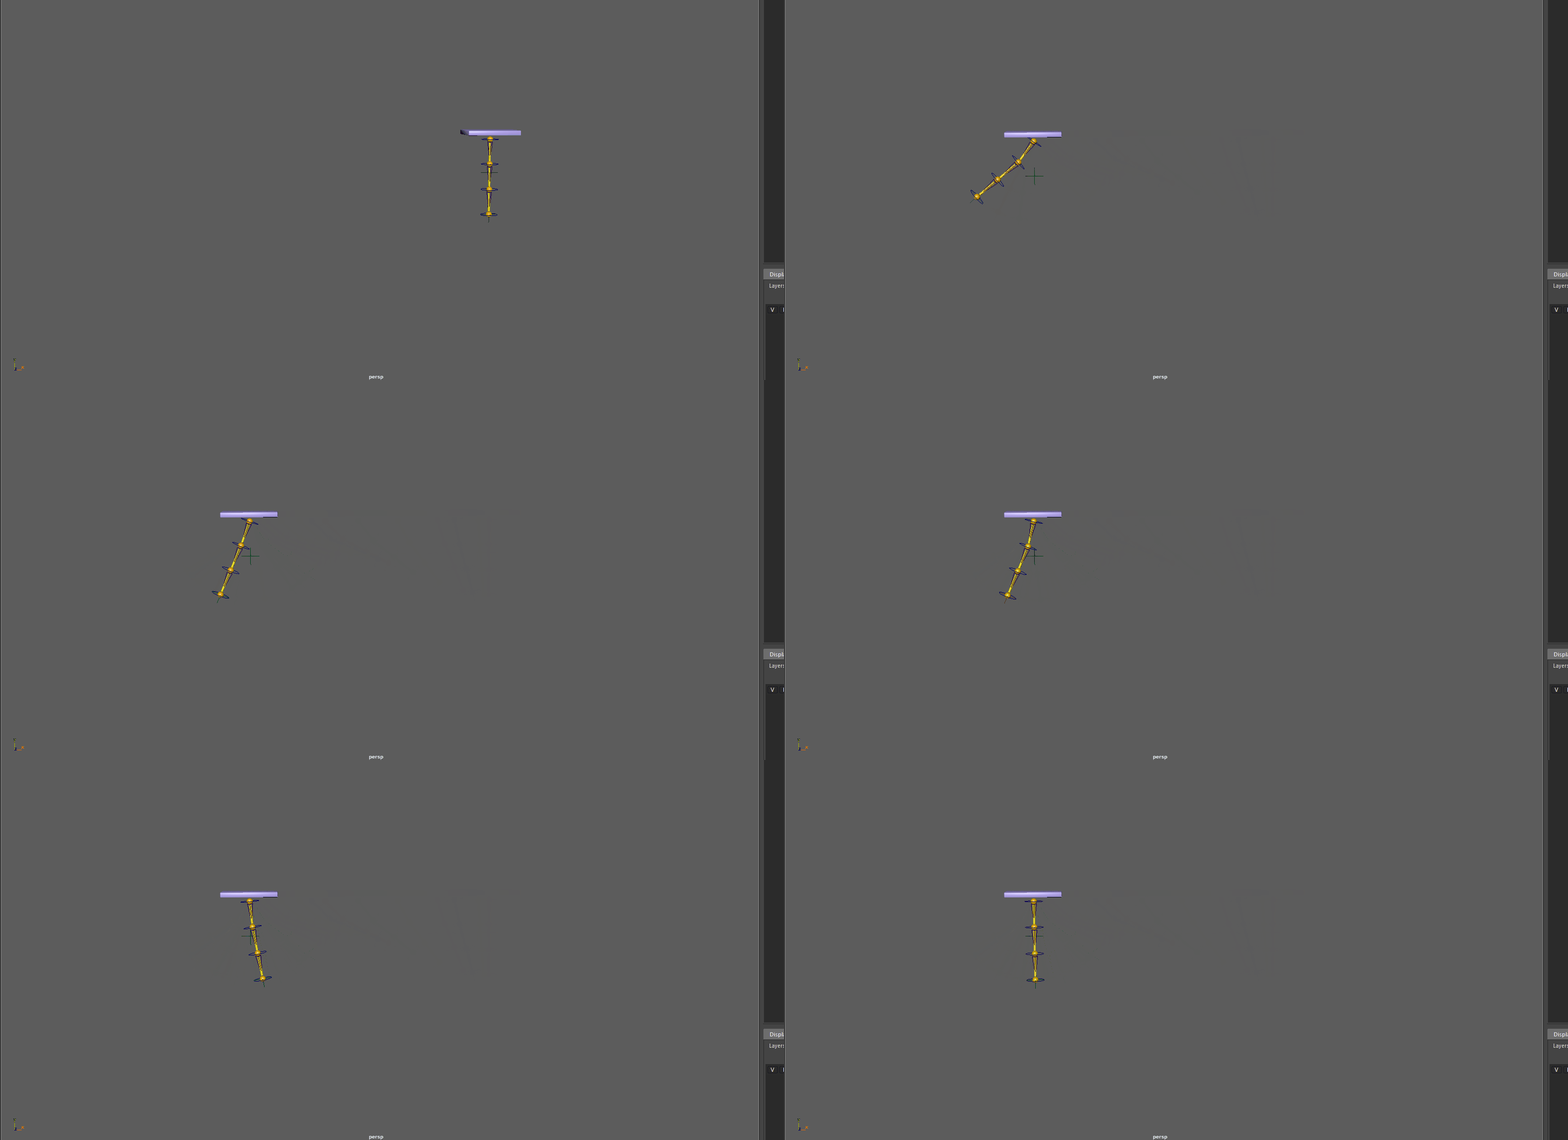
Now let’s repeat the process for the last link. In other words
- Copy the previous link’s rotation into the new link.
- Deamplify it in the new link if you think it’s too big.
- Shift it over by a couple frames
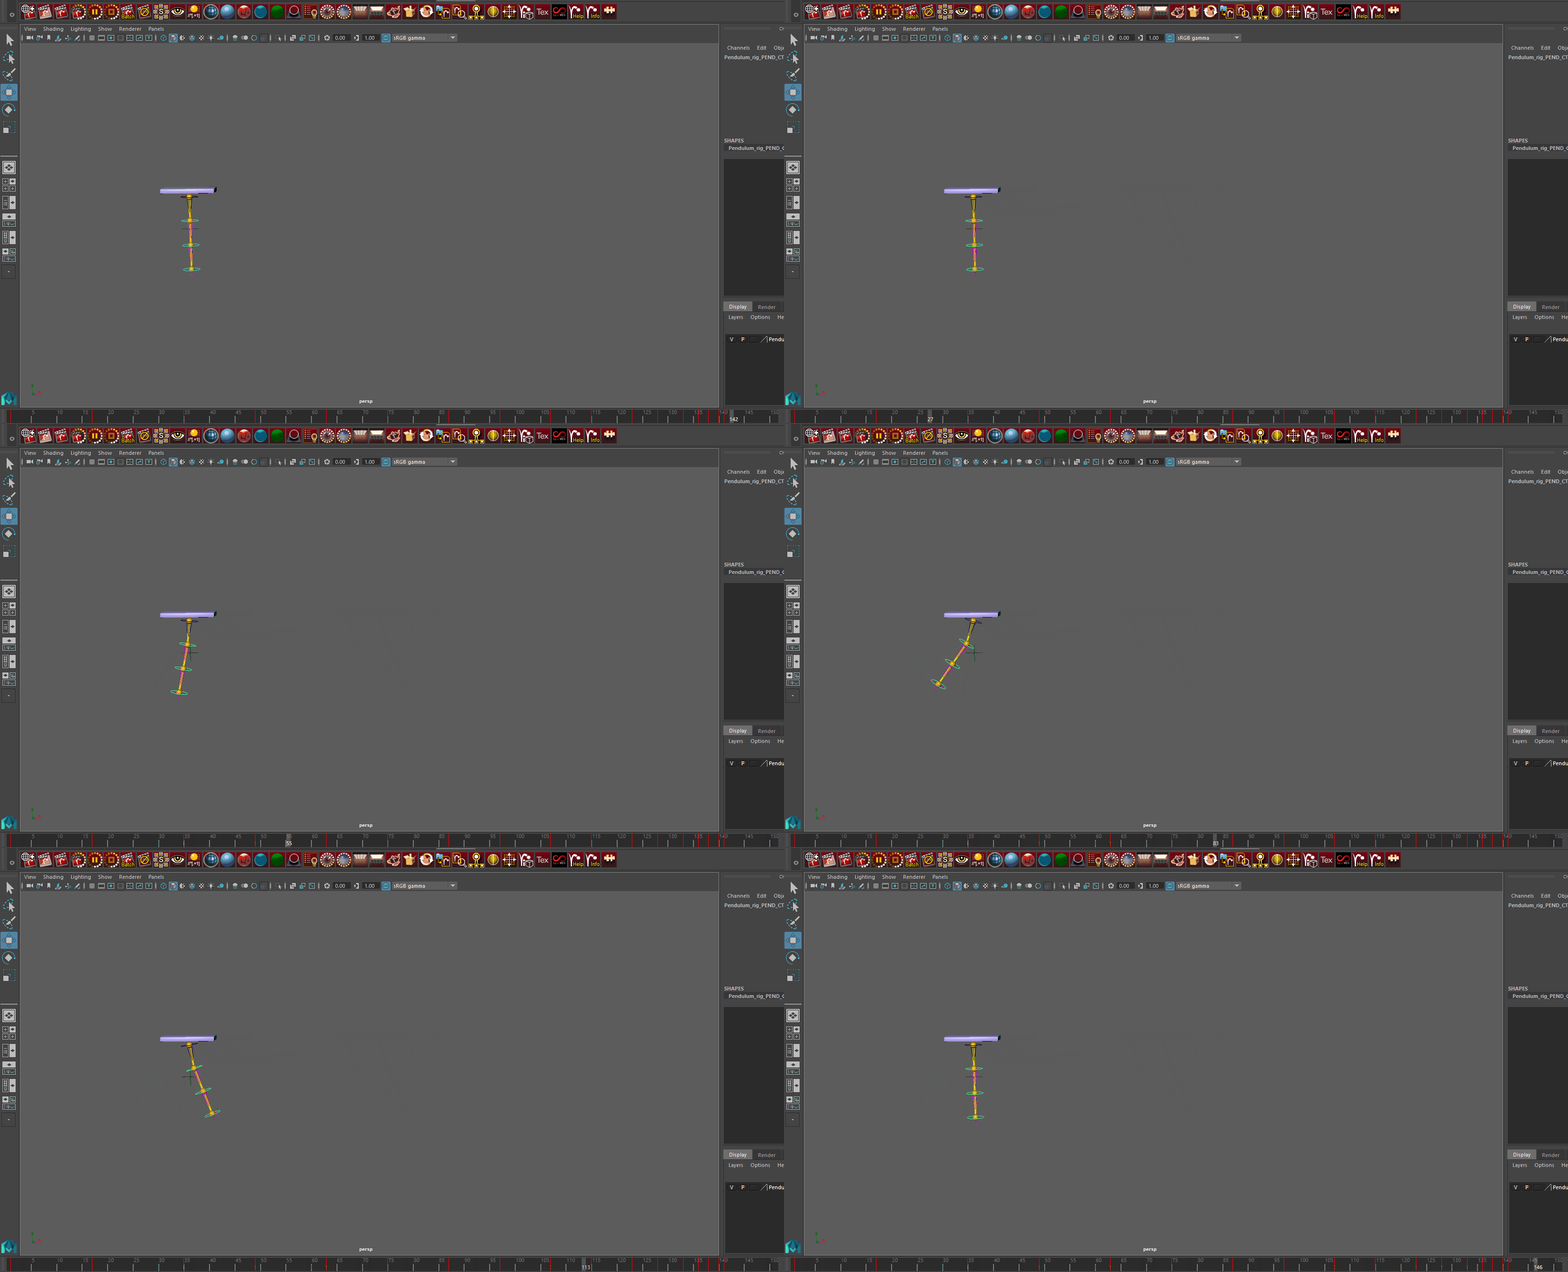
This is what my final version looks like.
HOMEWORK
In pendulum_assignment.mb you’ll find an already animated pendulum base.
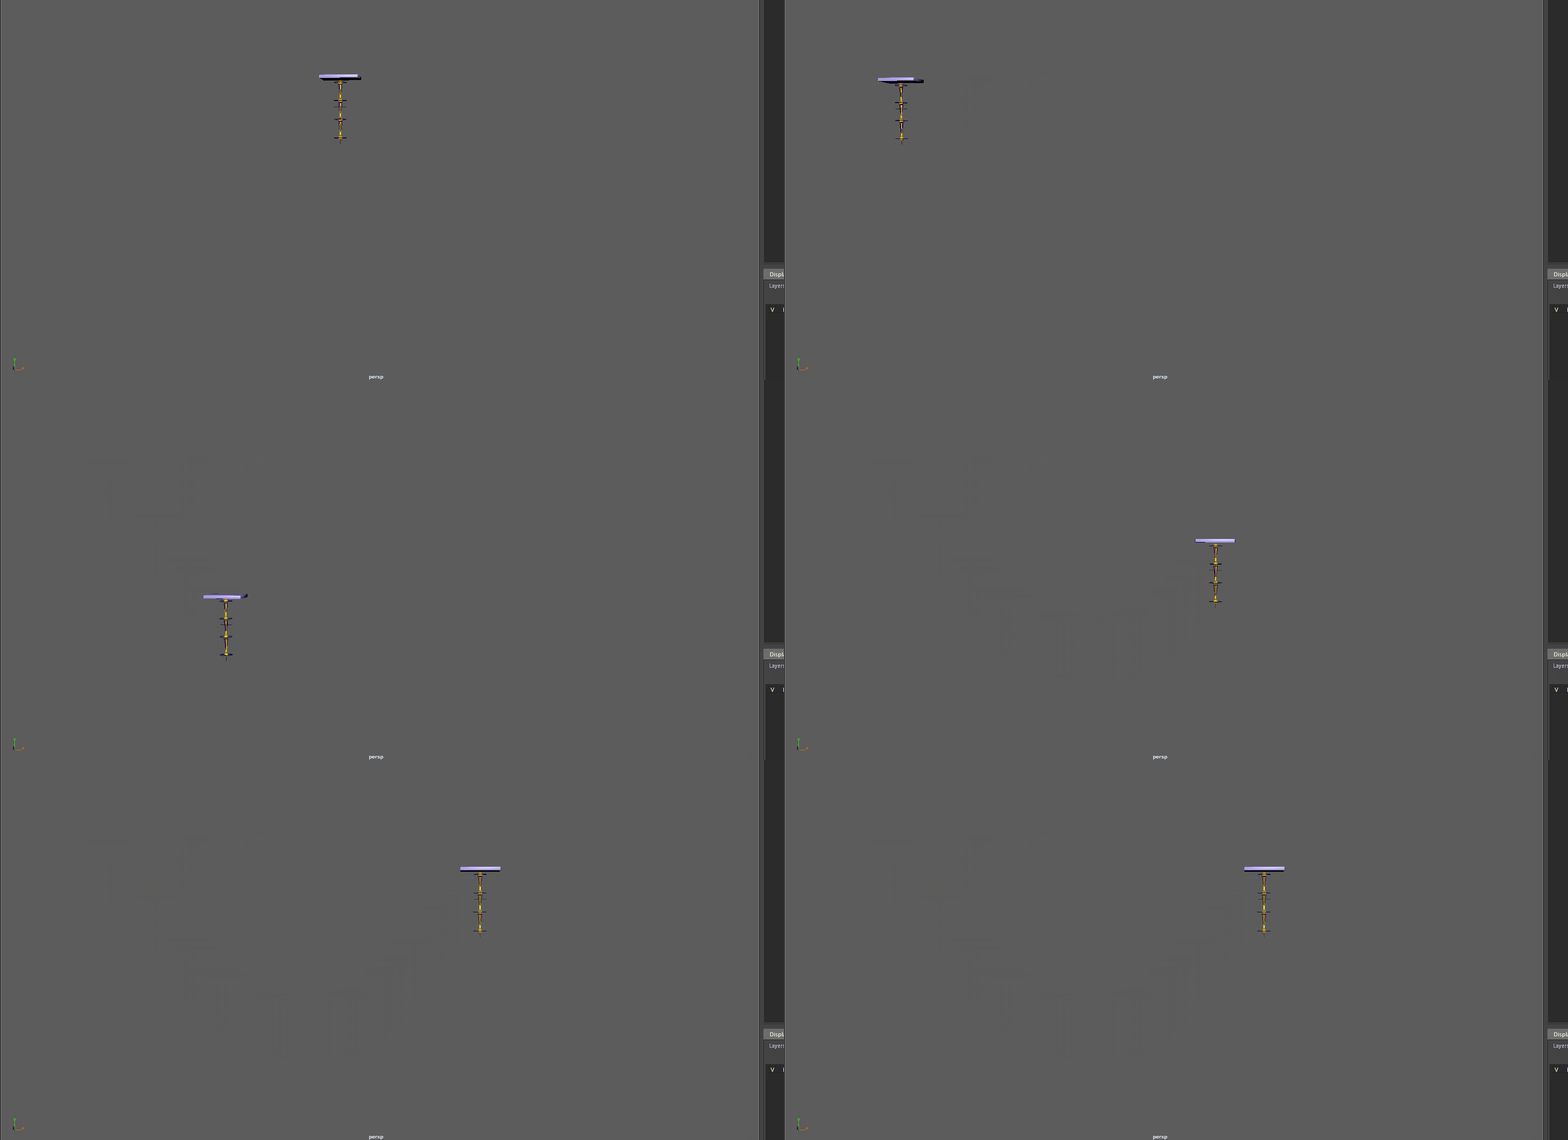
Your job is to animate the chain below it. I’d approach this assignment by animating the first link of the pendulum for the whole scene and then just doing the copy paste deamplify offset procedure from up above.
If you’re unsure about how a pendulum would move, I’d suggest checking out this video.