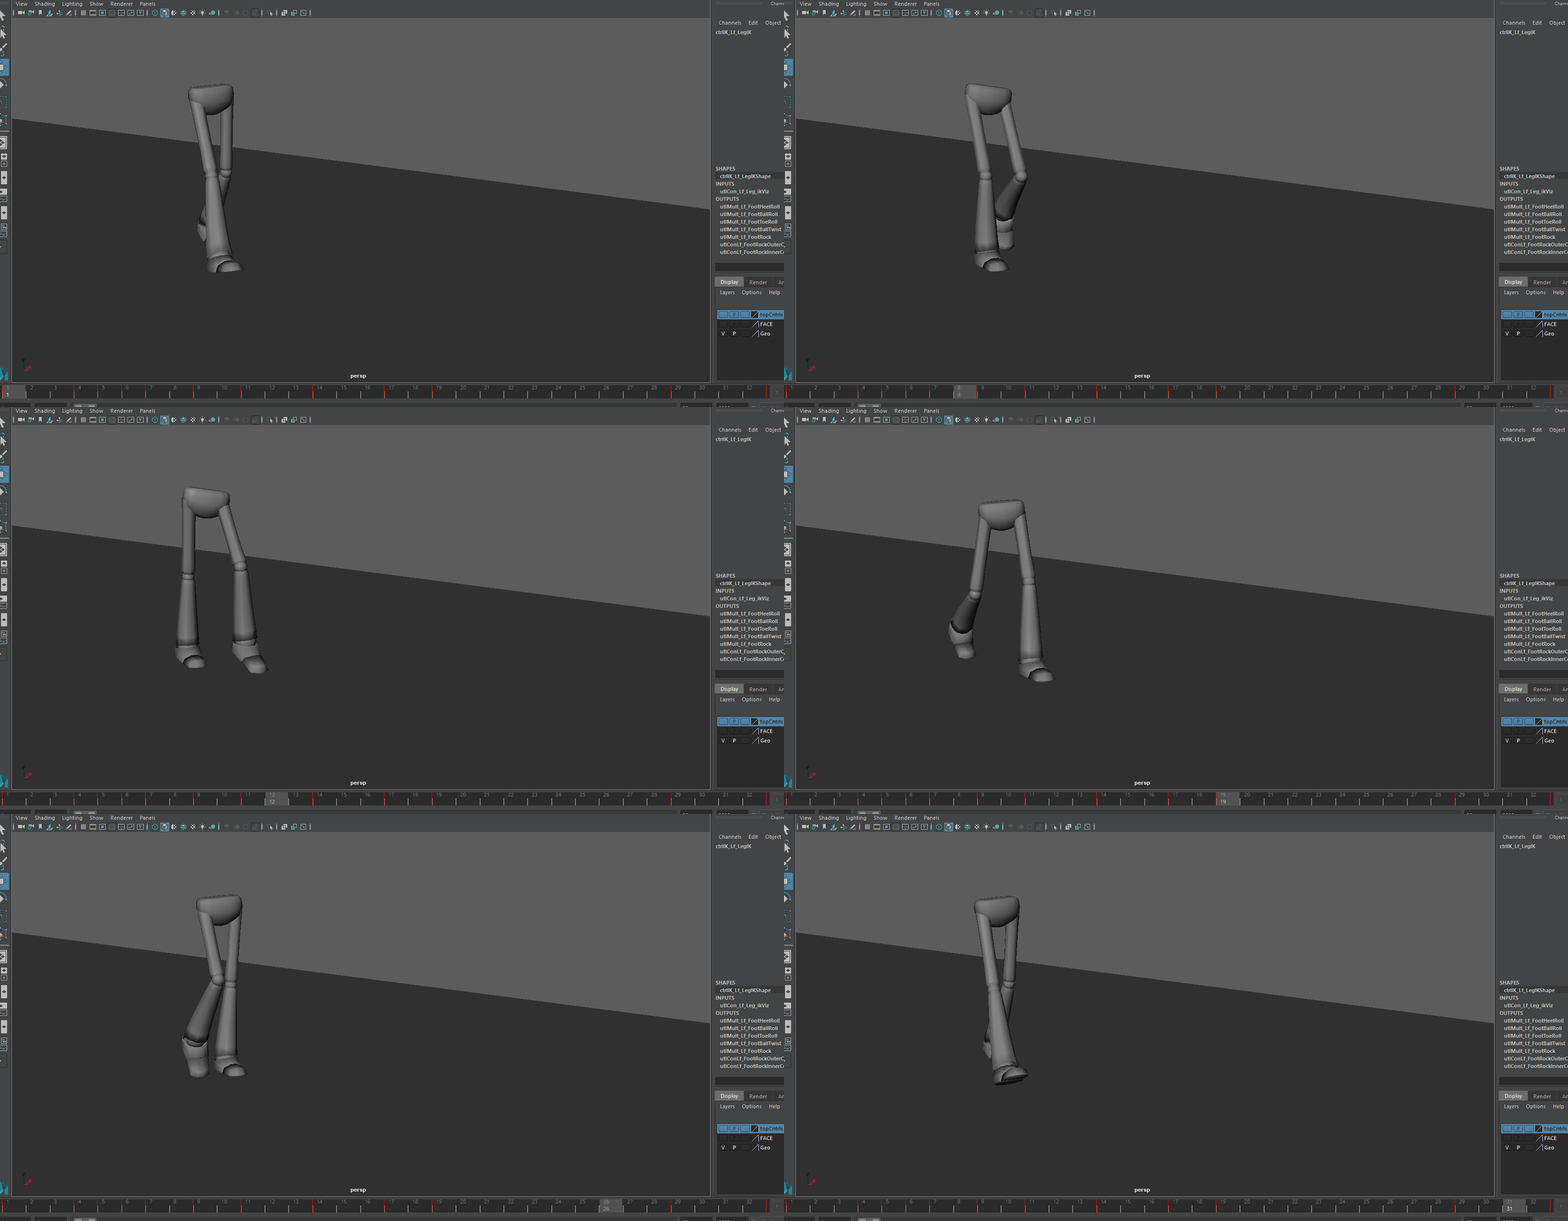
INTRODUCTION
In this lab we’ll work on animating a vanilla walk. Walks are hard, and vanilla walks are even harder because you see them every day. So if your walk is off, someone will notice.
My aim with this lab is to guide you enough to where you don’t get lost and demotivated but I do want you to make your own mistakes. For each step I tell you what to do, and then give you tips and tricks. I end each step with what my walk looks like at that point. I’m (Mike) not a god, so let me know if you think I could’ve done something better animation wise!
I do expect you to be familiar with the graph editor, so if you’re not go check out the regular basic anim lab, it shouldn’t take too long.
Throughout this lab I’ll be using the Richard Williams Animator’s Survival Guide. If you’re planning on pursuing animation, get this book.
The most time consuming part of a walk is the legs and root. If you can get those two correct, the upper body is a piece of cake. Therefore, in this lab we’ll focus on doing the lower body.
How do we break a walk down into pieces? It’s most natural for me to think about it as a series of 3 poses with 2 crucial in betweens like so:
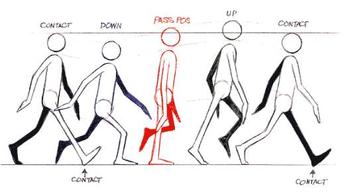
In other words, for a single step we have
Contact #1 where foot #1 is in the back
The down inbetween where your root is lowest
Pass Pos where foot #1 is in the middle
The up inbetween where your root is highest
Contact #2 where foot #1 is in the front
So lets go into Maya and put in the three key poses. In walk.mb I’ve invised (made invisible) the rest of norman so we can just worry about the legs.
First question. How fast is our walk gonna be? I think a walk on 16s “sixteens” is easiest, meaning a step takes 16 frames. So our walk cycle is going to be 32 frames long. If you wanna do something slower or faster, feel free, but I’ll be going on 16s. Also in general if you don’t wanna do Norman but another biped, that’s fine too. the same things apply to any humanoid biped, but again you’ll be more on your own.
Second question. Where are we walking? Lets walk in the +Z direction.
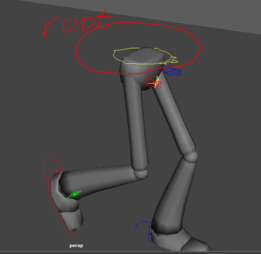
Which controller is the root?
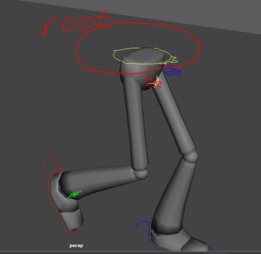
PUT IN BASIC POSES FOR THE WHOLE CYCLE
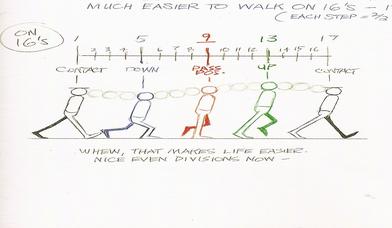
Lets just worry about the passing and contact poses for now
If our cycle starts on frame 1, and our cycle is 32 frames long then frame 33 is going be exactly the same as frame 1.
Using just translate Y, translate Z on the root controller, and translate Y, translate Z, rotateX, Heel Roll on your feet get the rough poses down for the contact and passing positions
For a walk on 16s your poses are going to be:
Frame 1: Contact, right foot forward
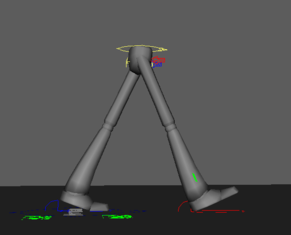
Frame 9: Passing, left foot passing
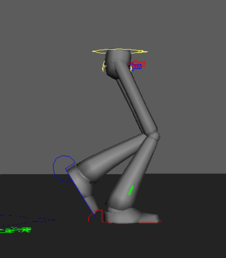
Frame 17: Contact, left foot forward
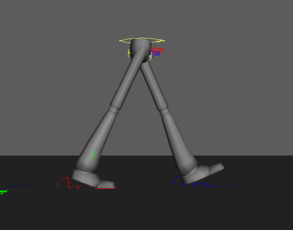
Frame 25: Passing, right foot passing
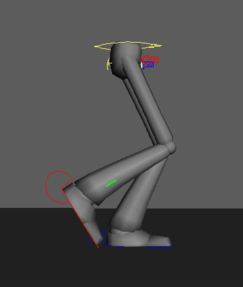
Frame 33: Contact, right foot forward (same as frame 1)
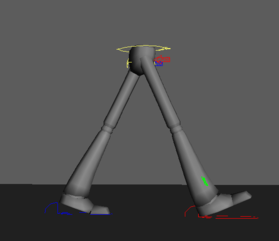
Tips:
There should be a lot of math and copy and pasting going on, frame 1 and frame 33 need to be exactly the same (except for translate Z). The right foot should be just as much infront of the root in frame 1 as the left foot is in front of the root at frame 17.
The poses don’t have to be good at this point (in fact don’t spend much time on them), but they should mathematically match up with their counterpart.
For a walk cycle, make sure your root is moving at a constant speed in Z. Aka
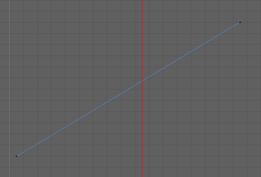
To hide controllers either add them to a layer, or go to the Show menu in the viewport and uncheck NURBS curves.
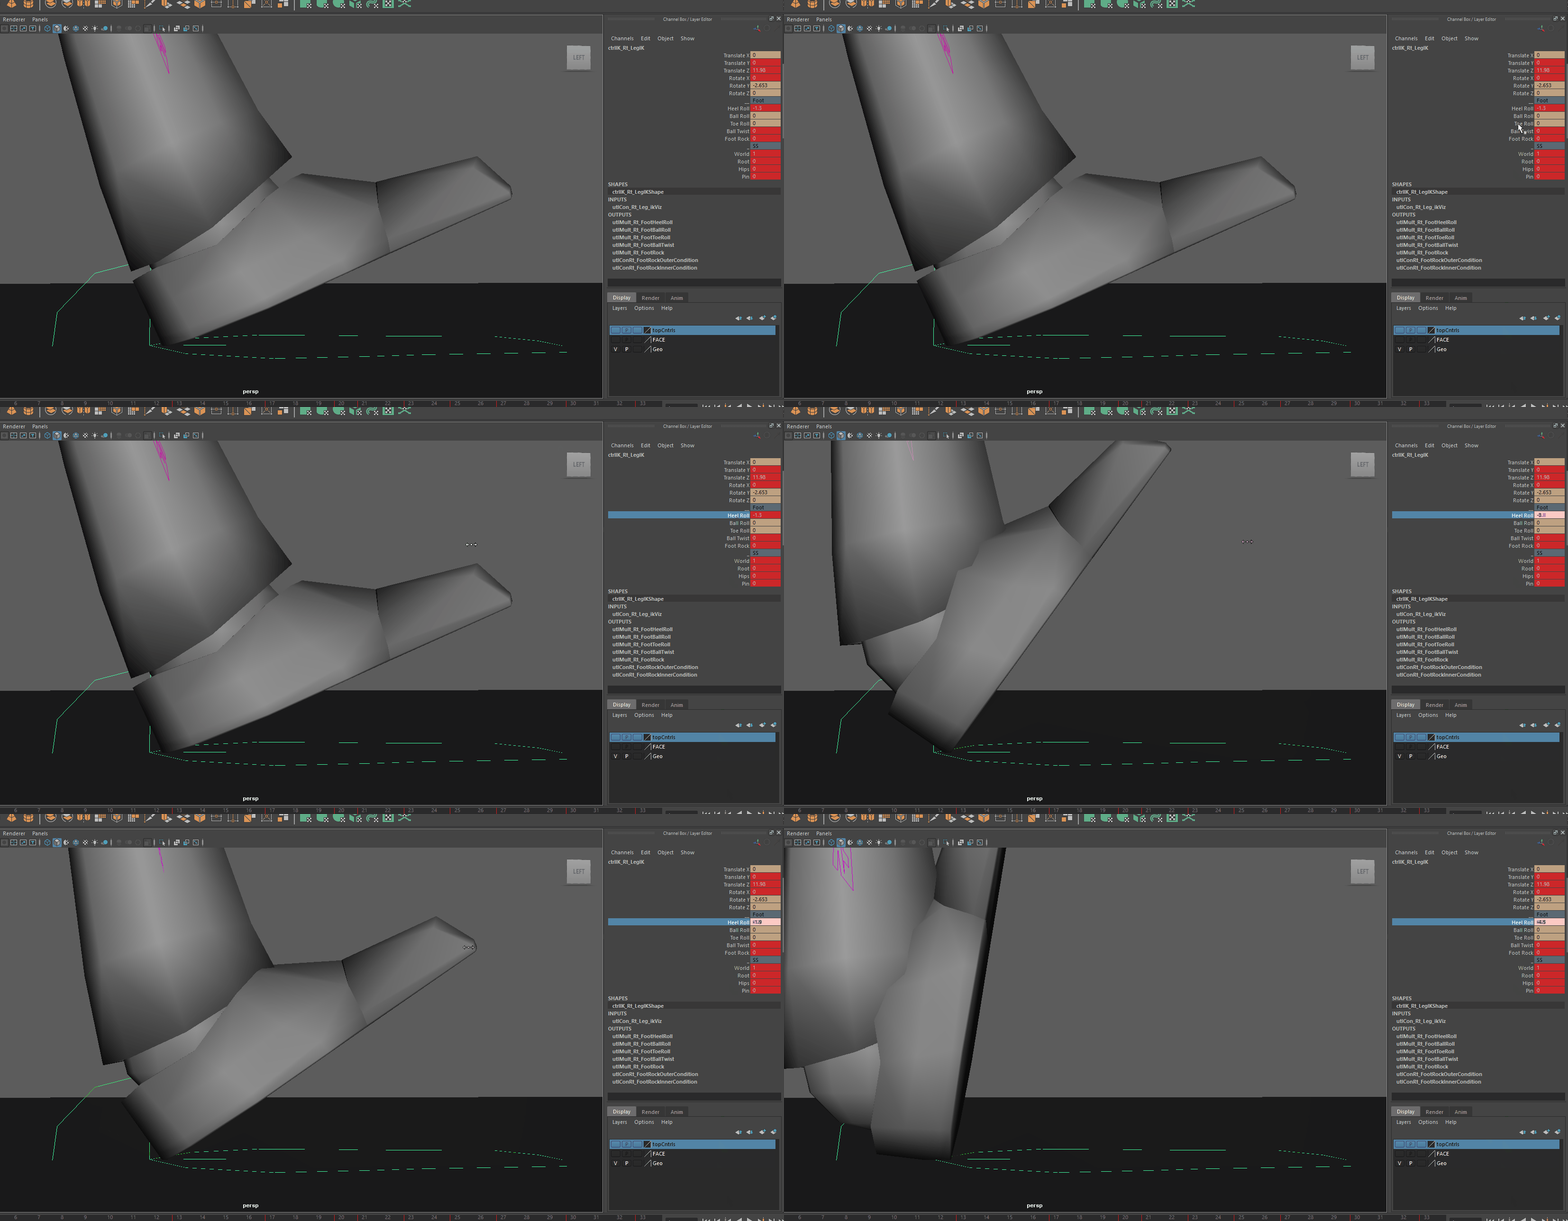
What is heel roll? why do we need it?
Heel roll is how I get this
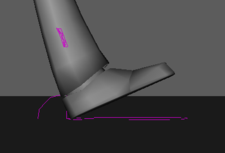
To get to heel roll, click on the foot controller. To play with different values click the name in the channel box and forth.
Mike’s version: Remember, yours doesn’t have to be exactly like mine, just as long as you have something to work with!
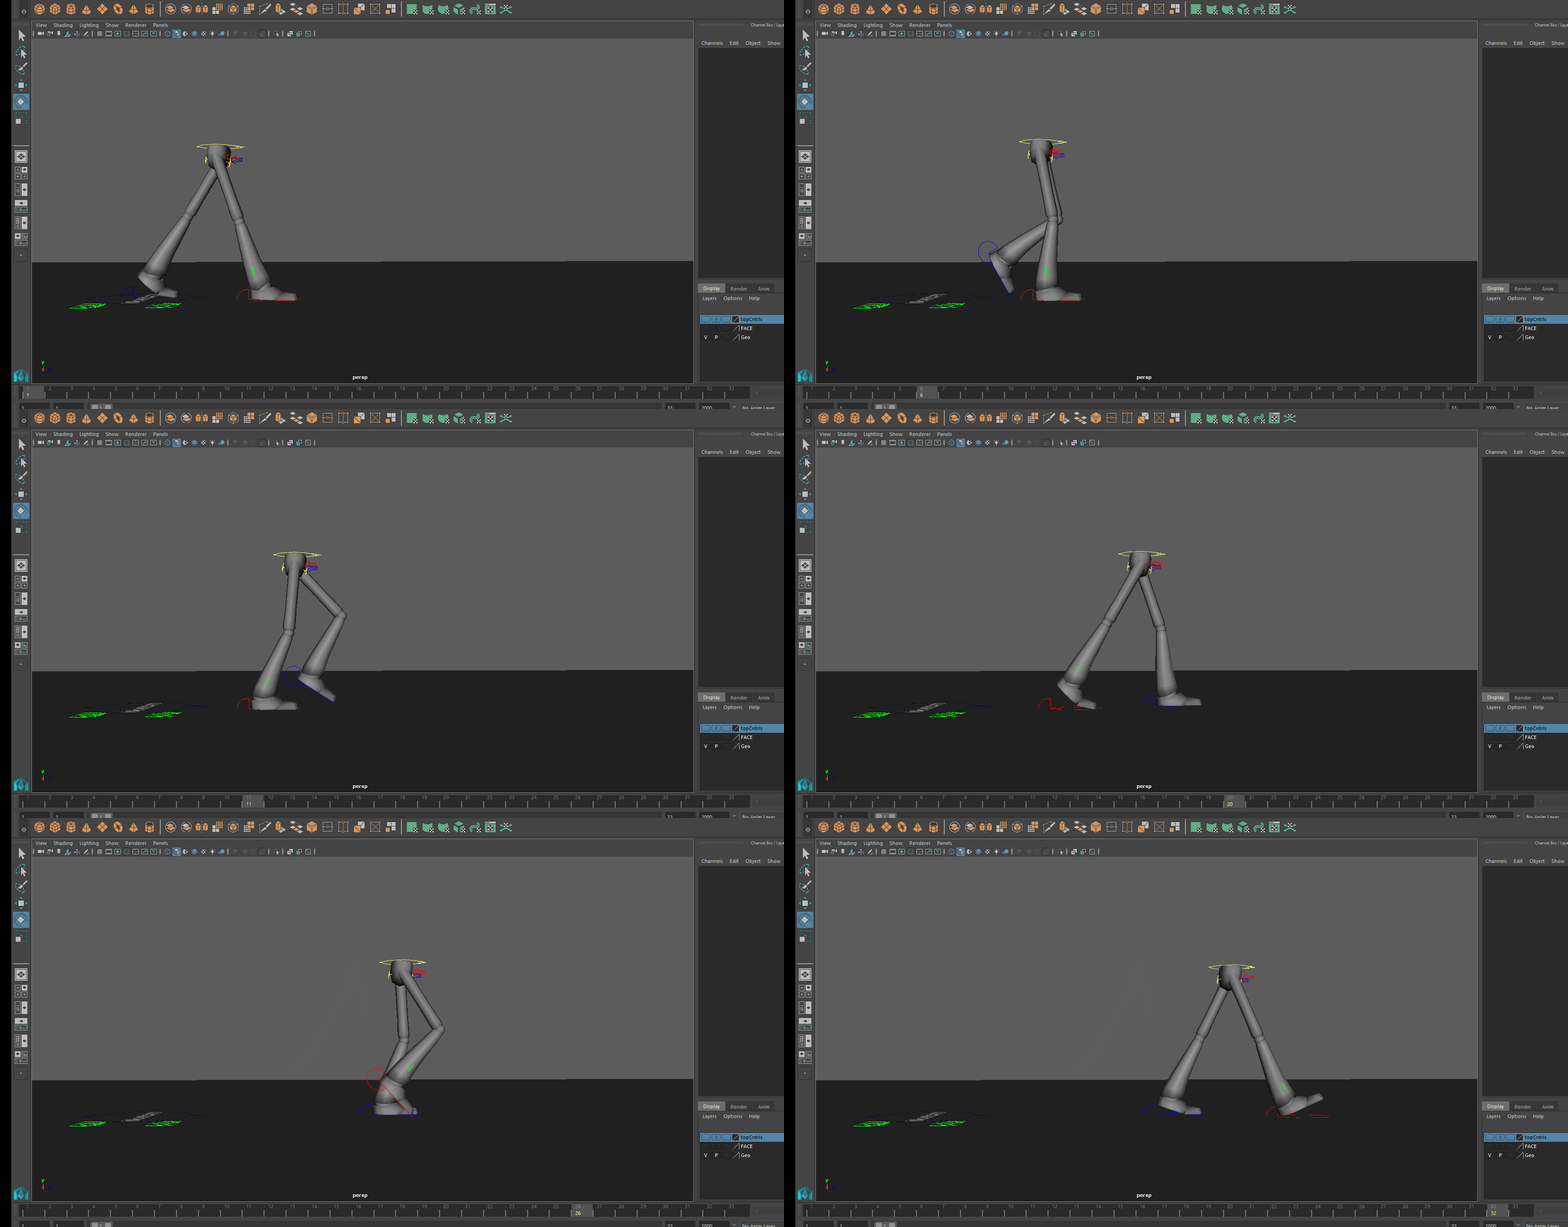
So the next question is, do we work on the root or legs first?
Definitely the root. If you tried finessing the legs first, then when u did the root all the work on the legs would go to waste because the root affects the legs!
TRANSLATE Y OF ROOT | UP, DOWN
Right now your translate Y probably looks something like this:
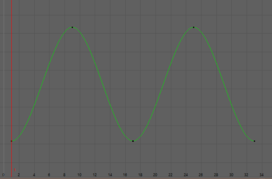
Our highest points are in the passing position, and our lowest points are at the contact positions.
From this image
we know that the lowest point of the root (Down) is actually at 4 frames after the contact position and the highest up position (Up) is actually 4 frames after the passing position, so lets extend our graph by duplicating it and then shift it over by 4 frames!
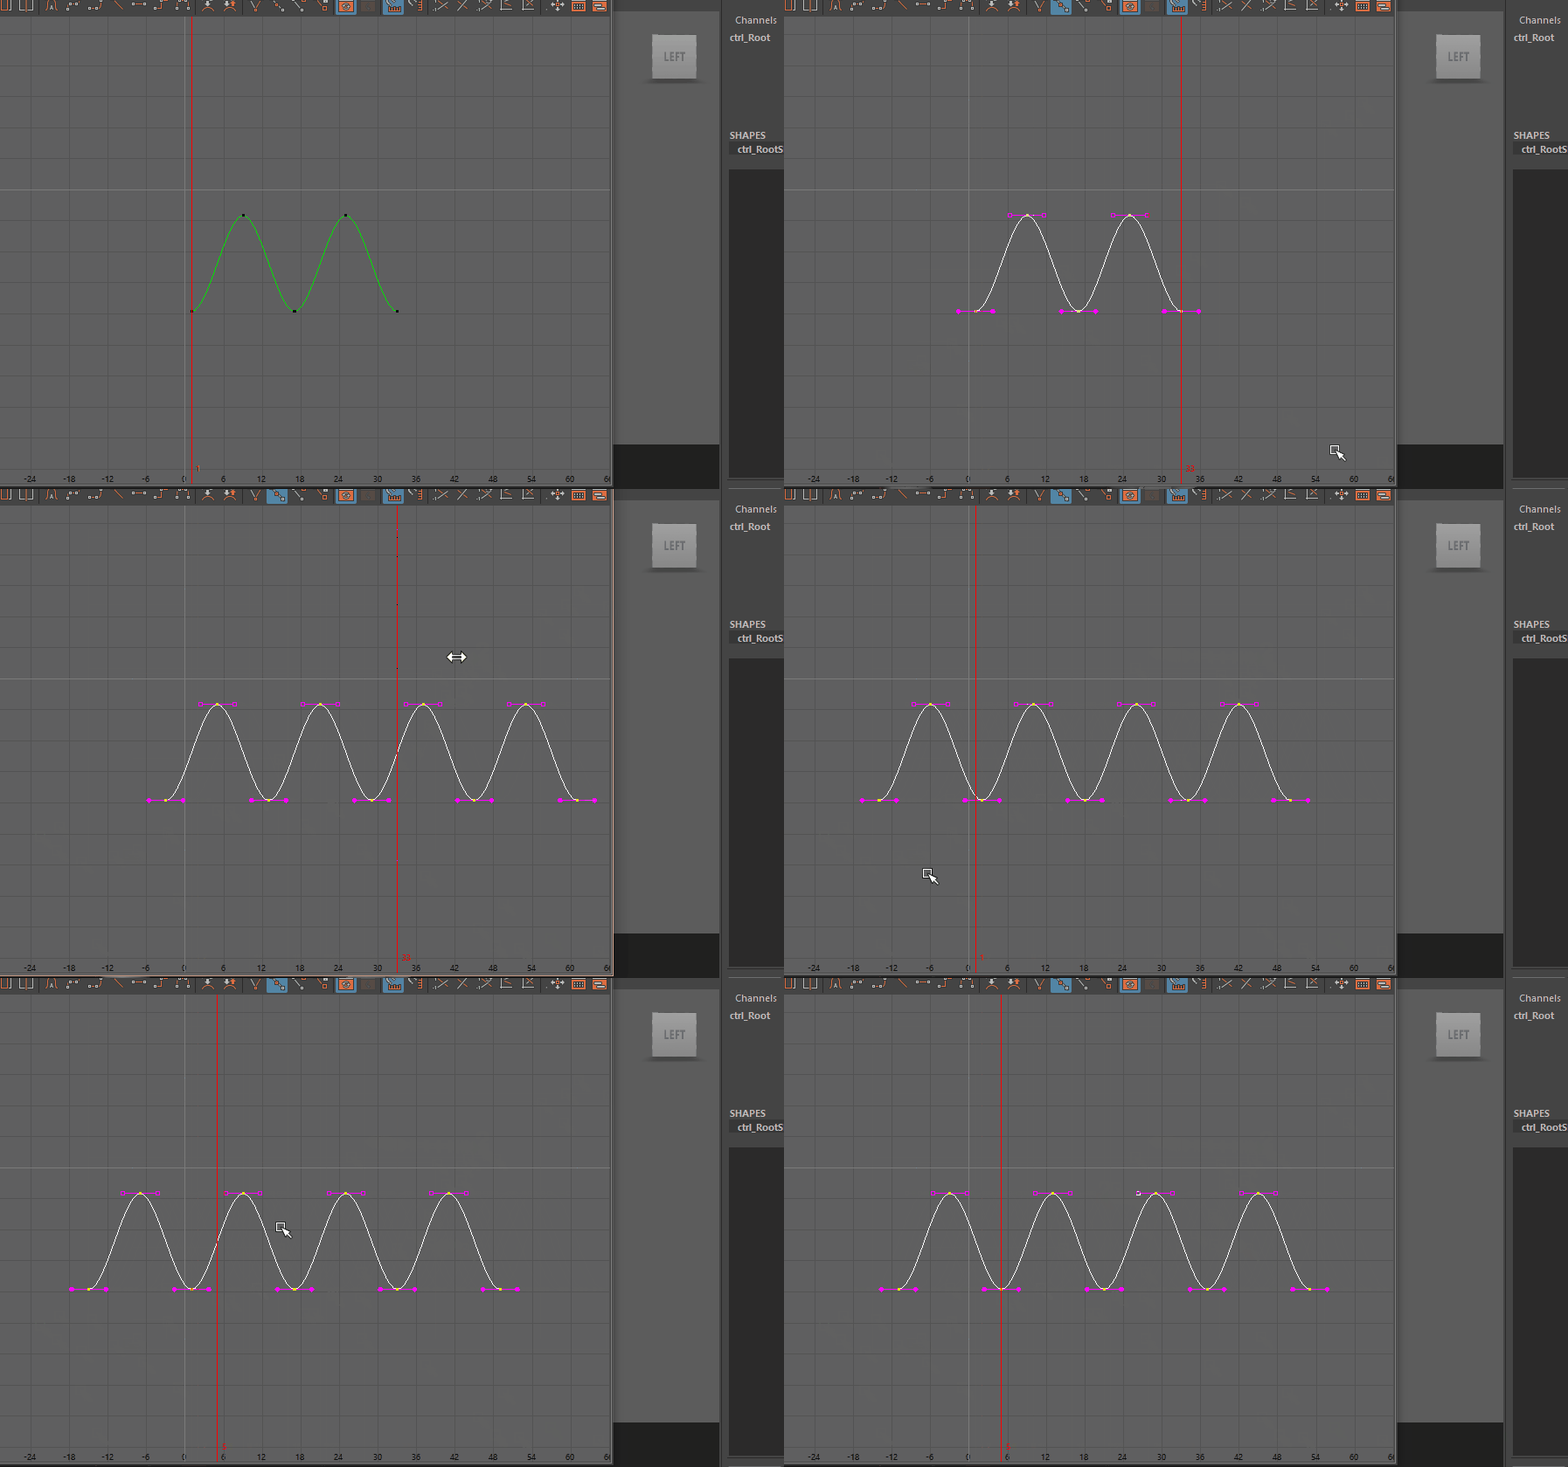
By the way you can confirm these Richard Williams diagrams if you just watch someone’s hips while they walk, but that can get really creepy really fast. However, video reference is great to use. Here’s what I’m using for this walk.
You next step job is to pull tangents in and out so that you feel the bounce of the walk.
Tips:
Notice how the root is kind of like a bouncing ball in a walk. It goes up from the force of the leg and only stops because of the legs
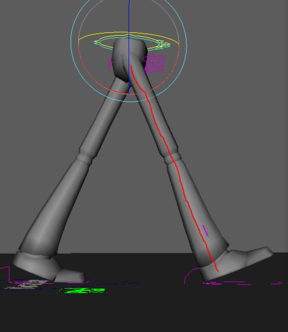
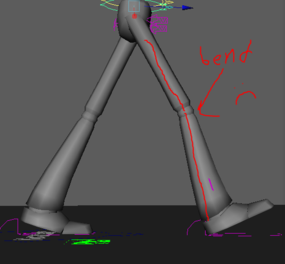
Get something reasonable that feels good. Make sure none of your legs are levitating and that you’re keeping the leg straights straight on the contact positions.
This is good:
This is bad:
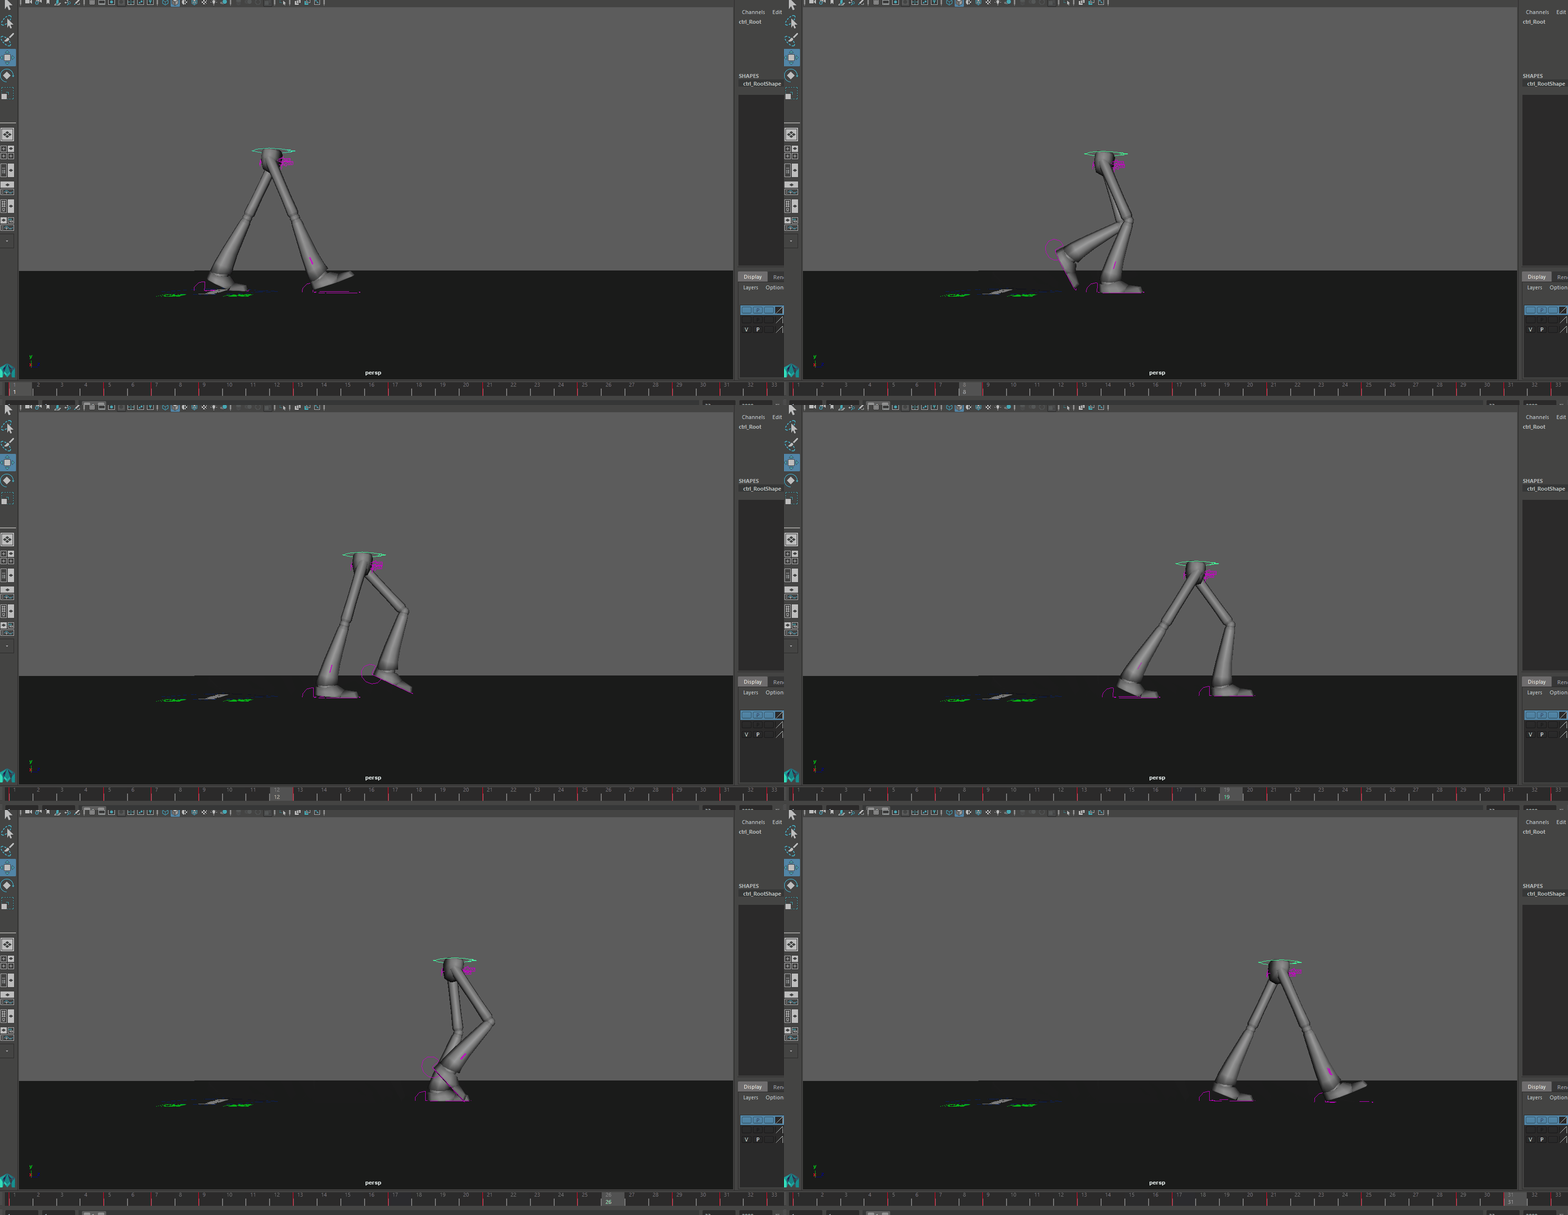
Mike’s version:
ROOT TRANSLATE X | SIDE TO SIDE
As you can tell from the reference, when you walk, your root isn’t moving in a straight line. It’s swaying side to side. When you’re passing with your left foot, your weight is on your right foot and vice versa. In other words, on your passing position, your root should be towards the foot that is planted ( in terms of the X direction).
Tips:
Get the general motion, then worry about toning it down. Don’t try to see what’s not there. This is how I started.
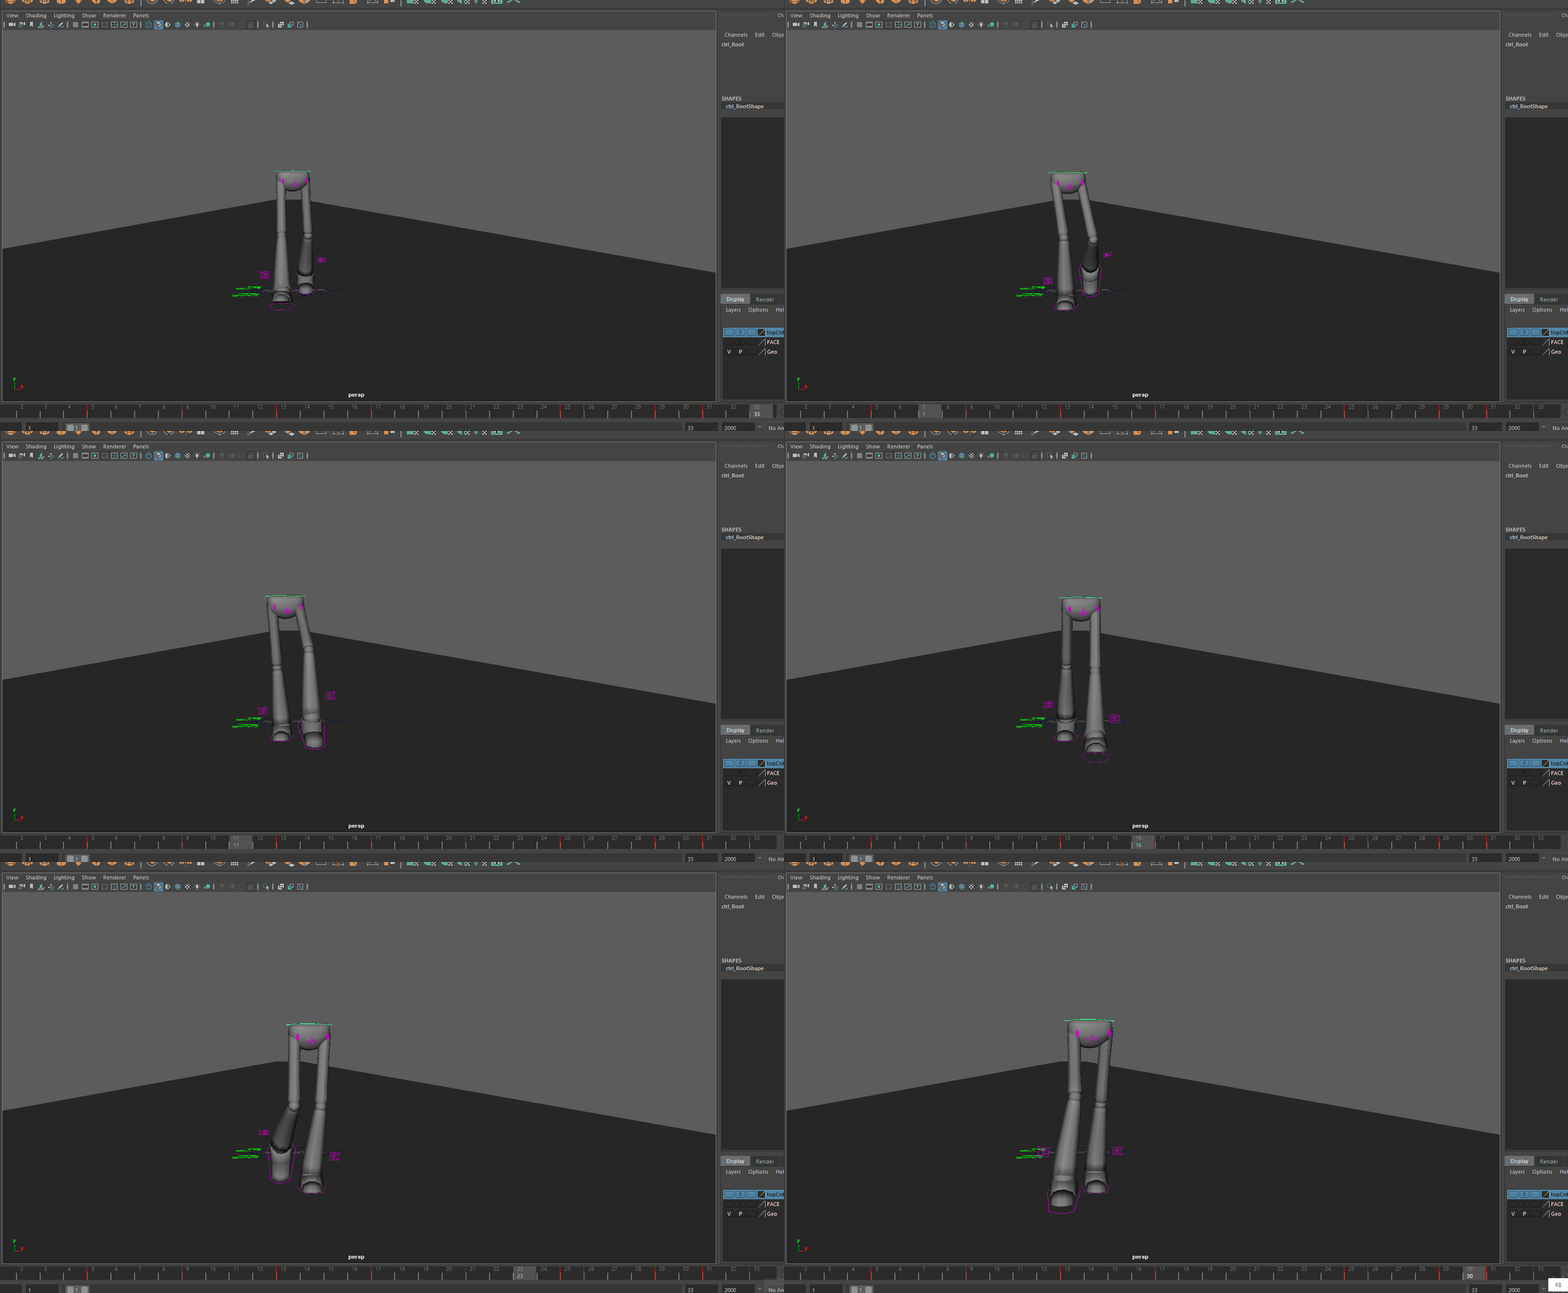
Obviously this isn’t realistic but at least I can see what’s happening.
Mike’s Version:
After I toned it down
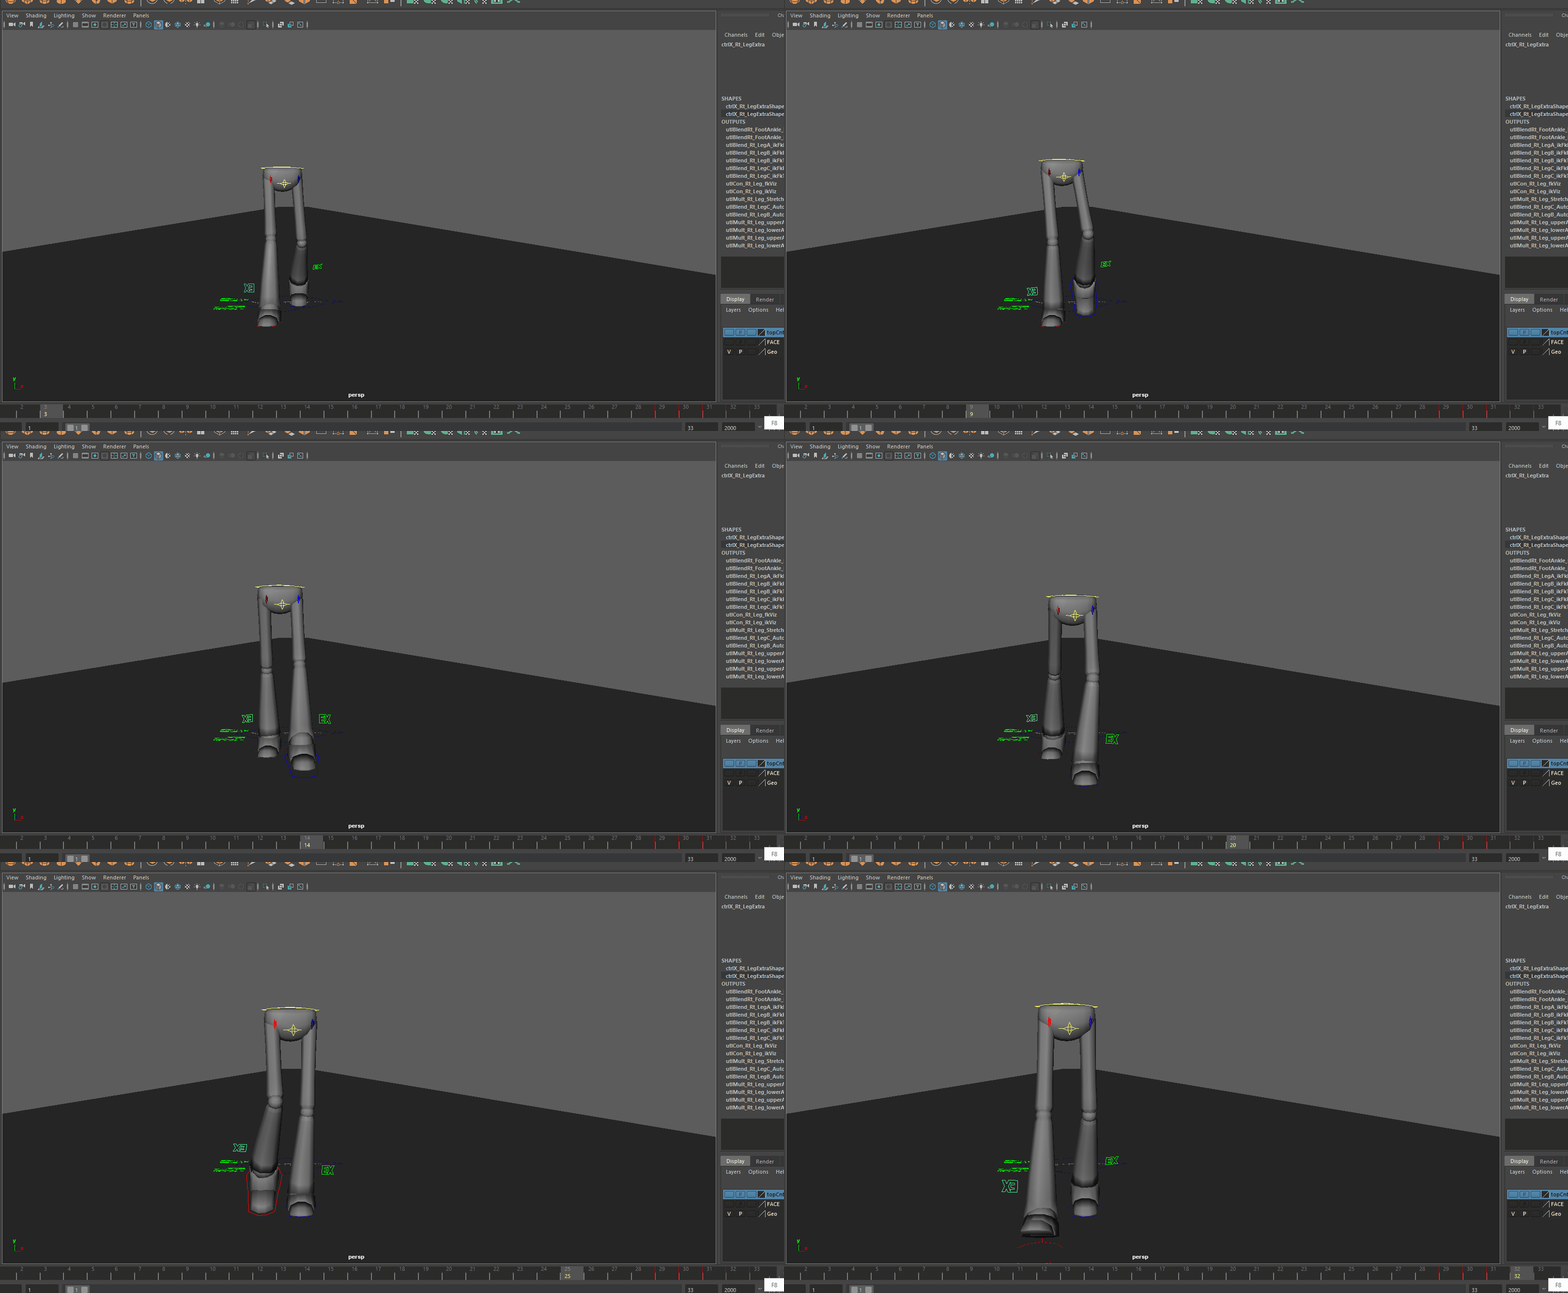
HIP ROTATE X
Which controller is the hip?
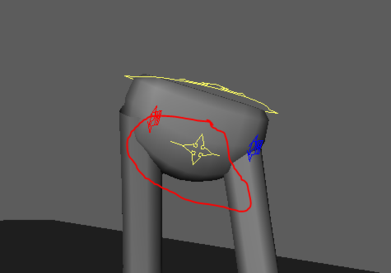
Rotate X for the hips just follows the leading leg in contact poses. Meaning, if your right foot is forward your hips are rotated towards the right foot. At the passing pose rotate X is pretty much 0.
Mike’s Version:
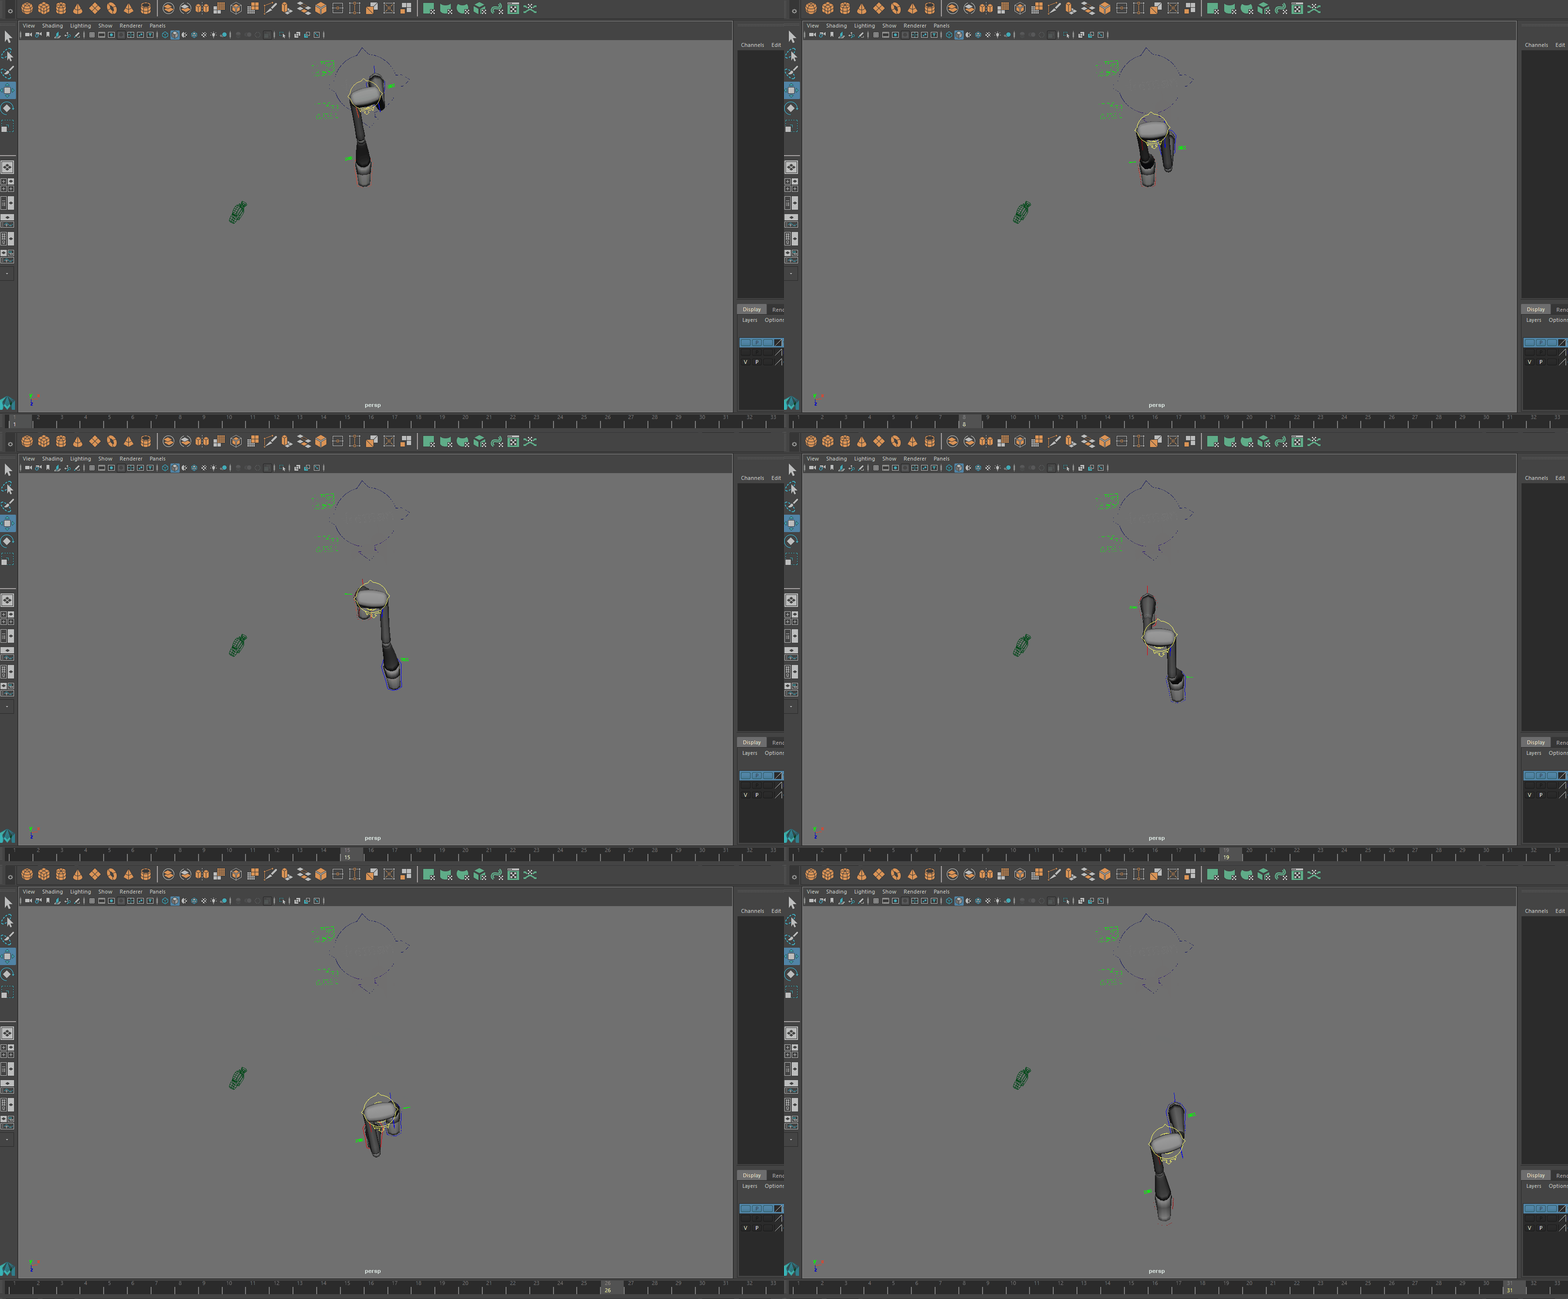
HIP ROTATE Y
The rotate Y of the hips is based on the weight you put on your legs. When your foot hits the ground, the hip on the side of that foot goes up hard. Likewise when your foot leaves the ground the hip on that leg drops hard.
Tips: Don’t be afraid to drop the spline without much of an ease out. This motion is pretty harsh and hits hard.
Make sure your motion doesn’t look smooth and wavy. This is what my spline looks like:
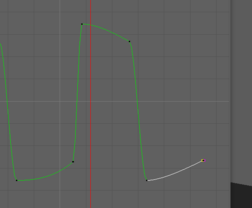
Mike’s Version:
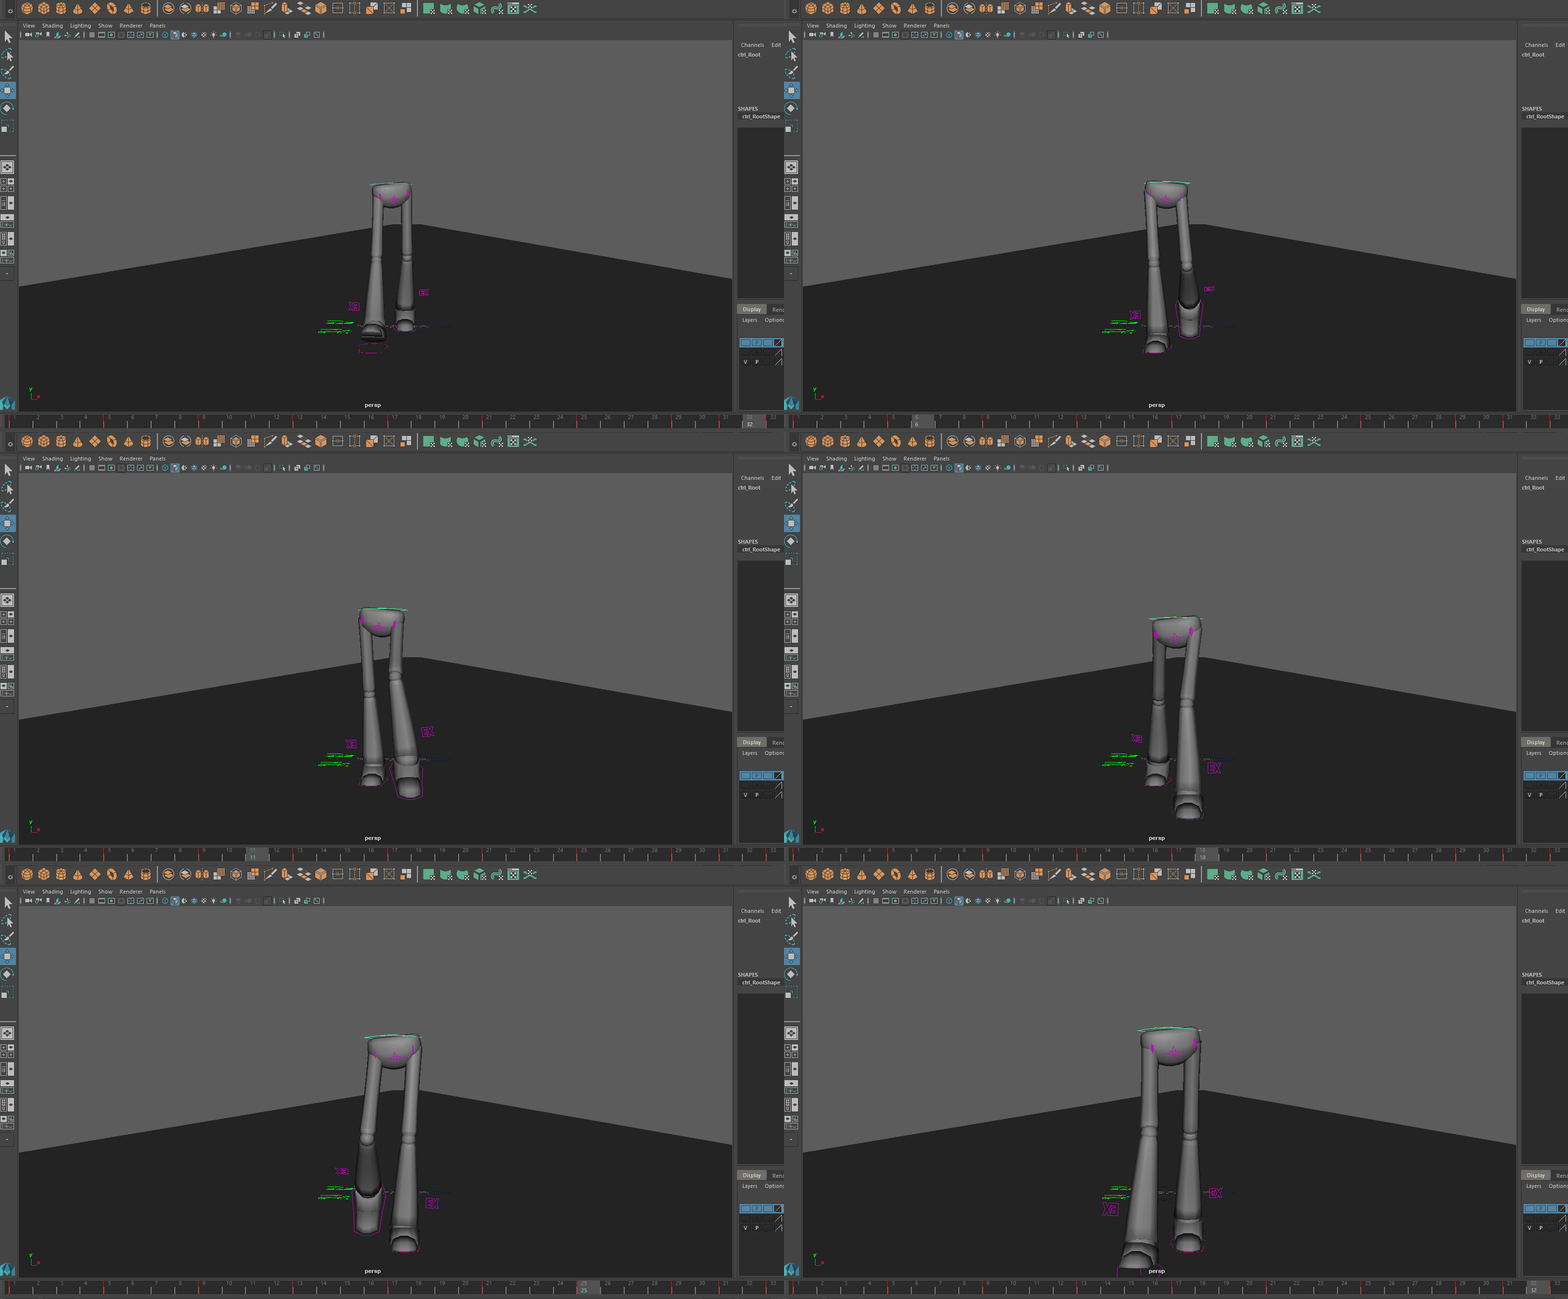
Starting to look decent!
ROOT CLEANUP
Make sure you still have those straights on the contact frames 1,17,33 and you have no levitating legs. If you do, I’d look at your Translate Y curve of your root to fix major issues like these.
Now that you have a handle on the root as a whole, go in and edit all your splines so you like how they feel together. You’ll notice on that last version I increased the swaying side to side just because I thought it looked better like that with the rotate Y in place.
If everything checks out we’re done with the root for now. You’ll most likely come back to it when you see more of the picture for minor tweaks, but this is enough for us to do the legs.
LEG-WATCHING TRICK
We’re going to be doing a lot of leg watching in this next section which is a lot easier to do if the walk is in place.
Go to frame 1.
Select your root, write down your Translate Z, mine is at 6 flat
Select your master controller, make sure it’s at 0 in the Z coordinate. Key your master controller at frame 1.
Go to frame 33.
Select your root, write down your Translate Z, mine is at 30 flat
The difference between my starting and ending Z is 24 flat
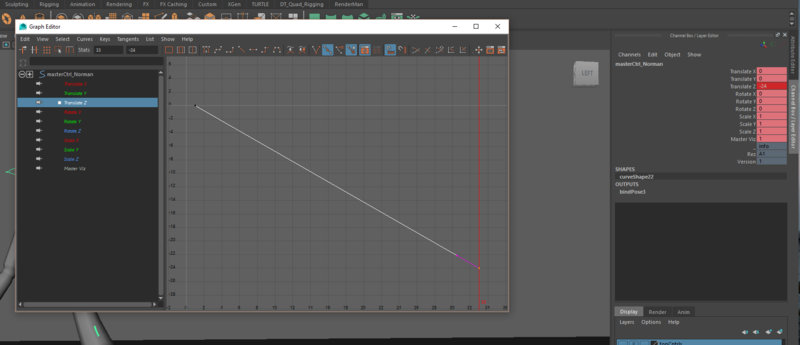
Select your master controller, set it’s Z coordinate to -24. Key your master controller at frame 33 with Z at -24.
go into graph editor. Make sure from frame 1 to frame 33 your translate Z for your master controller is linear.
Now hit play.
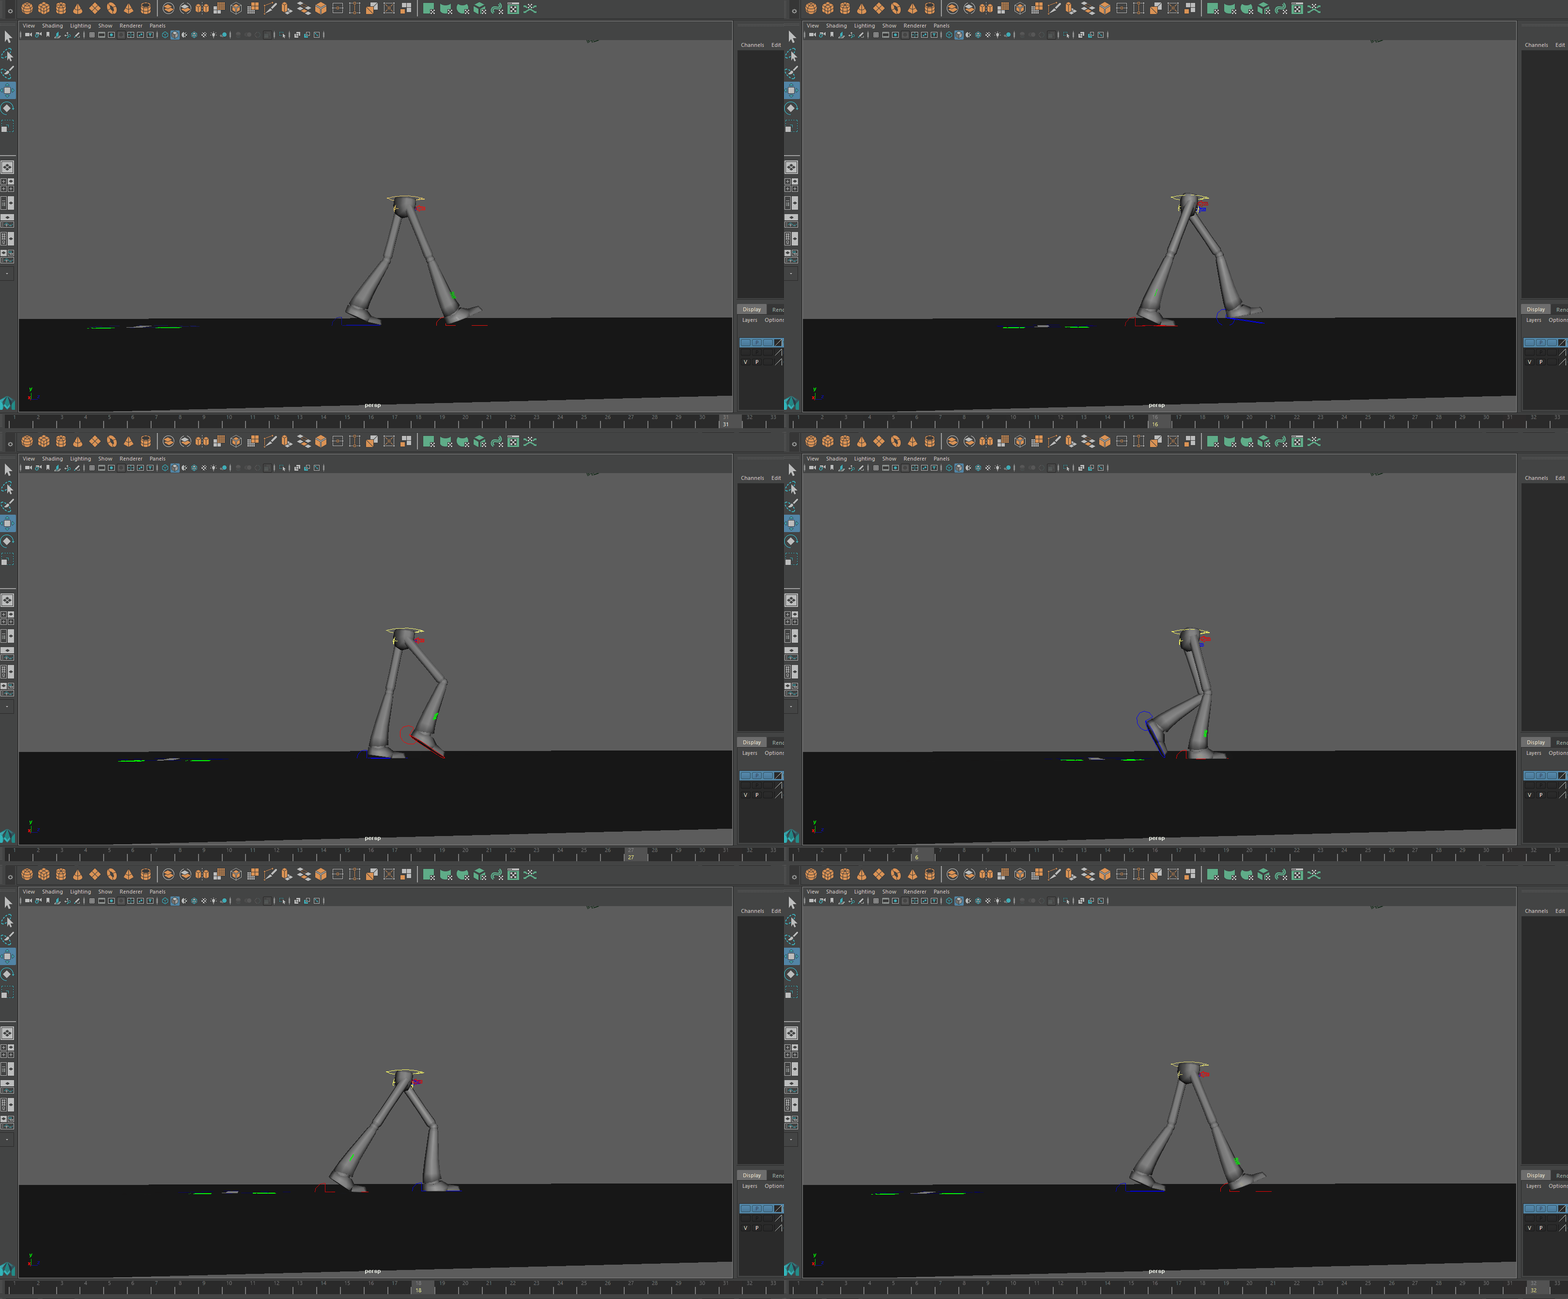
Oooooooo Spoo000ky.
If there’s any hitches in your cycle that means you don’t have a perfect cycle. Most likely, frame 33 doesn’t match frame 1.
Notice that if you want to play your cycle for someone you’ll play frames 1-32 not 1-33 because 1 and 33 are copies. 33 is just there to help you make sure you have a perfect cycle. If your cycle included frame 33 you’d be playing the “same” frame twice (1,33).
Also, lets invis one of the feet, this way we can just worry about one foot, and then just copy, paste, offset those curves into the other foot when we’re done. I’ll invis the left foot.
Click the green Viz Geo Controller on the floor. Change Lf Leg Geo to 0.
Step 8: Foot translate Z + Heel Roll
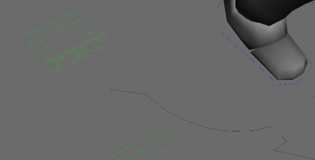
The right foot should stay planted until the down position on frame 21. You can get away with a little bit of foot slide before then if you want to, but generally I start moving the right foot at frame 21 and keep moving it until the contact frame at frame 33.
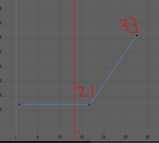
This is my translate Z curve.
Heel Roll is useful for getting that stomp effect. It’s at its maximum at the contact poses and I kill it over two frames.
Mike’s version:
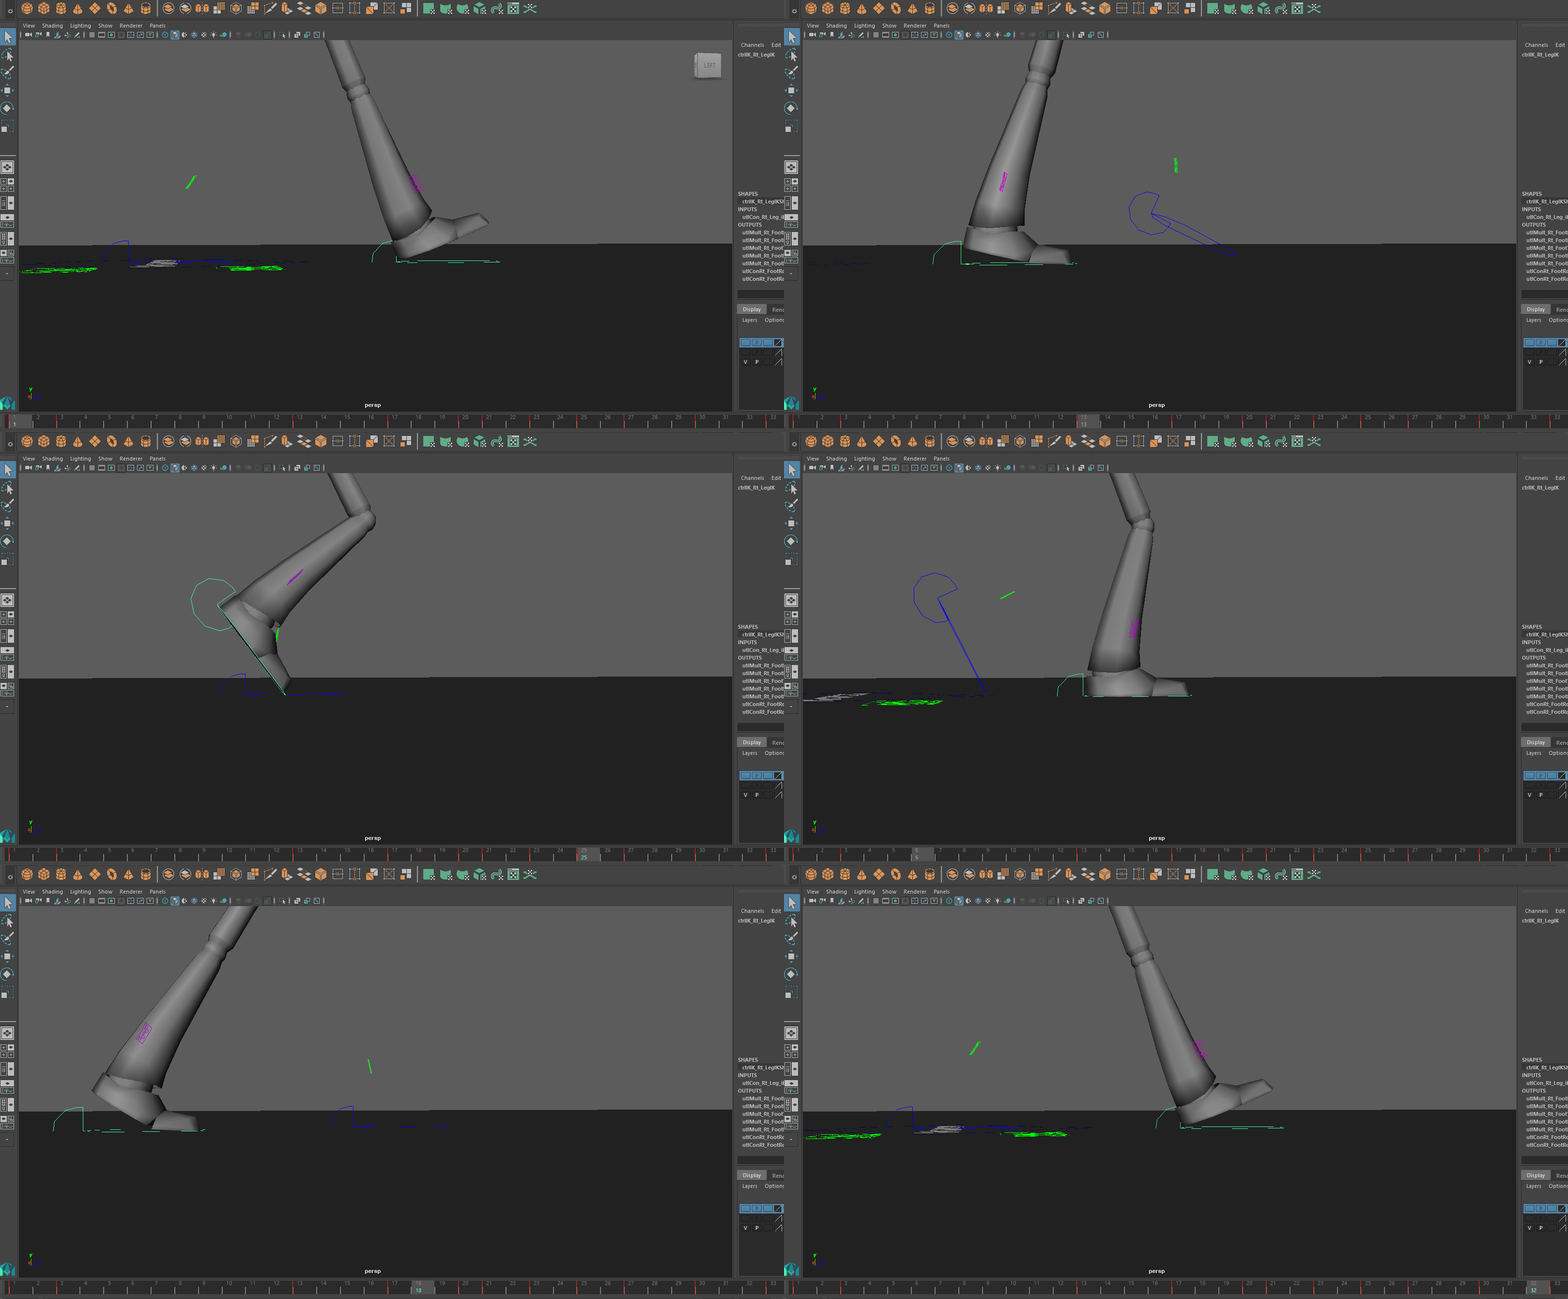
FOOT TAKE-OFF | ROTATE X + BALL ROLL + TOE ROLL + TRANSLATE Y
:(((((( This is the hard part
Do you see how the foot sticks on take off? The tools we have available to overcome that are Rotate X, Ball Roll, Toe Roll, Translate Y, and even Translate Z. A good peel off is hard to get.
Here’s my approach to this problem.
- On frame 25 (passing position) we know that we want the foot rotated using Rotate X, so up until frame 21 I’m using Toe and Ball roll to get this shape at frame 21.
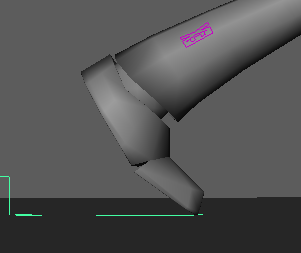
Basically it’s the foot shape right before I get off the ground.
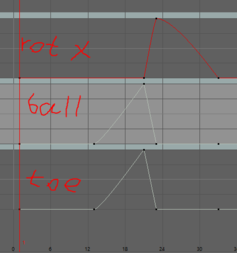
then over two frames I kill both toe and ball roll and bring in Rotate X until the foot contacts the ground again.
Here’s what I mean.
Now lets talk about translate Y when you’re off the ground. Make sure your toes aren’t super high off the ground, humans are very economical walkers, we lift our foot off the ground as low as possible.
Just like the bouncing ball, make sure your foot isn’t easing into the ground.
Tips:
Notice how I grouped all these channels together, you’re going to have to meddle with all of these more or less at the same time to get something smooth.
Here was my first version:
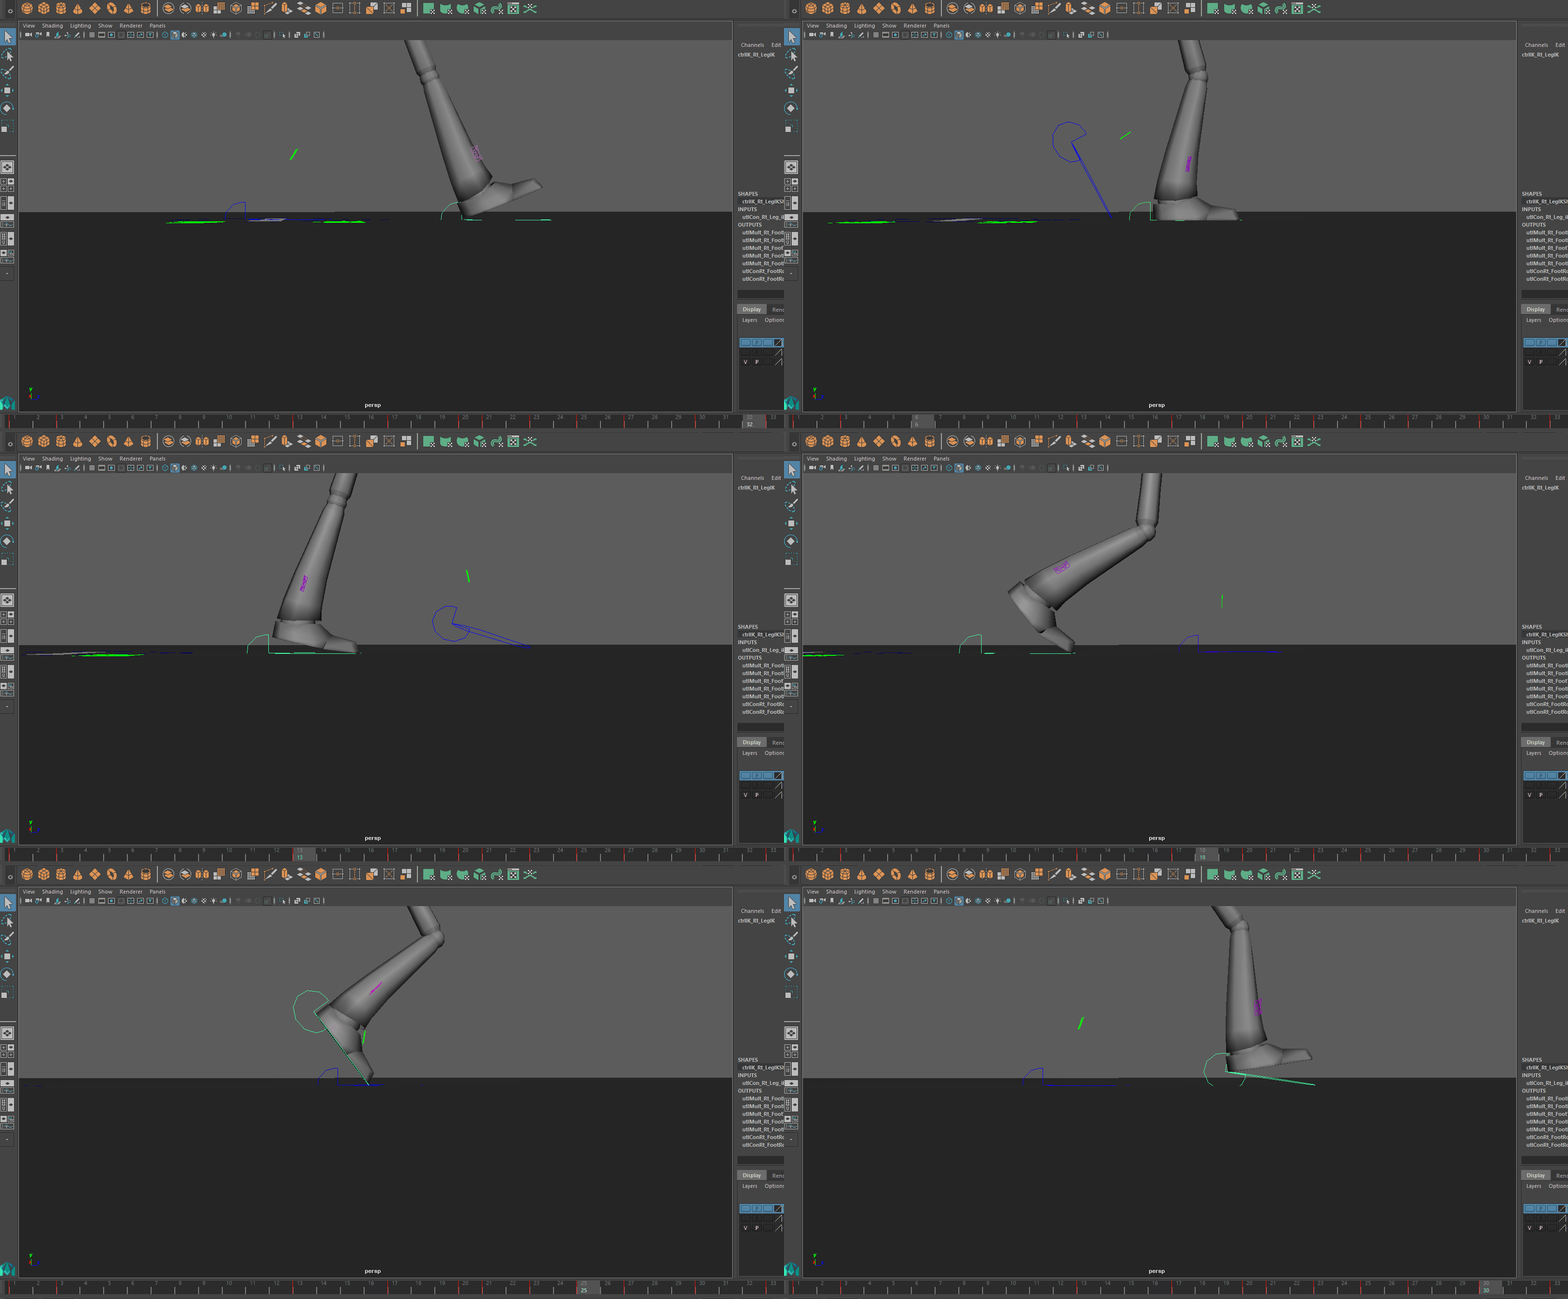
That’s better than before, but lets draw over it and see the problems. Lets draw a red dot at the heel of the foot frame by frame in syncsketch.com
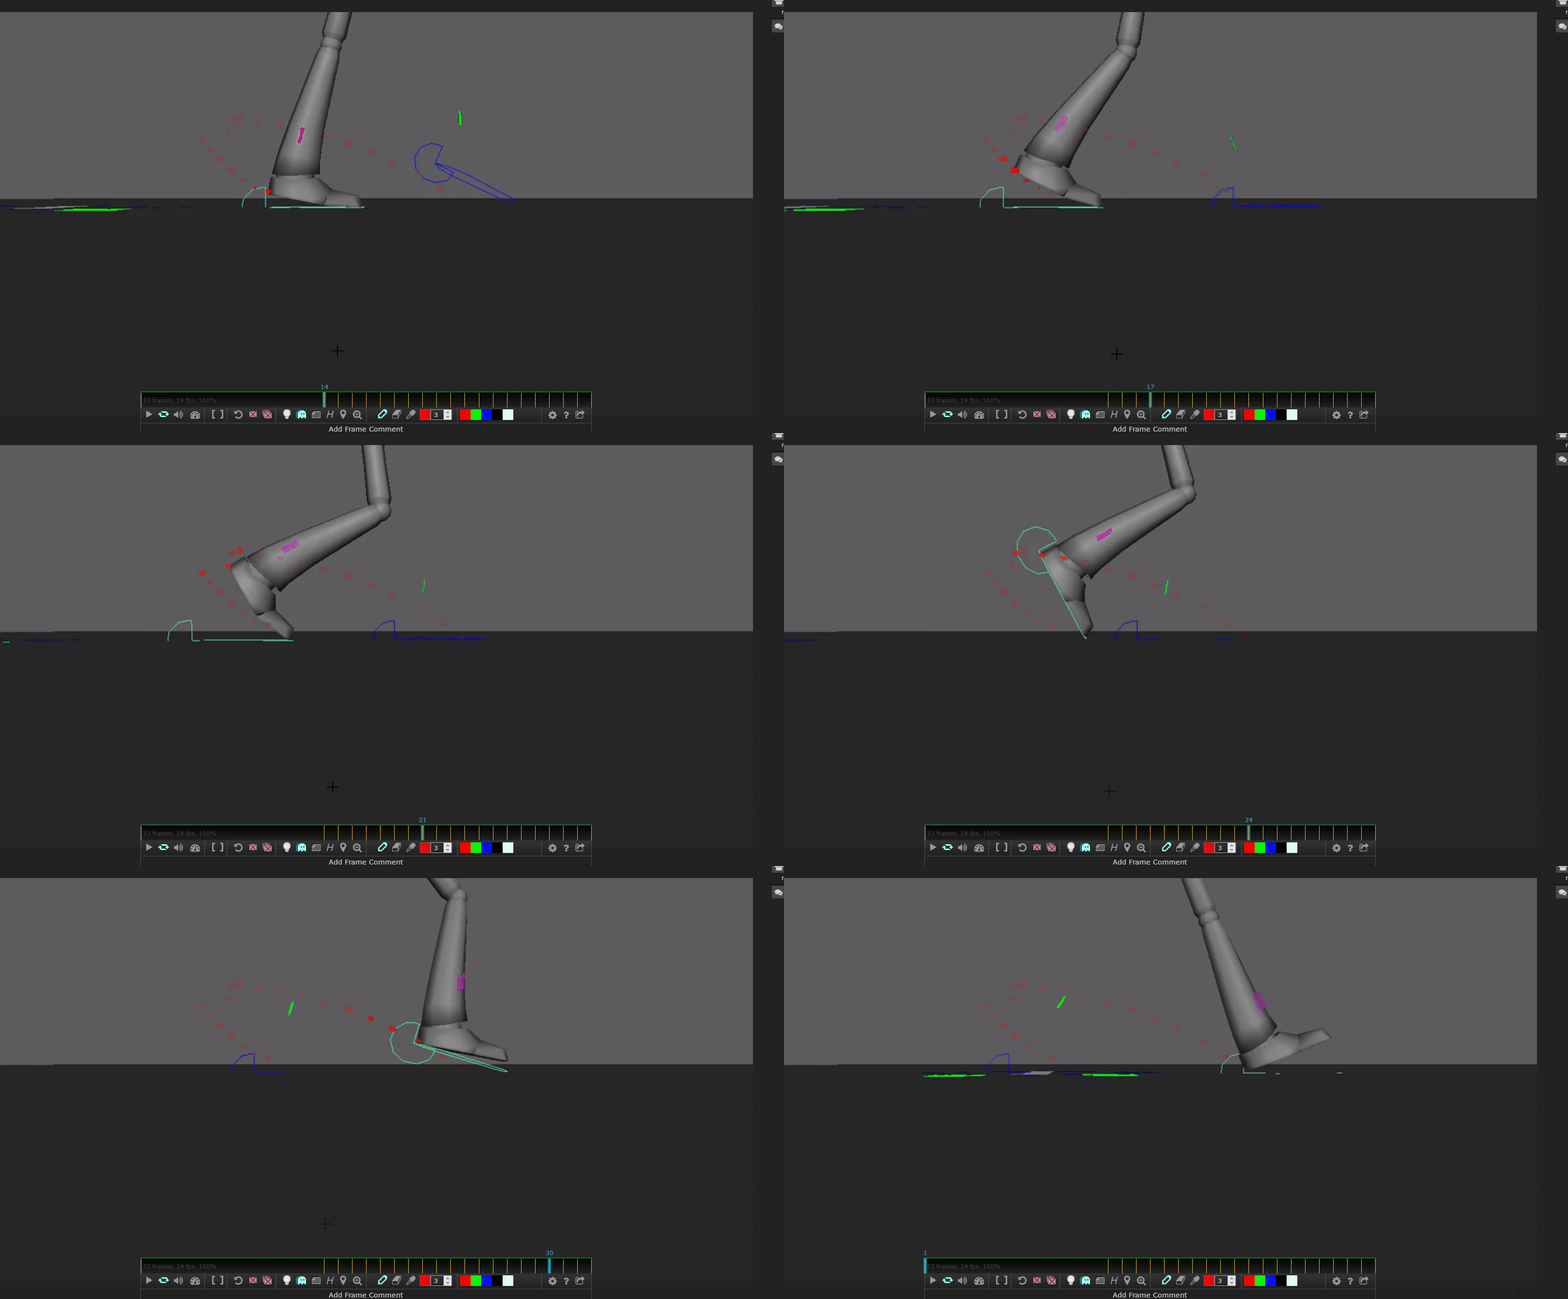
It looks pretty good in the beginning, but in between frames 21-23 there’s a mess. There’s no overarching wisdom to resolve this, just get in the graph editor and mess with your splines till it looks good. Since you’re dealing with just a few frames, feel free to “frame fuck” (Pixar technical term), or in other words just use the move tool and key frame by frame until you get a smooth peel.
For me it’s a pretty simple fix once I’ve drawn the red dots. I just need to push frame 23 translate Z up a little bit further.
Mike’s final version
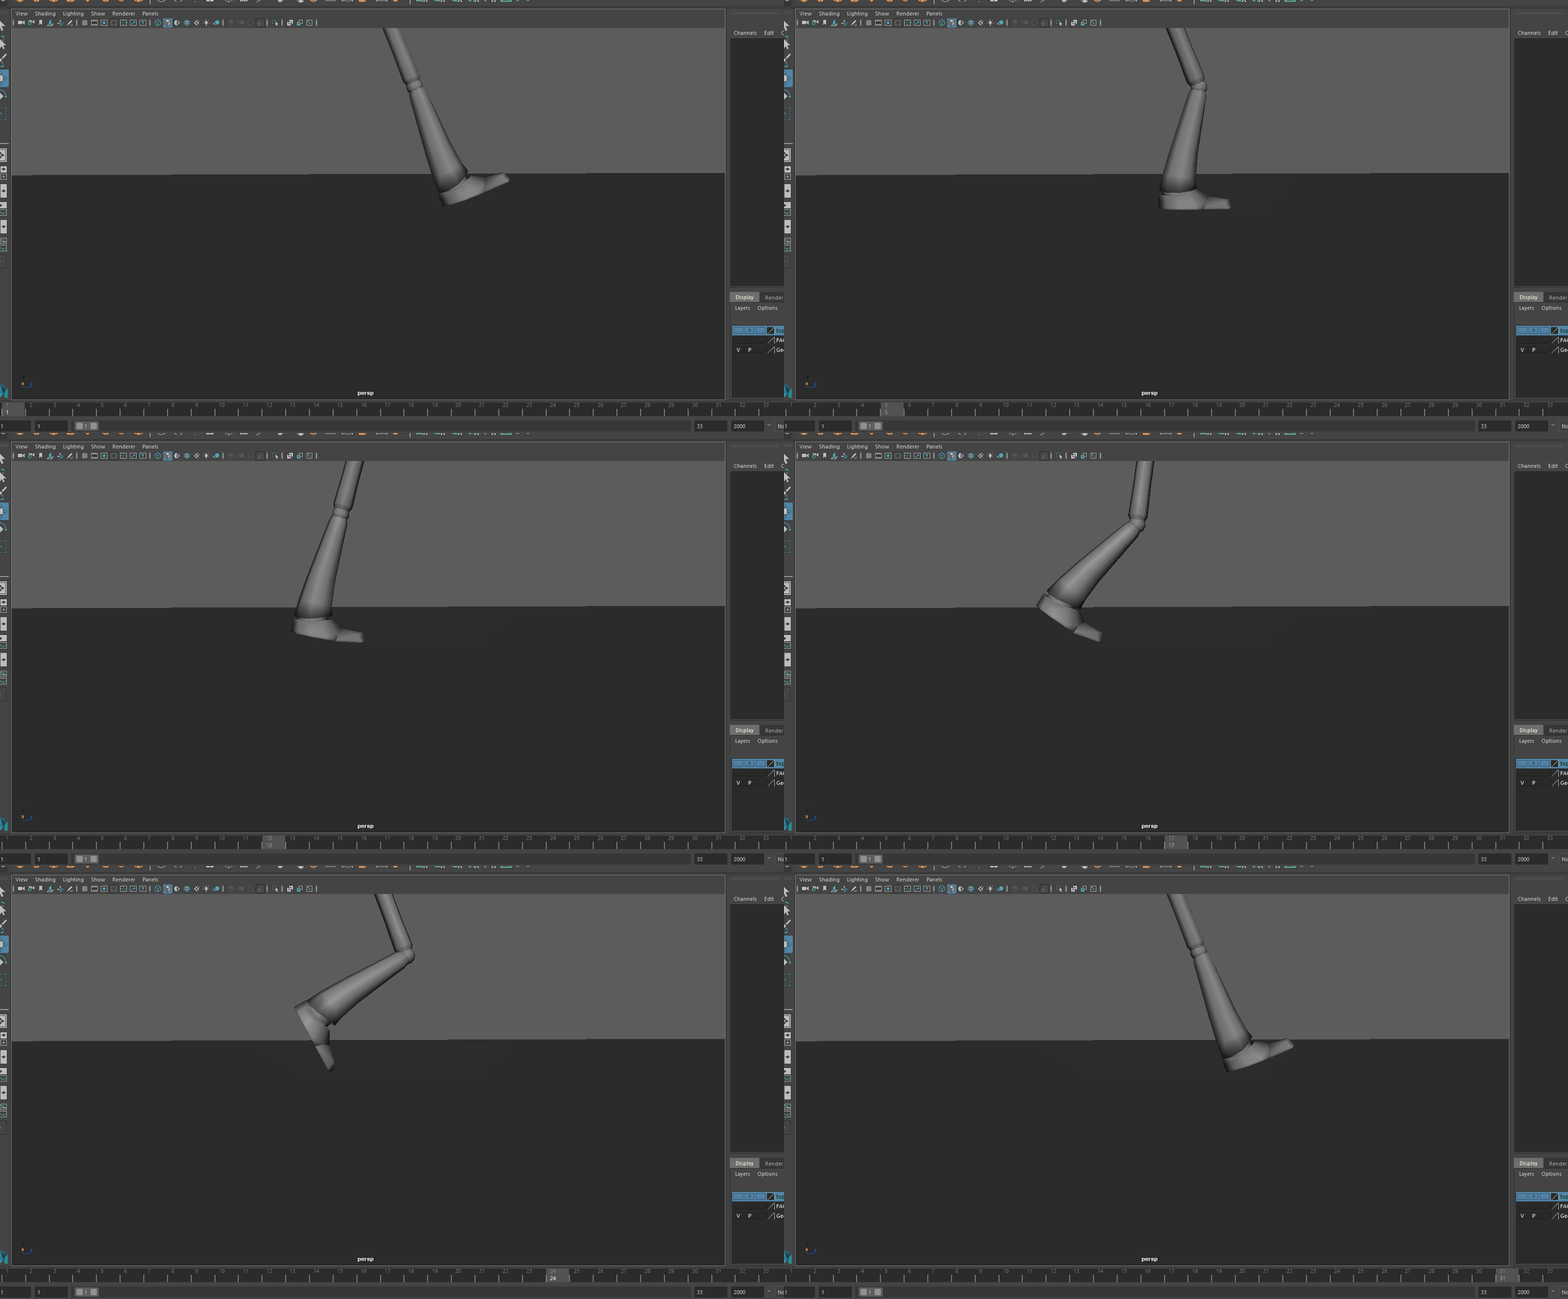
if you think I’m being pedantic, compare this to the peel off in step 8. Ew right?
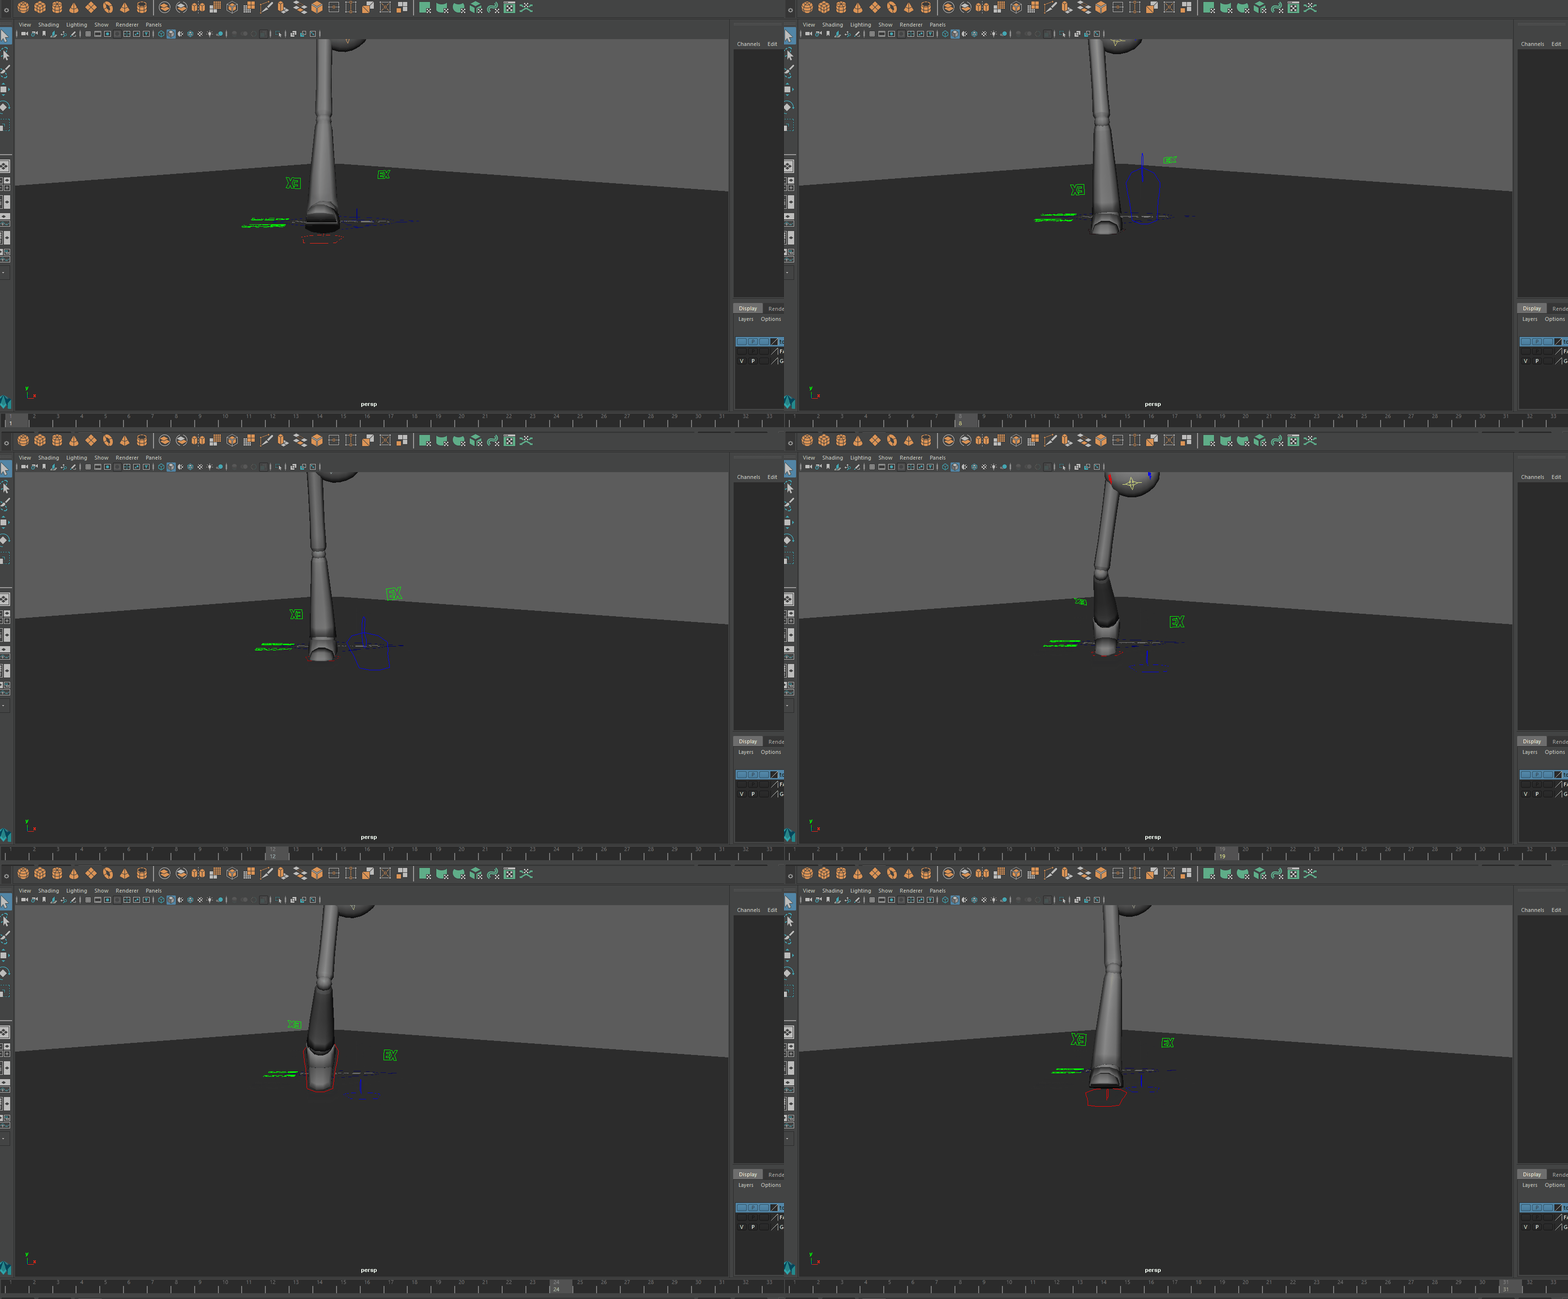
FOOT TRANSLATE X
Your feet don’t move in straight lines, they usually arc out as they pass. As a rough guide the foot should be out the most within a few frames of it passing the other planted foot and then return to where it started to peel off from in terms of X position on contact.
Tips:
here’s what my spline looks like
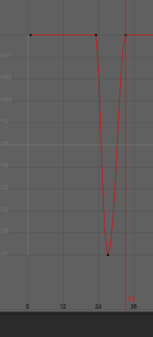
Mike’s version:
ROTATE Y OF FOOT
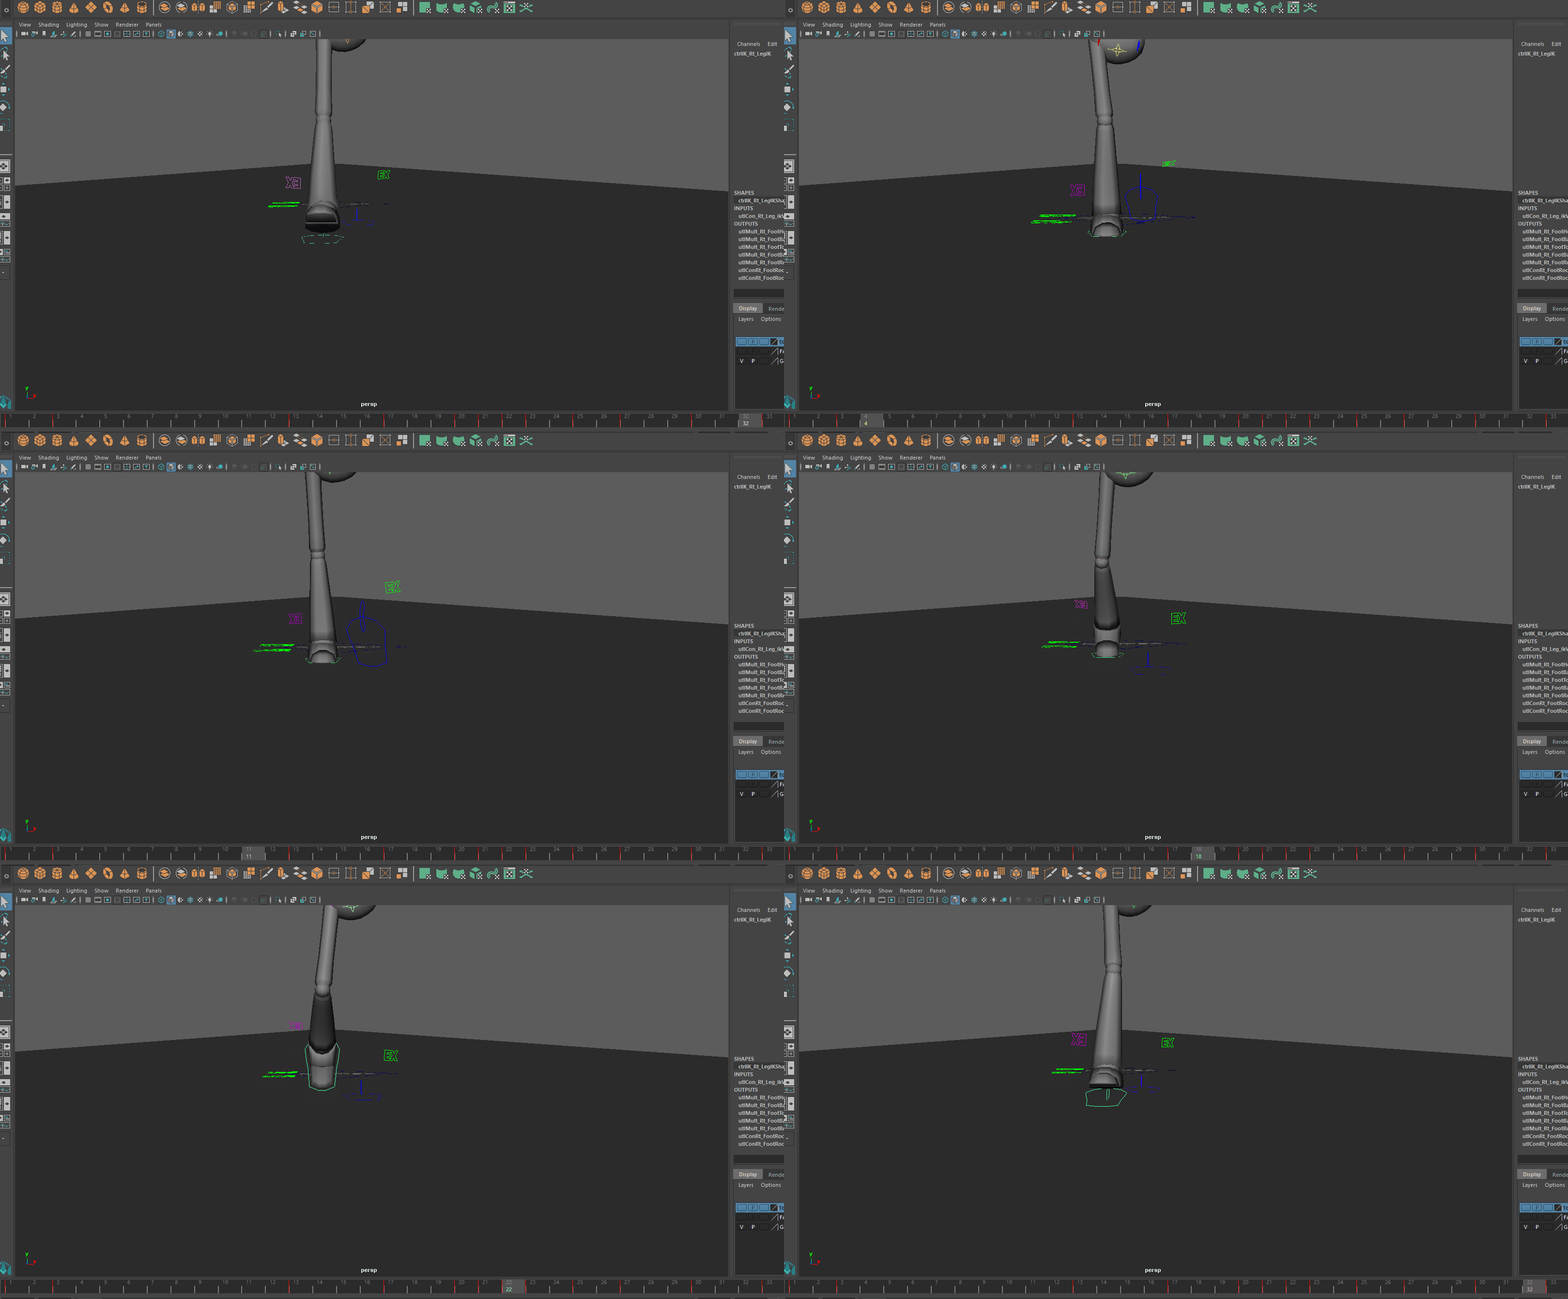
This determines which way the toes point. You can have fun with this, but in general the toes point outwards as the foot arcs out and then point straight after the foot is fully planted.
Mike’s Version:
FIXING KNEE POPS
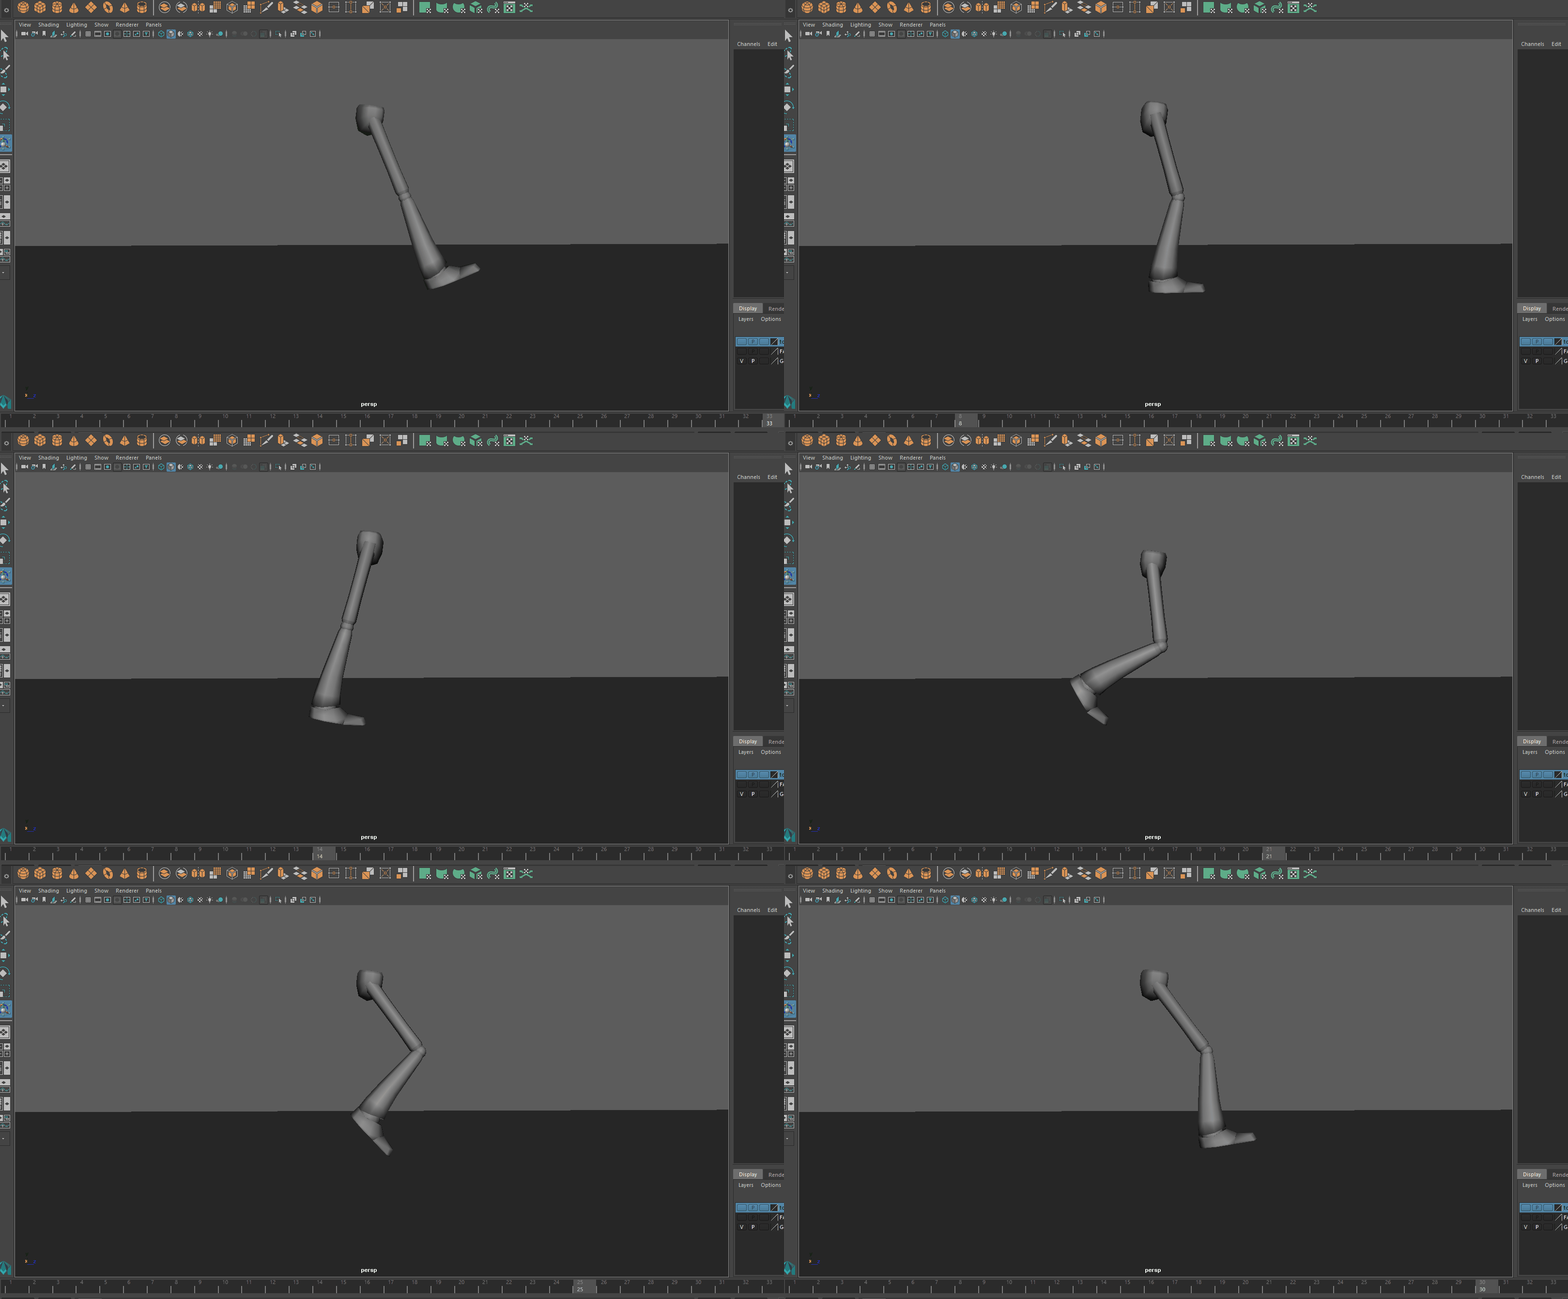
Right now we have a knee pop problem.
we can tell more clearly what’s going on by drawing over.
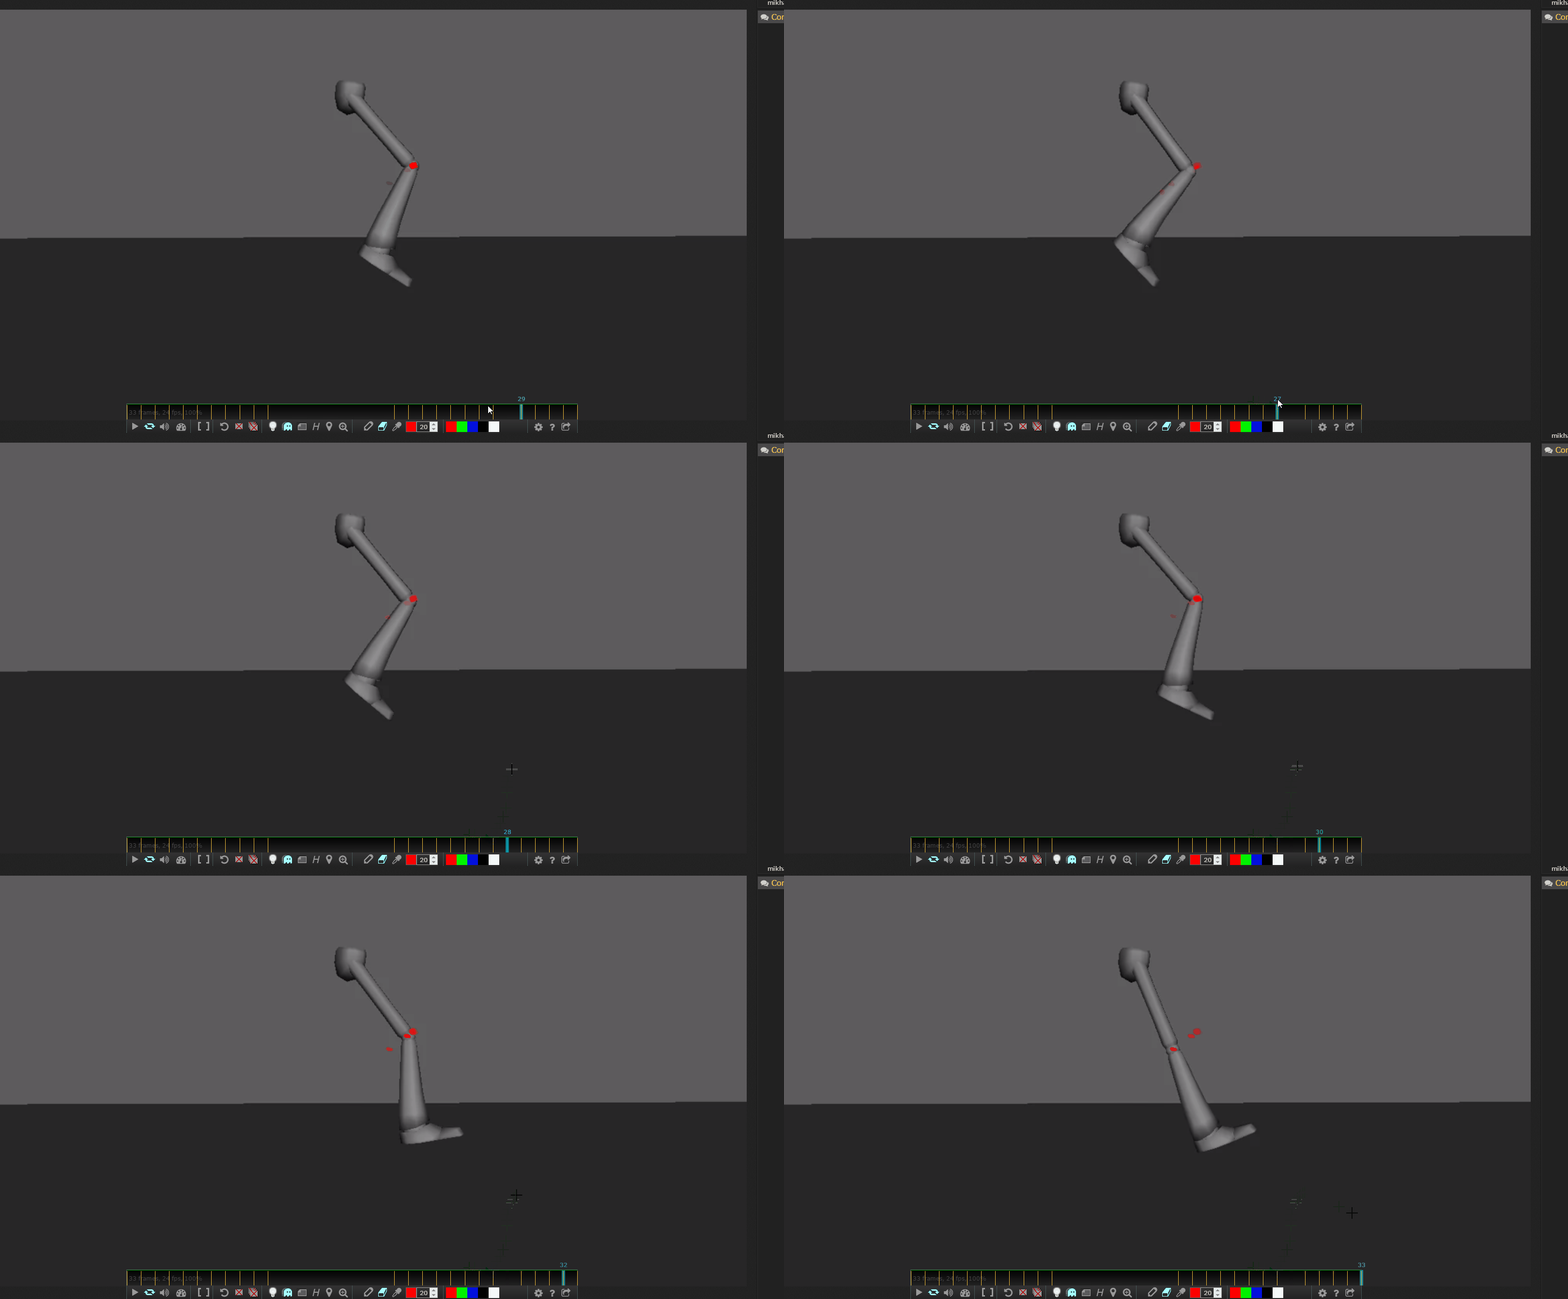
From frames 29-32 our knee is pretty much stuck and then it pops to 33. To change this lets look at this green controller
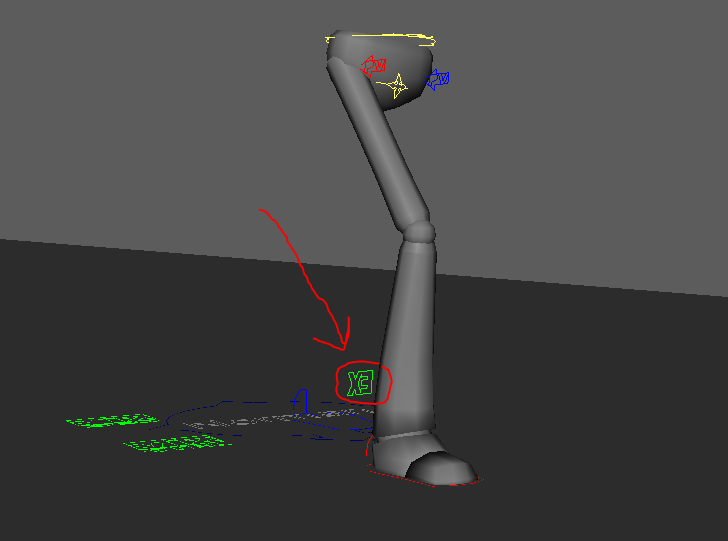
Upper and Lower Stretch allow you to move the knee!
Lets use these to make sure the knee stays in motion in the last frames.
Tips:
Here you’re just making keys frame by frame, don’t try to create beautiful splines with these two controls, they’re literally there to hide your mistakes frame by frame.
Don’t move the knee too much, this is a cheat we can use as animators to battle knee pops. If you do this too much your knees just wont be believable.
Mike’s version
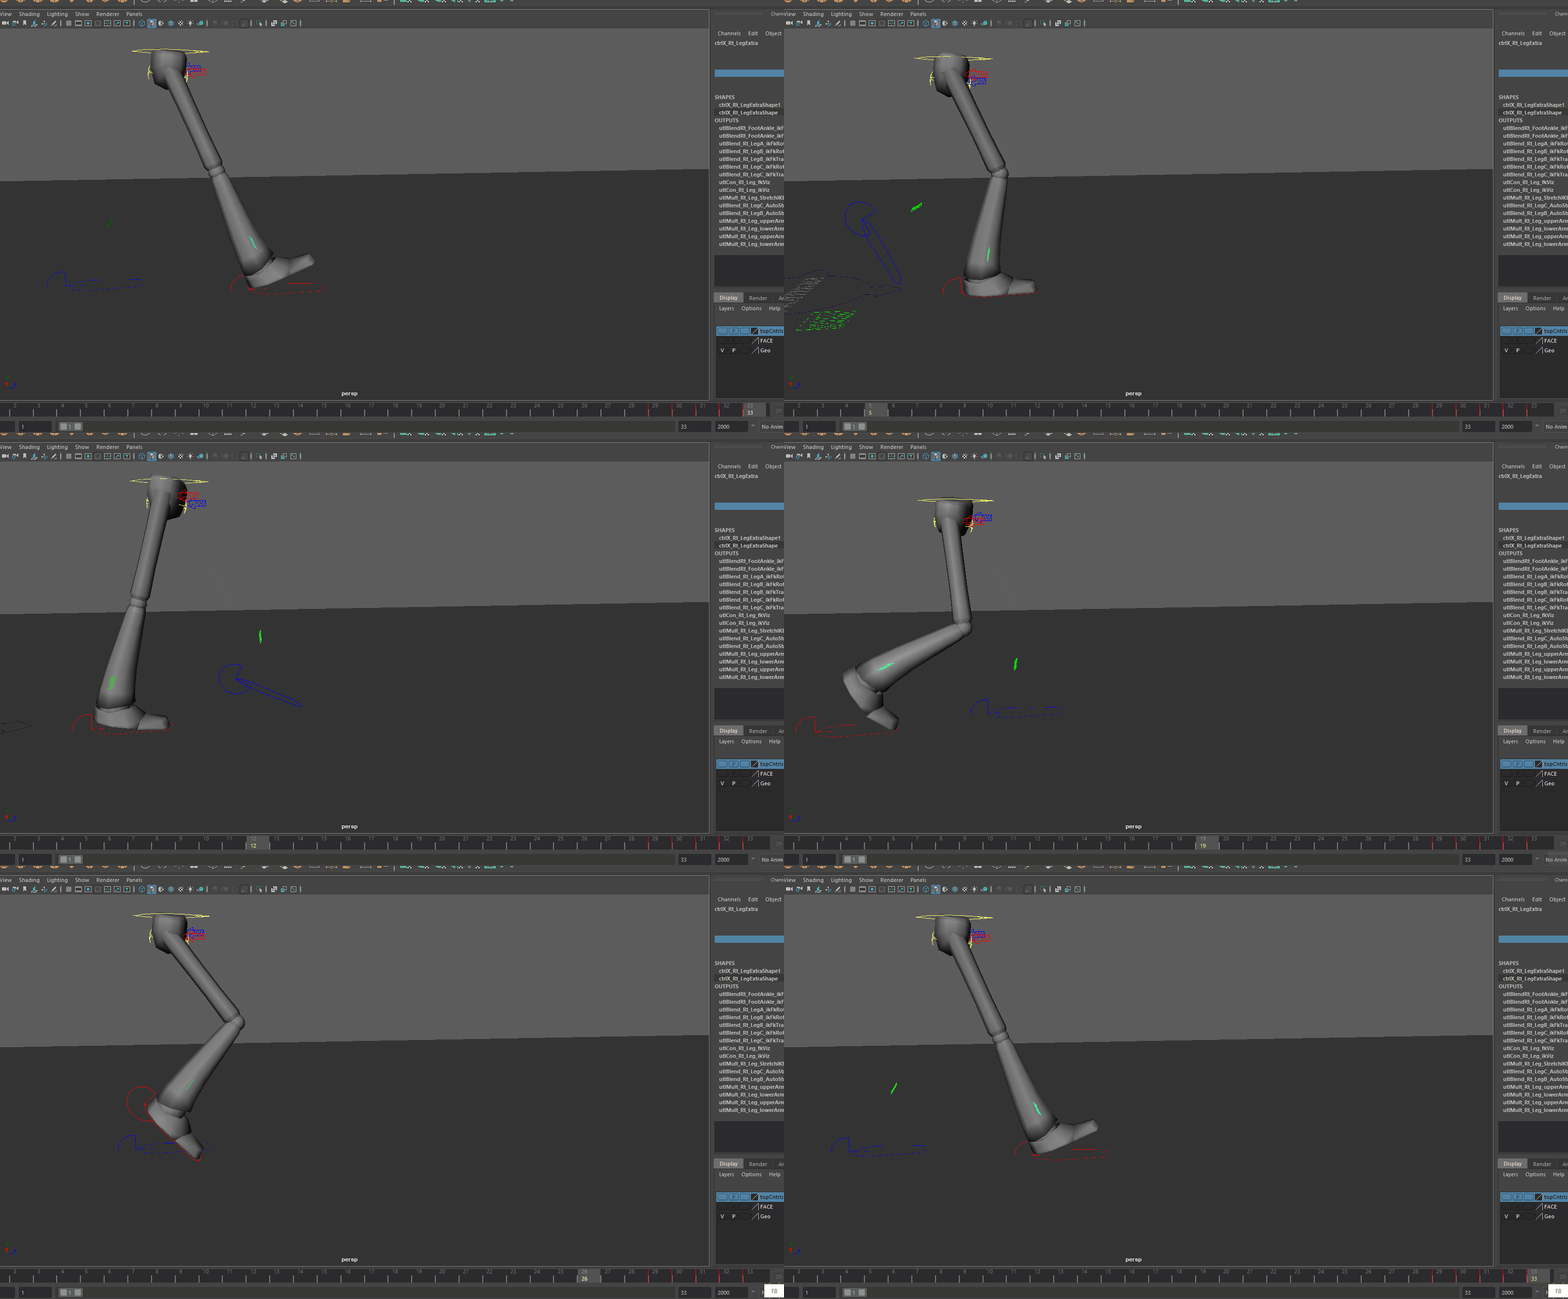
COPY-PASTING
It’s time to copy this leg into the other leg. Copy pasting splines is tricky and we have to set up first.
- Bring back your other hidden leg
- For the leg that you made perfect, double your splines. Here’s what I mean, demonstrated on my translate Z
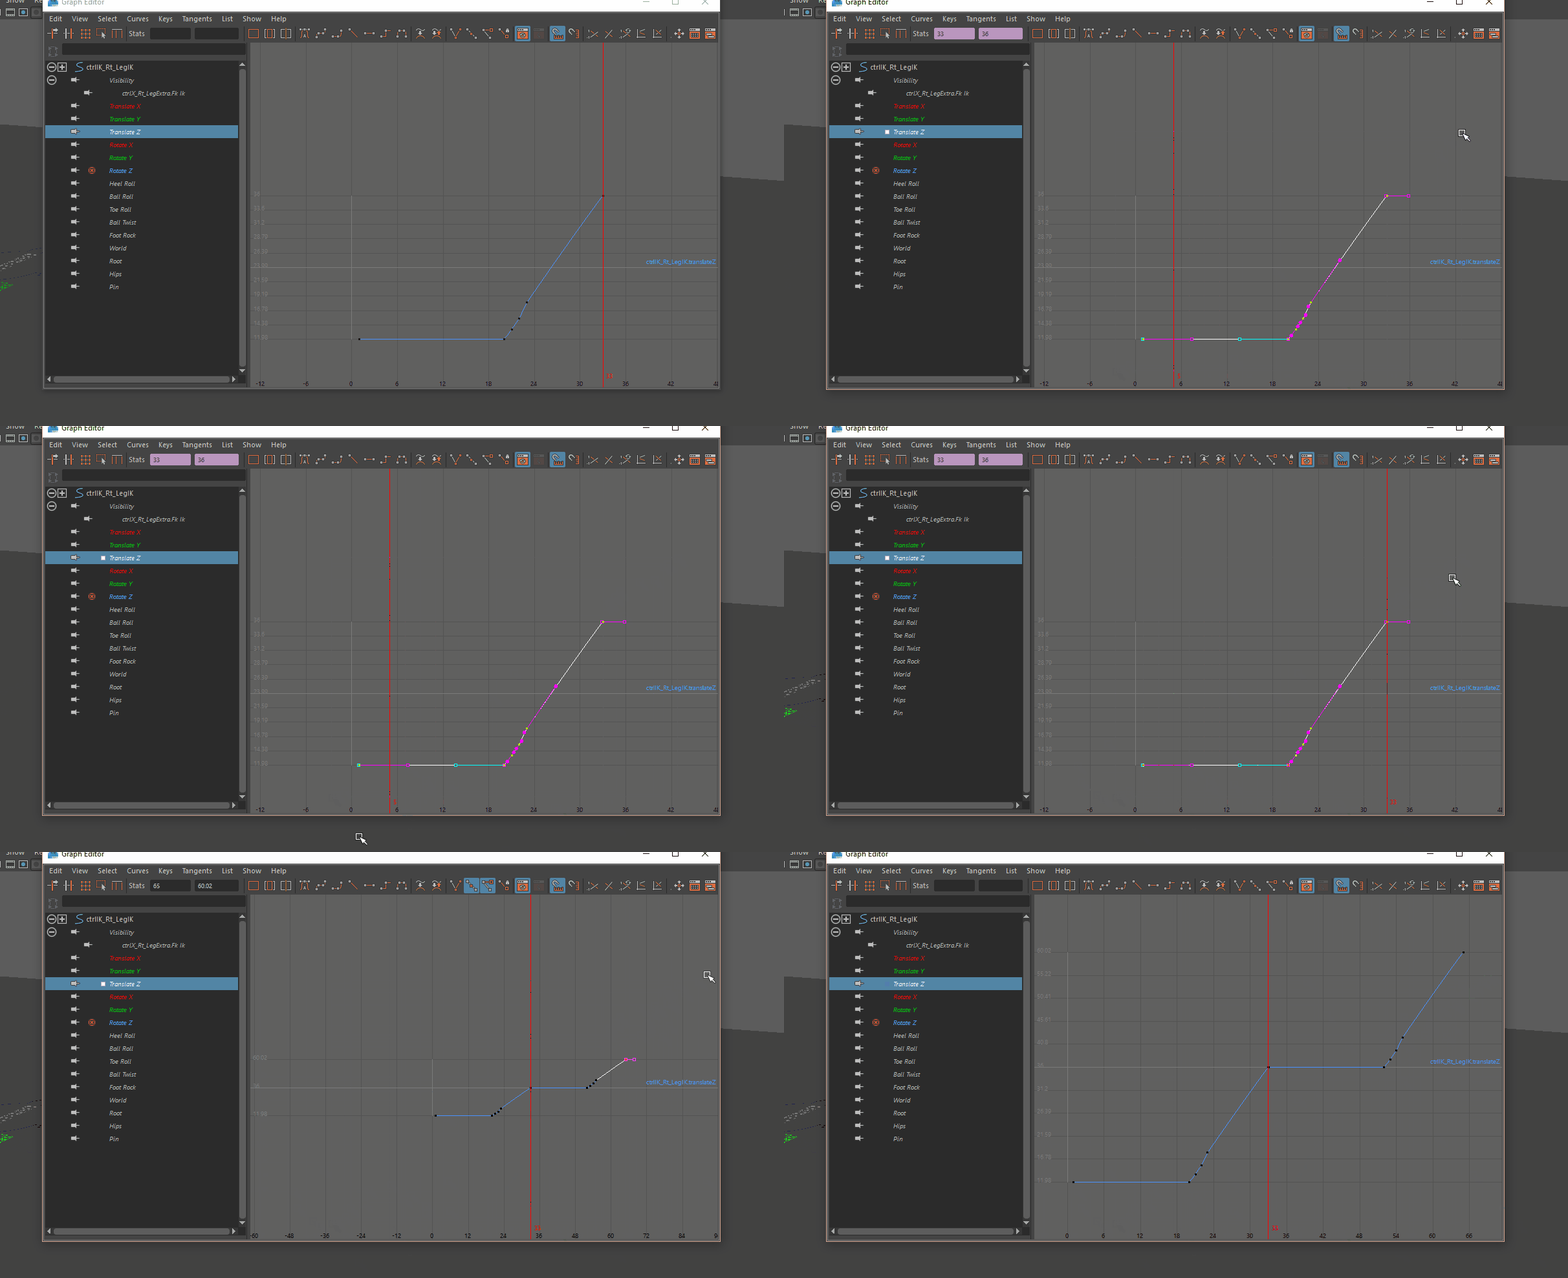
The reason you do this is so that you can offset by 16 frames for the other leg after you copy paste. You’ll see what I mean in a second
Do this for the rest of your channels.
Now it is true that you can copy paste multiple splines at a time, however, the odds of maya doing this correctly are slim. So lets copy one channel over at a time, I’ll show you how to do translate Z since it’s the trickiest, and you can do the rest of them.
- Copy the graph from the perfect foot and delete the existing graph from the other foot minus the very first frame.
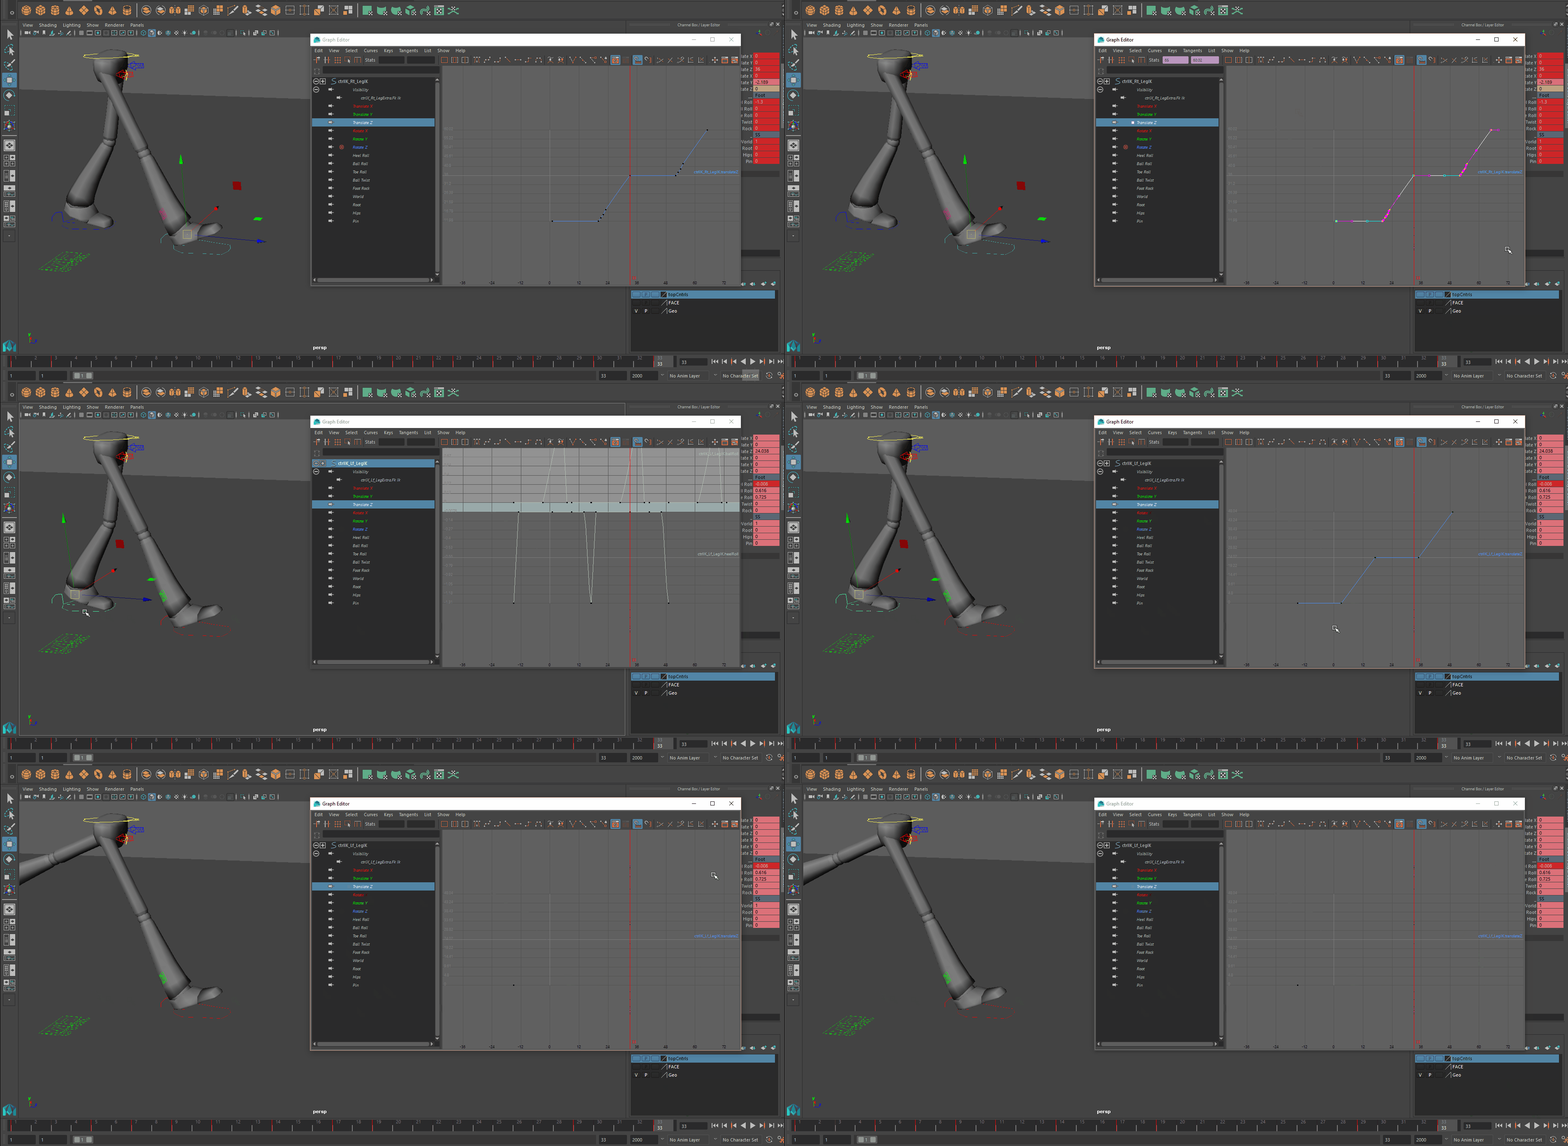
- Make sure the very first key is at frame 1 and then paste your perfect graph into your imperfect foot.
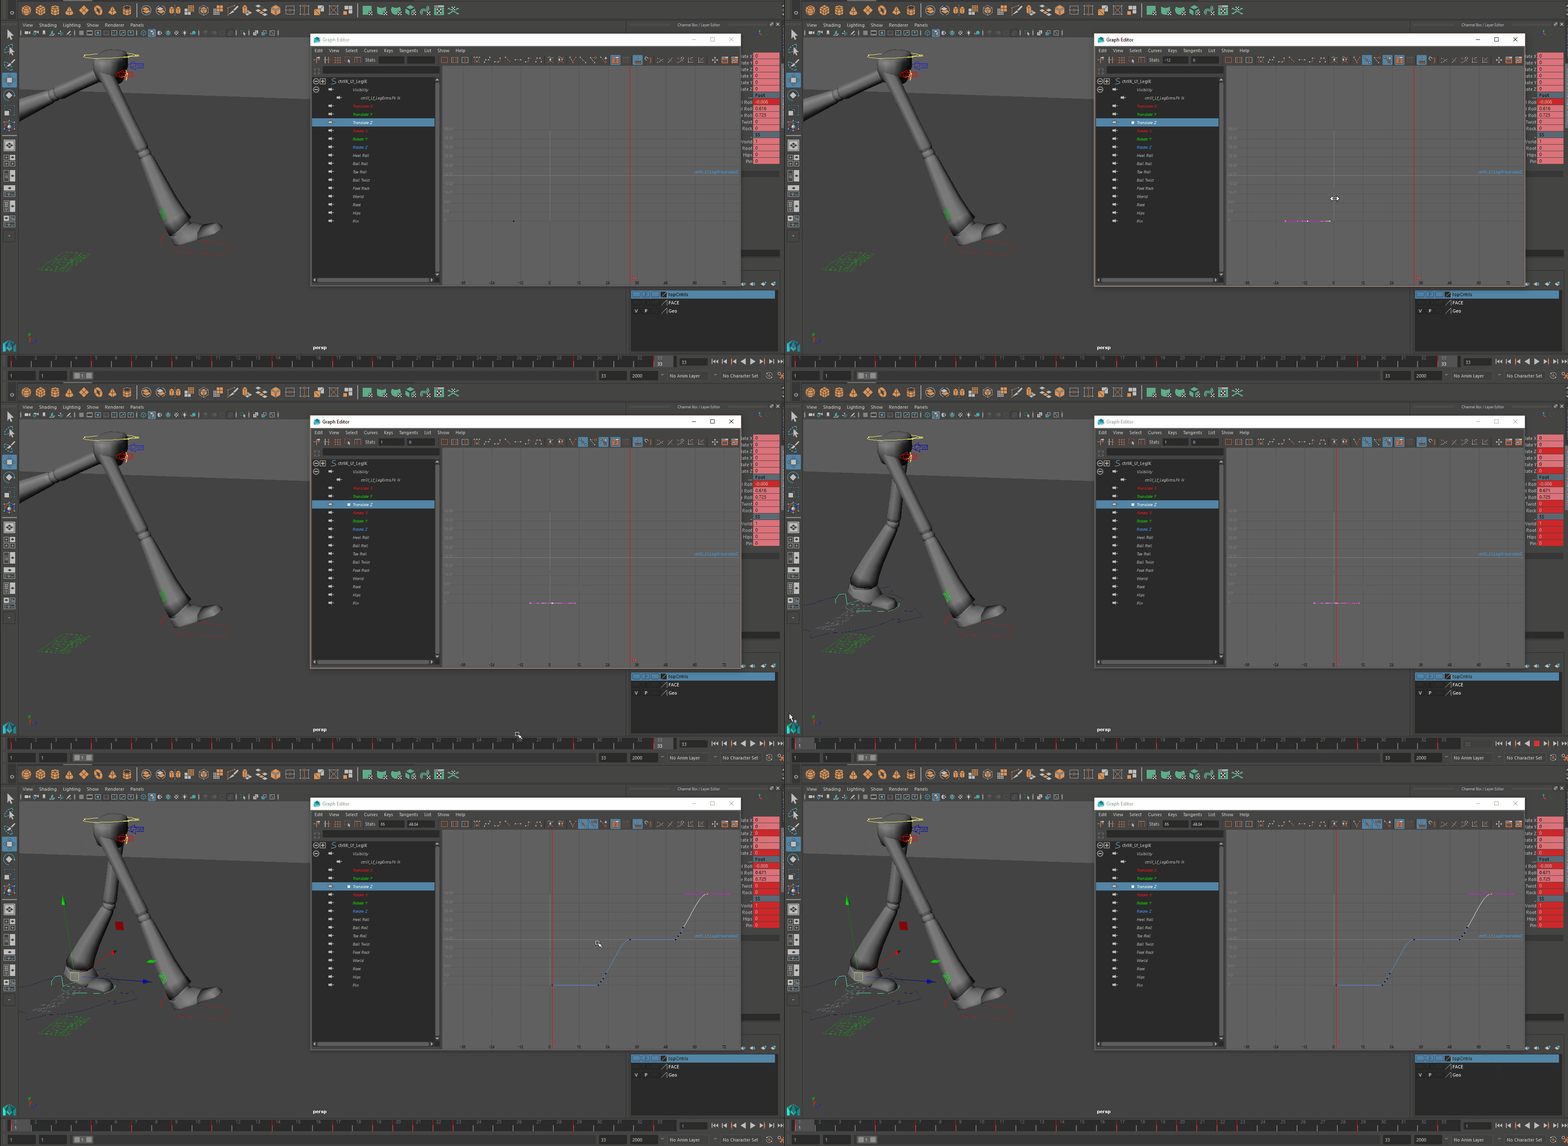
- Offset the graph by 16 frames (-=16 means that for all selected keys, shift left by 16)
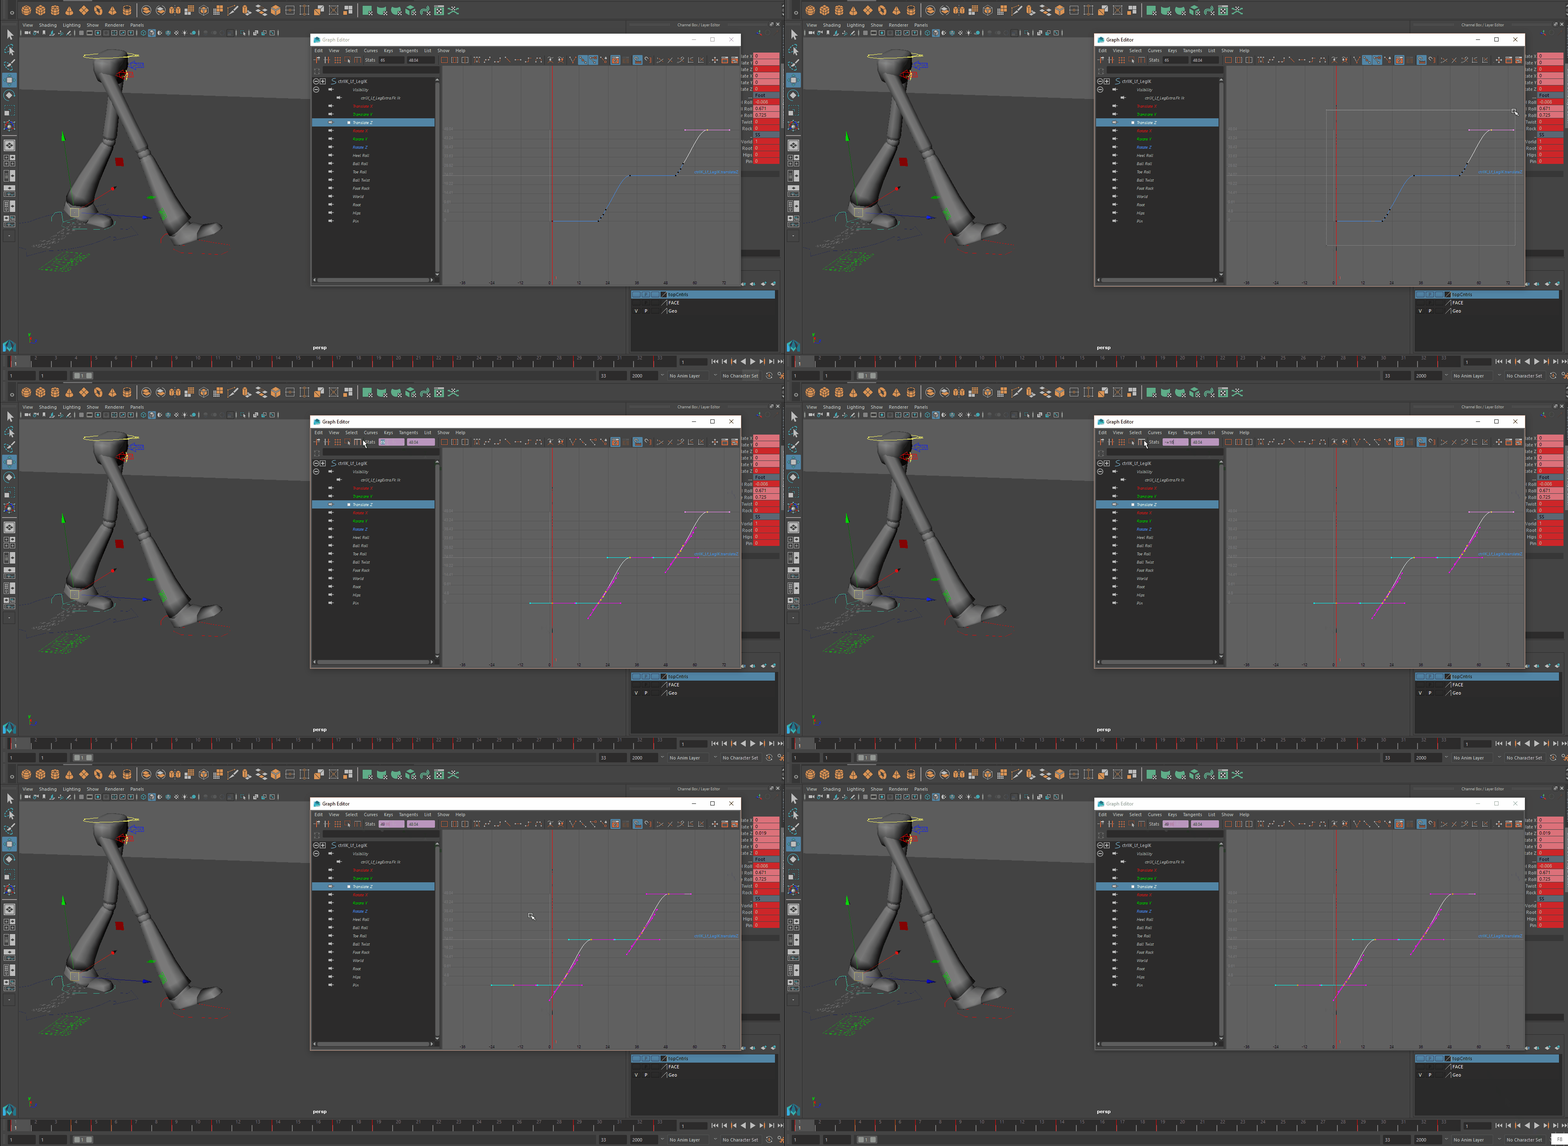
Now repeat this process for the rest of the perfect foot channels and you’re done !
Tips:
Remember for a channel like Translate X of the foot you’re going to have to invert it. Since the foot arcs the opposite way!
To invert a spline do this. *=-1 means multiple all current key values by -1
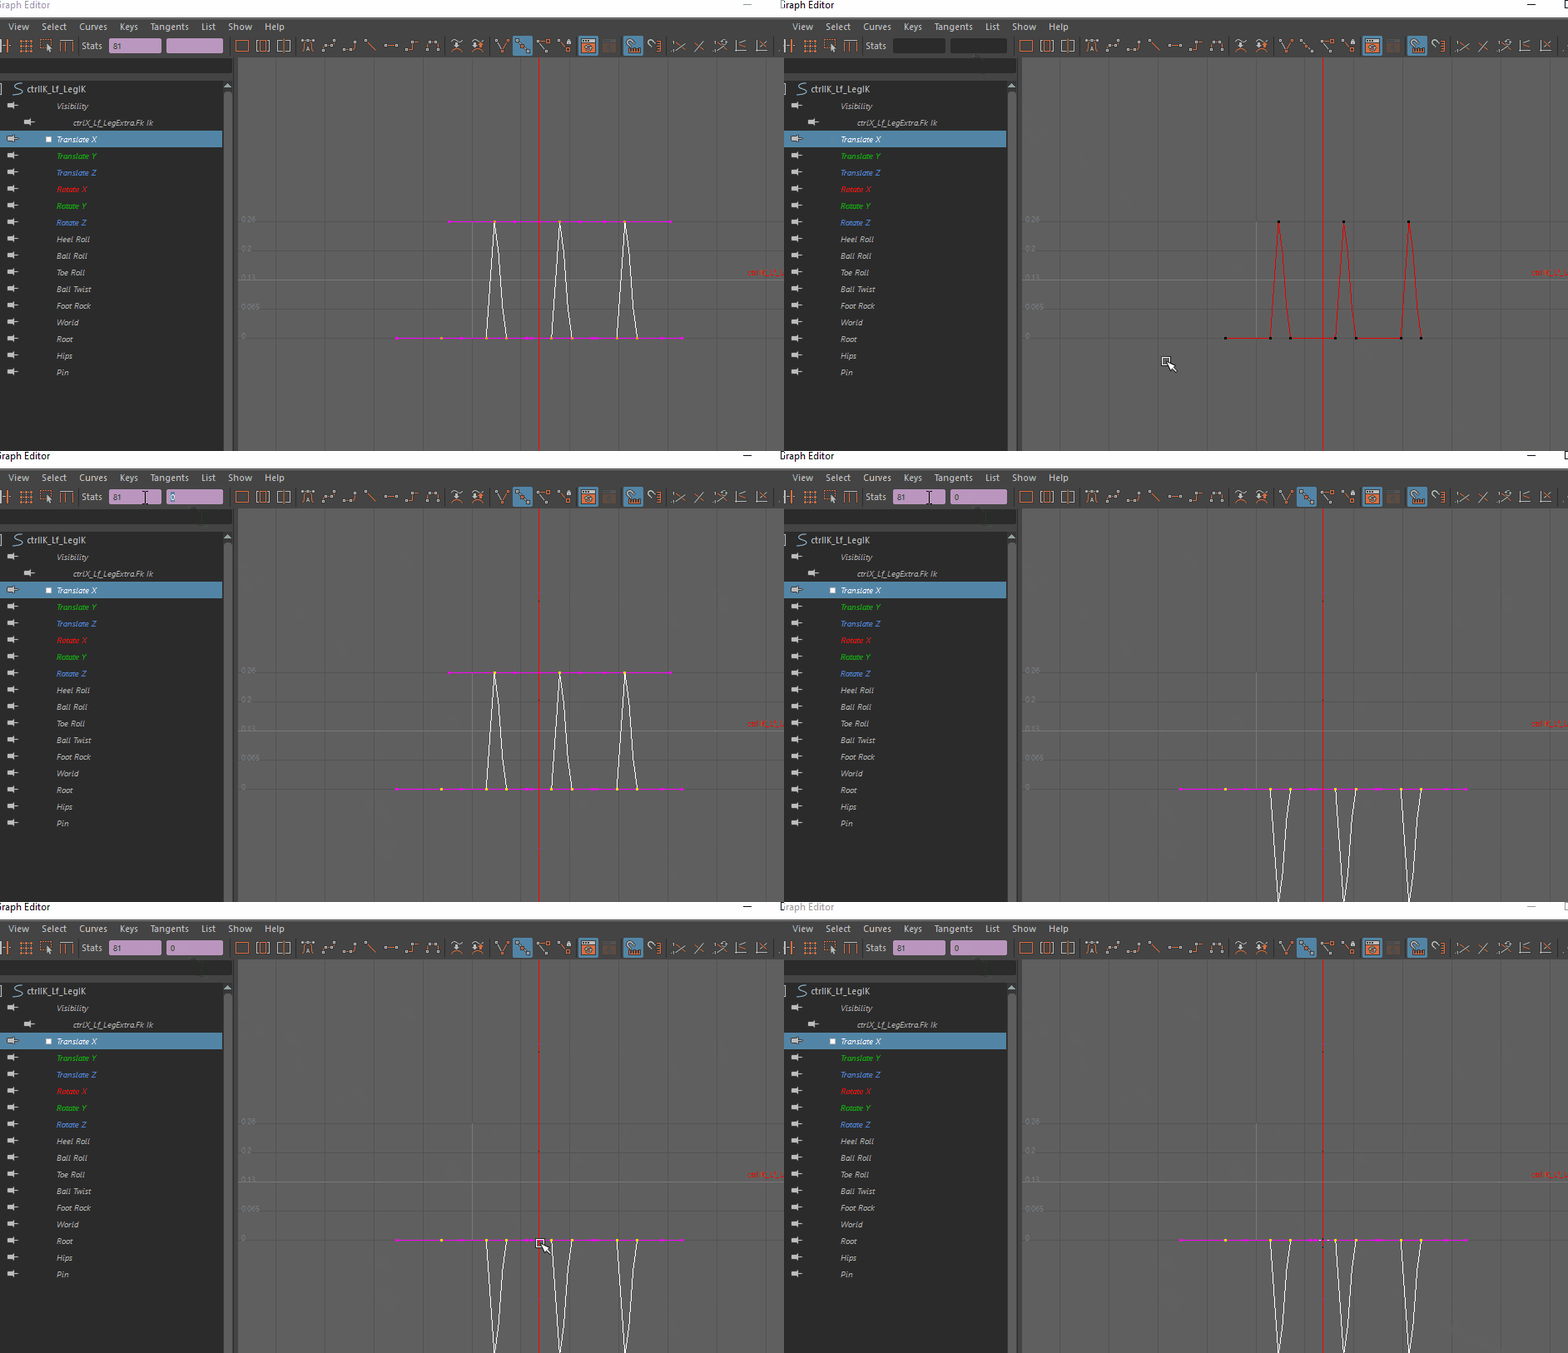
Mike’s Version: