INTRODUCTION
This lab will cover simulation of water and fluids in Maya.
Please download the starter file attached below.
(You may need to right click, hit “Save link as …”. If it takes you to a new page filled with text just right click on that page and “Save as”. If the file downloaded ends in “.ma.txt” or anything other than “.ma” rename it to have just “.ma” and ignore the warning)
bifrost_lab_initial.ma
Inside this file you will find an animated bowl and a tub. In this lab, you will fill the bowl and tub with water, then allow the water to simulate as the bowl tips over and falls into the tub.
Familiarize yourself with the scene
When it comes to character animation, the playback speed should be set to 24 fps. This ensures that the timing of actions is displayed correctly in the viewport, possibly at the expense of dropping some frames if the computer cannot play the animation fast enough. Simulation engines, however, calculate each frame based on the state of the system in the preceding frames, so it is crucial to set the playback speed to play every frame. For now, we just want to see the existing animation of the bowl, so we will temporarily set the Playback Speed to “Real-Time (24fps)“
Go to Windows > Settings > Preferences > Settings > Time Slider > Playback. Set the Playback Speed to Real Time [24 fps]. Press play and watch the bowl.
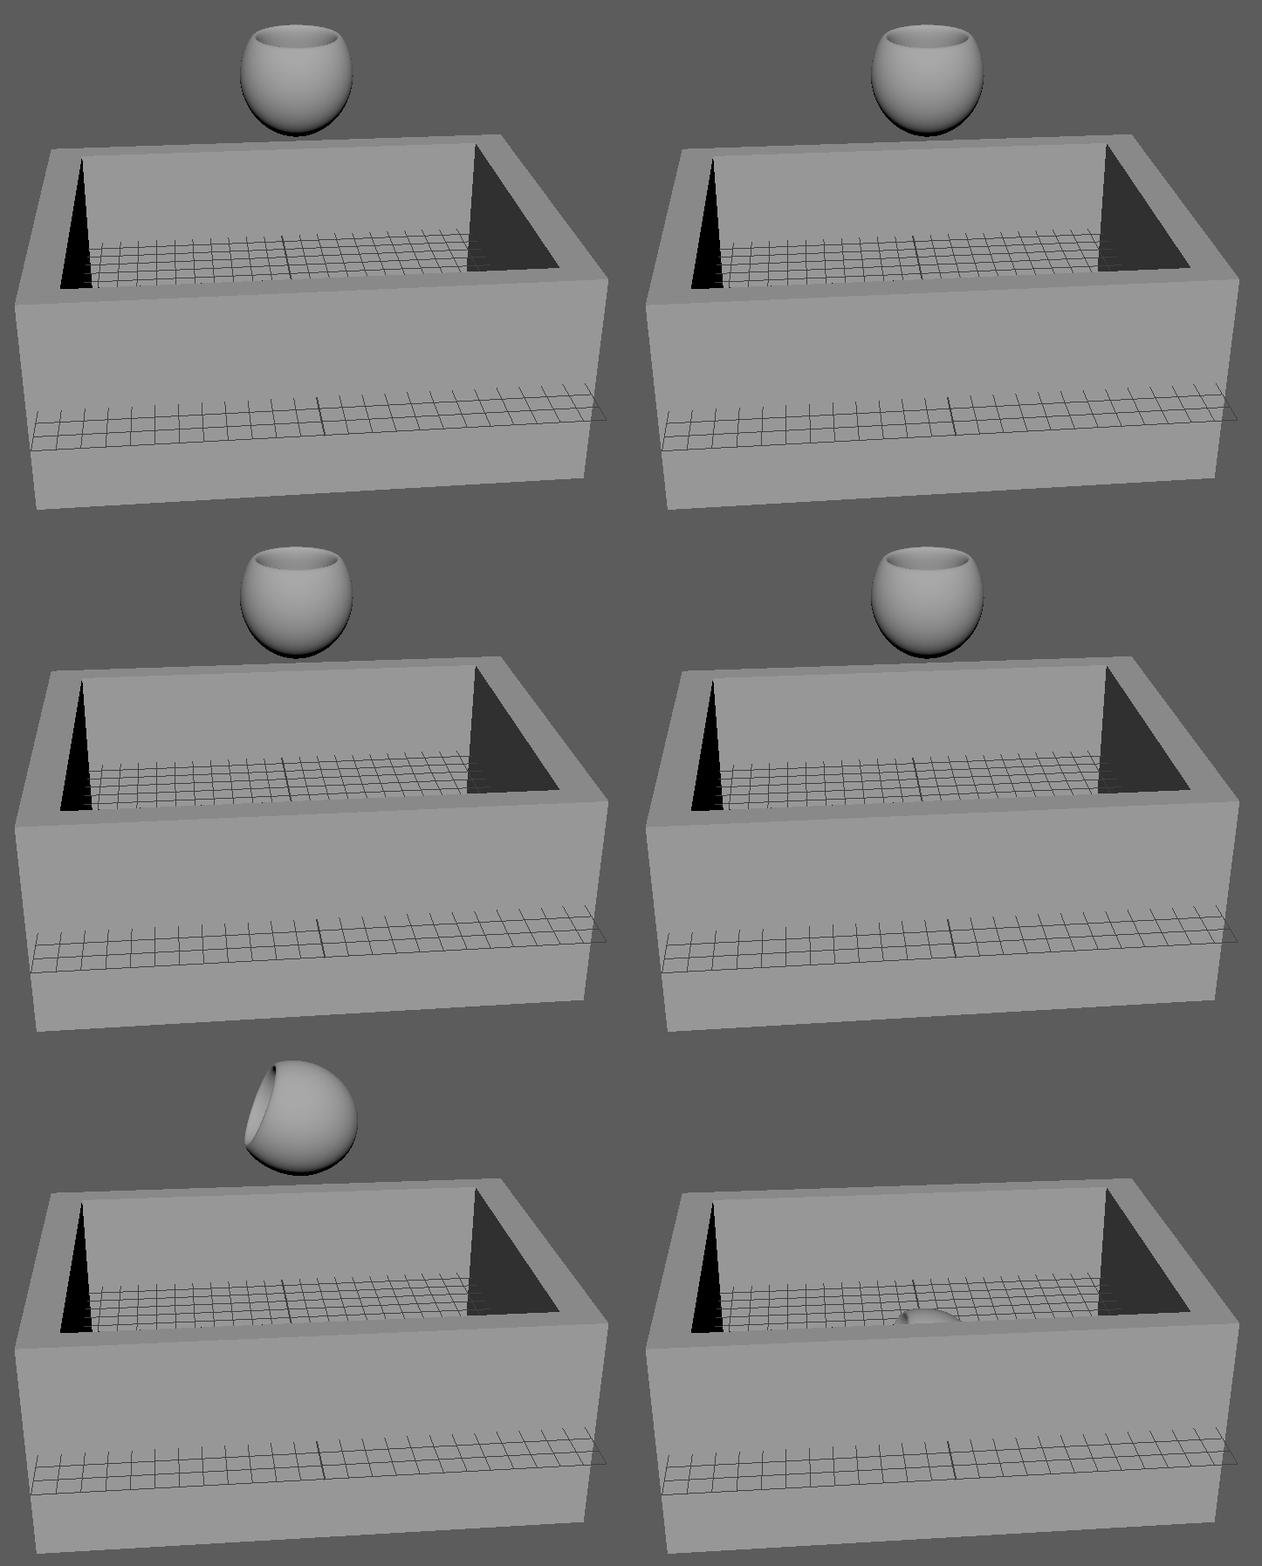
Your animation should look like this, but slower.
SIMULATION SETTINGS
Make sure that the “FX” menu set is selected in the dropdown menu in the upper left. Go to Bifrost > Bifrost Options. Make sure Background Processing is enabled. Set the Maximum RAM usage to something reasonable that will not crash your computer, for instance 1/2 or 3/4 of your RAM. If necessary, change the disk location to the larger drive if you need to use one - fluid simulations can easily output gigabytes of data.

SET UP EMITTER GEOMETRY
In order to add fluid to the scene we need to specify emitters - objects from which the liquid particles will be generated. In this scene we would need two such emitters - one to fill up the bowl and one to fill up the tub. Create a small cube and place it inside the bowl. Create a large cube and put it in the tub. In both cases, make sure that the cubes do not overlap with the geometry around them - imagine that the cube in the bowl should be able to comfortably float within it and the cube in the tub should be slightly smaller than the inner part of the tub.
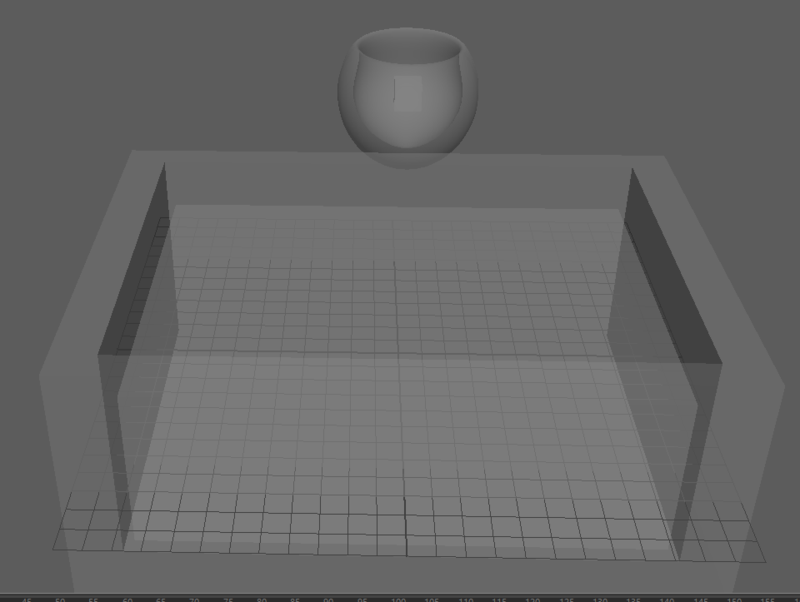
As usual, it is important to keep the scene clean. Select everything except for the bowl and Modify > Freeze Transformations (the bowl cannot have transformations frozen because it is already animated). Now press Edit -> Delete All by Type -> History, in order to remove the construction history.
CREATE SOLVER AND ATTACH EMITTERS
Now we are finally ready to set up the liquid itself. There are several tools created for the simulation of water in Maya. In this lab we will use the newest and most robust simulation engine called Bifrost.
Selects the cube in the bowl and go to Bifrost Fluids > Liquid. This step is what actually creates the liquid, and having the cube selected conveniently also makes the cube an emitter. Maya also draws a bounding box around each Bifrost liquid system, so the box should be around your cube now.
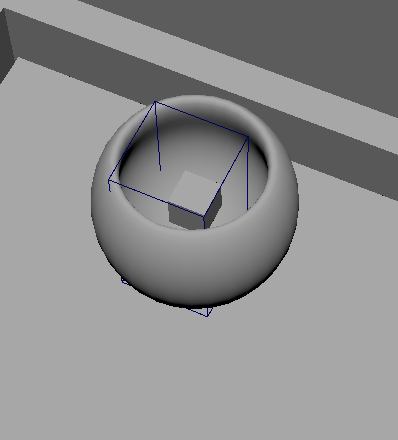
Select the box in the tub, select the wireframe bounding box from the last step, and go to Bifrost Fluids > Add > Emitter. This will tell the Bifrost solver that in addition to the cube from the last step, this large box will also emit particles.
Set your Playback Speed to play every frame and Max Playback Speed to 24 fps. Select the liquid again (either by clicking the bounding box or from the outliner) and press play. Notice a fast yellow and a slow green bars grow on the time slider from the beginning. The yellow bar reflects the frames that have been submitted to the solver. The green bar reflects the frames that have completed and cached. Now if you scrub through the green frames you can see their simulation. Whenever you change any attributes of the simulation, these will be recalculated, which will be indicated by the change of the green frames on the time slider to dark green. If you want to clear the cache manually, you can do so by clicking Bifrost -> Flush Scratch Cache.

Select the large box and the small cube and turn visibility off in the channel box. You don’t want these rendering.
Notice that the particles fall through everything. This liquid system does not know the liquid is supposed to collide with the tub yet.
Select the bifrostEmitterProps1, influencing the first emitter that was created, in the outliner and open up the attribute editor and select the box under Properties > Continuous Emission. Now when you play the simulation the basin should just be filled with water, while the emitter in the cup should be continuously releasing water. This setting can be buggy so if it stops continuously producing water, make sure to check that this box is still selected
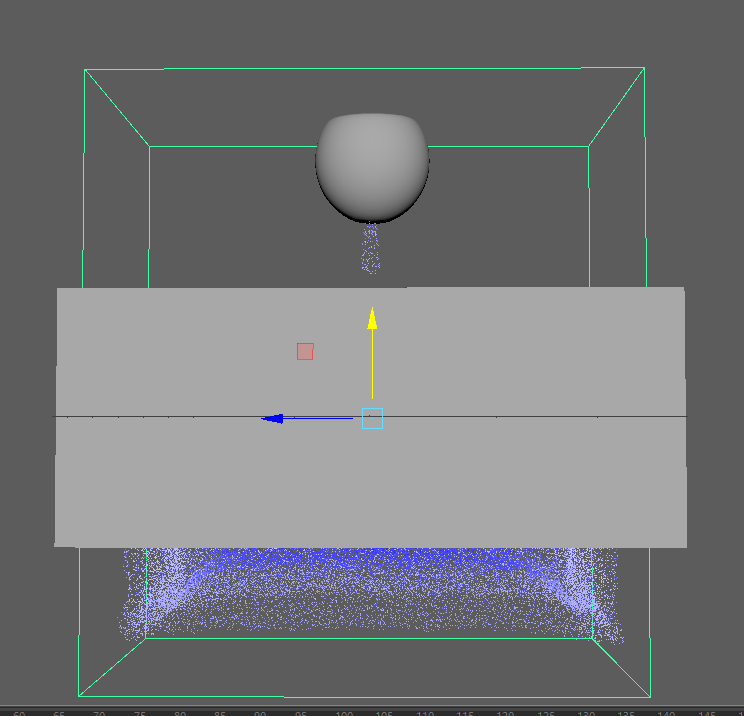
We’ll fix that soon, but first let’s look at some of the Bifrost’s parameters.
TWIDDLING DISPLAY PARAMETERS SO YOUR VIEWPORT DOESN’T TAKE FOREVER
Open the Attribute Editor and go to liquidShape1. Open the Display drop-down.
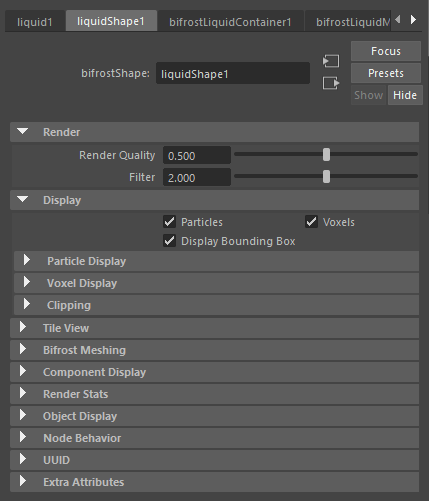
The first thing you see is this.
If you select Voxels, you get a slightly better representation of the final look, but it might make your graphics card cry (in other words, your viewport is going to lag when you scrub).
The default Particle Display menu is pretty good, but you can change the Max Particle Display count if your display is chugging. I turned the Point Size up to 3.0. Also, notice the blue-to-white color ramp under “Color Channel Remap”. Above that, it shows “Color Channel”: Velocity. This means that the color of the particle is proportional to how fast it’s moving. This is perhaps the most useful attribute to base the coloring scheme on. No need to change anything there.
MAKING THE BOWL AND TUB COLLIDE WITH WATER
This step will finally stop the water from falling through everything. Select the tub and the liquid and click Bifrost Fluids > Add > Collider. Repeat the same with the bowl.
Don’t forget the turn off the visibility of the cube after you are satisfied with the results.
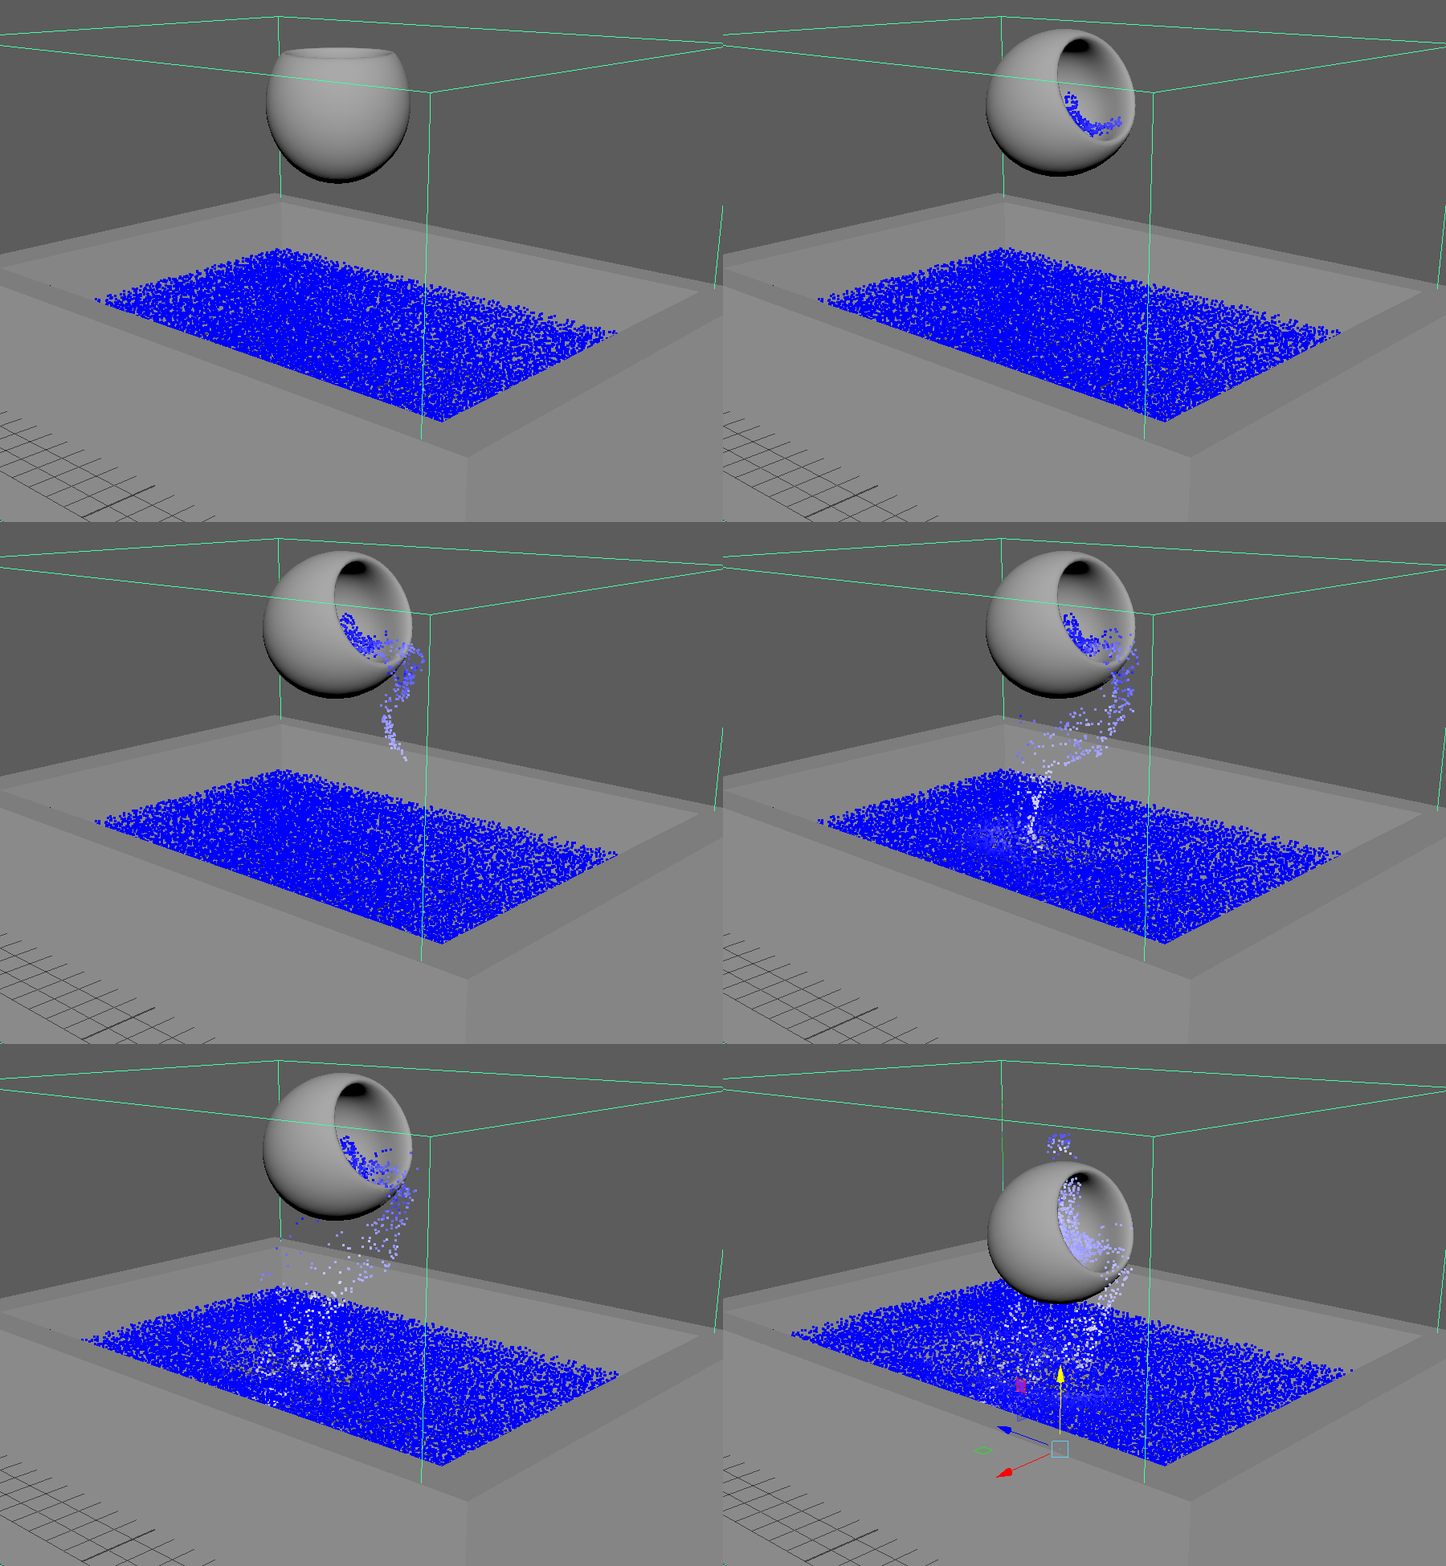
Now the water will behave as it should.
ADDING A MOTION FIELD
You might notice that the water sticks to the bowl very strongly as it pours out. Let’s pretend we don’t like this, so we are going to add a motion field to force the water away from the bowl. Motion fields are used to force your liquid in any direction with any amount of strength.
Place a cube right where you want to redirect the liquid.
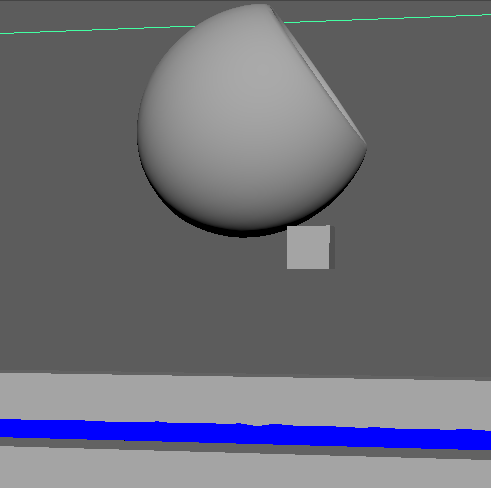
Select both the cube and the liquid and click Bifrost Fluids > Add > Motion Field. Select bifrostMotionField in the outliner, go to the attribute editor and under the bifrostMotionFieldContainer tab go to the Field Direction attributes.
Looking at the axis indicator on the lower left of the viewport, it looks like we want to push the water in the negative z and positive y directions. Set the direction to 0.00, 1.00, -1.00. Now the water should stick slightly less. Try playing with the direction magnitude.
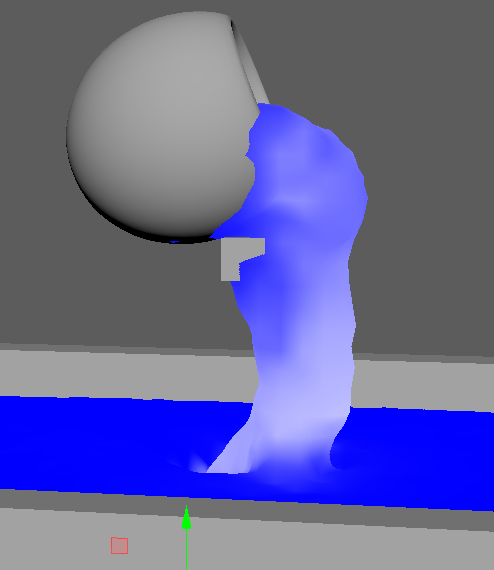
Don’t forget the turn off the visibility of the cube after you are satisfied with the results.
MODIFICATIONS
KILL PLANE
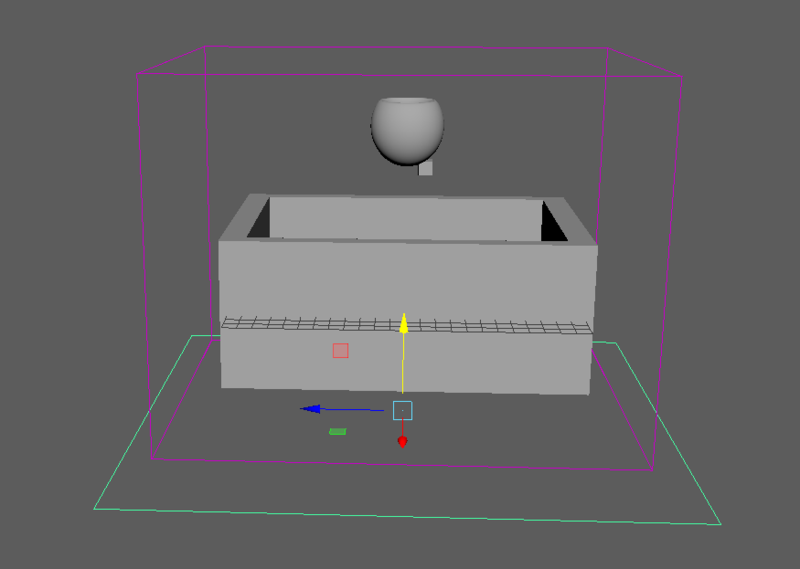
This is useful if you don’t want any stray particles falling down to infinity and crashing your computer. Select the liquid, and click Bifrost Fluids -> Add -> Kill Plane.
Drag it down and put it under everything. Make it big enough to see, but Bifrost will assume it extends in all directions infinitely, so you don’t need to make it huge.
TWEAKS
There are many attributes that you can use to modify the simulation. Here are the most useful ones in the Attribute Editor.
Under bifrostLiquidContainer1:
Container Attributes > Enable checkbox turns on and off the entire solver.
Simulation Attributes start frame is where you can set your simulation to start at a different time.
Under bifrostLiquidPropertiesContainer1:
Master Voxel Size - controls the resolution of the simulation. The smaller the voxel size is, the higher is the resolution. Be careful, making this too low can make even a few seconds of simulation to take several days to simulate, but this is the best thing you can do for a more realistic water.
RENDERING & SUBMISSION
Go to Bifrost Fluids > Compute and Cache to Disk > Option Box. Make sure Write Mode is set to Write All. This will save your simulation.
Set the Master Voxel Size in the Resolution to 0.5 and play your whole simulation one last time. This will take a while. Take a nap.
When you’re done, make a playblast of your simulation and turn it in to bCourses.
Rendering (optional for submission)
Select the liquid and open the attribute editor. Go to Liquid Shape > Bifrost Meshing and check Enable.
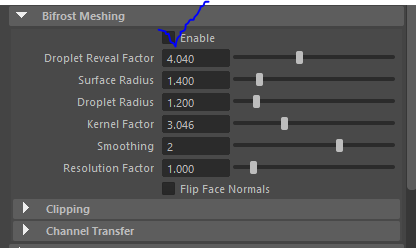
This creates a mesh for your particle system. This is important because RenderMan has no way of rendering the Bifrost object, so it needs a mesh and a RenderMan material. Add a PxrSurface, go to the glass pane and set relection and refraction to 0.5, refraction color to cyan.
Make sure the liquid itself has its visibility turned off or RenderMan will try to render it and only render the bounding box.
Add any RenderMan lighting from the RenderMan menu and render. We recommend simply adding the RenderMan > Lights > PxrDomeLight.
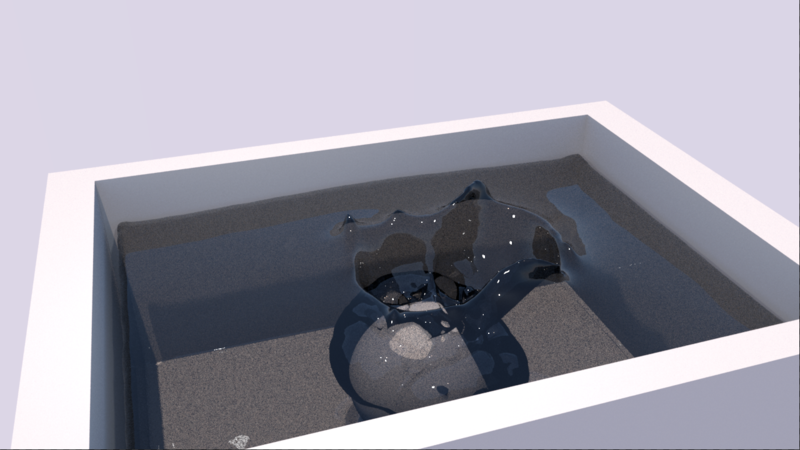
Here is a sample image. Your water or state of simulation might look different.