INTRODUCTION
This lab will give a very brief introduction to two different ways of putting cloth in your scenes. The first method covered is Wrap Deformers. This is the easiest way to force cloth to conform to a mesh below it. This is useful if you have a character with clothes, and the clothes are a separate mesh floating above the actual body. The second method is nCloth, which is maya’s dynamic cloth simulation engine. This can be used to create cloth fluttering in wind, and colliding with and stretching around meshes. It can also be used to clothe characters, and will often produce higher quality results than a wrap deformer, but it might be more difficult to fine-tune. After completing this lab, you should have a good idea how to clothe your characters and create fluttering flags and parachutes.
Please download this file:
(You may need to right click, hit “Save link as …”. If it takes you to a new page filled with text just right click on that page and “Save as”. If the file downloaded ends in “.ma.txt” or anything other than “.ma” rename it to have just “.ma” and ignore the warning)
You should see a blobby person with horrible skinning, a terrible walk cycle, a rigid skirt, and a rigid cape. We are eventually going to make the latter two behave like cloth.
USING A WRAP DEFORMER
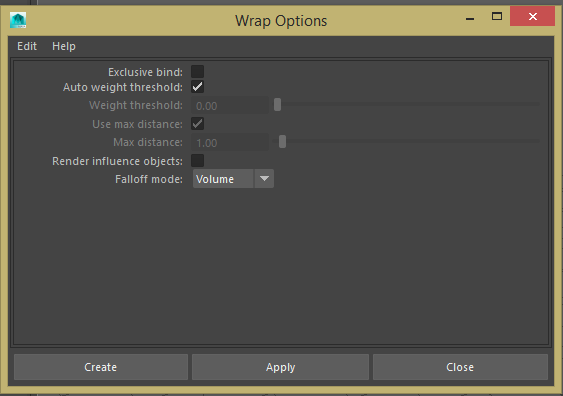
First, we’ll use a Wrap Deformer to make the skirt fit the legs. Notice in the outliner that the skirt is not parented to the legs or connected in any way. Make sure the animation is at frame 1 and the menu on the upper left is set to Rigging. Select the Skirt, then select the Body mesh, and do Deform -> Wrap. Make sure your settings match mine.
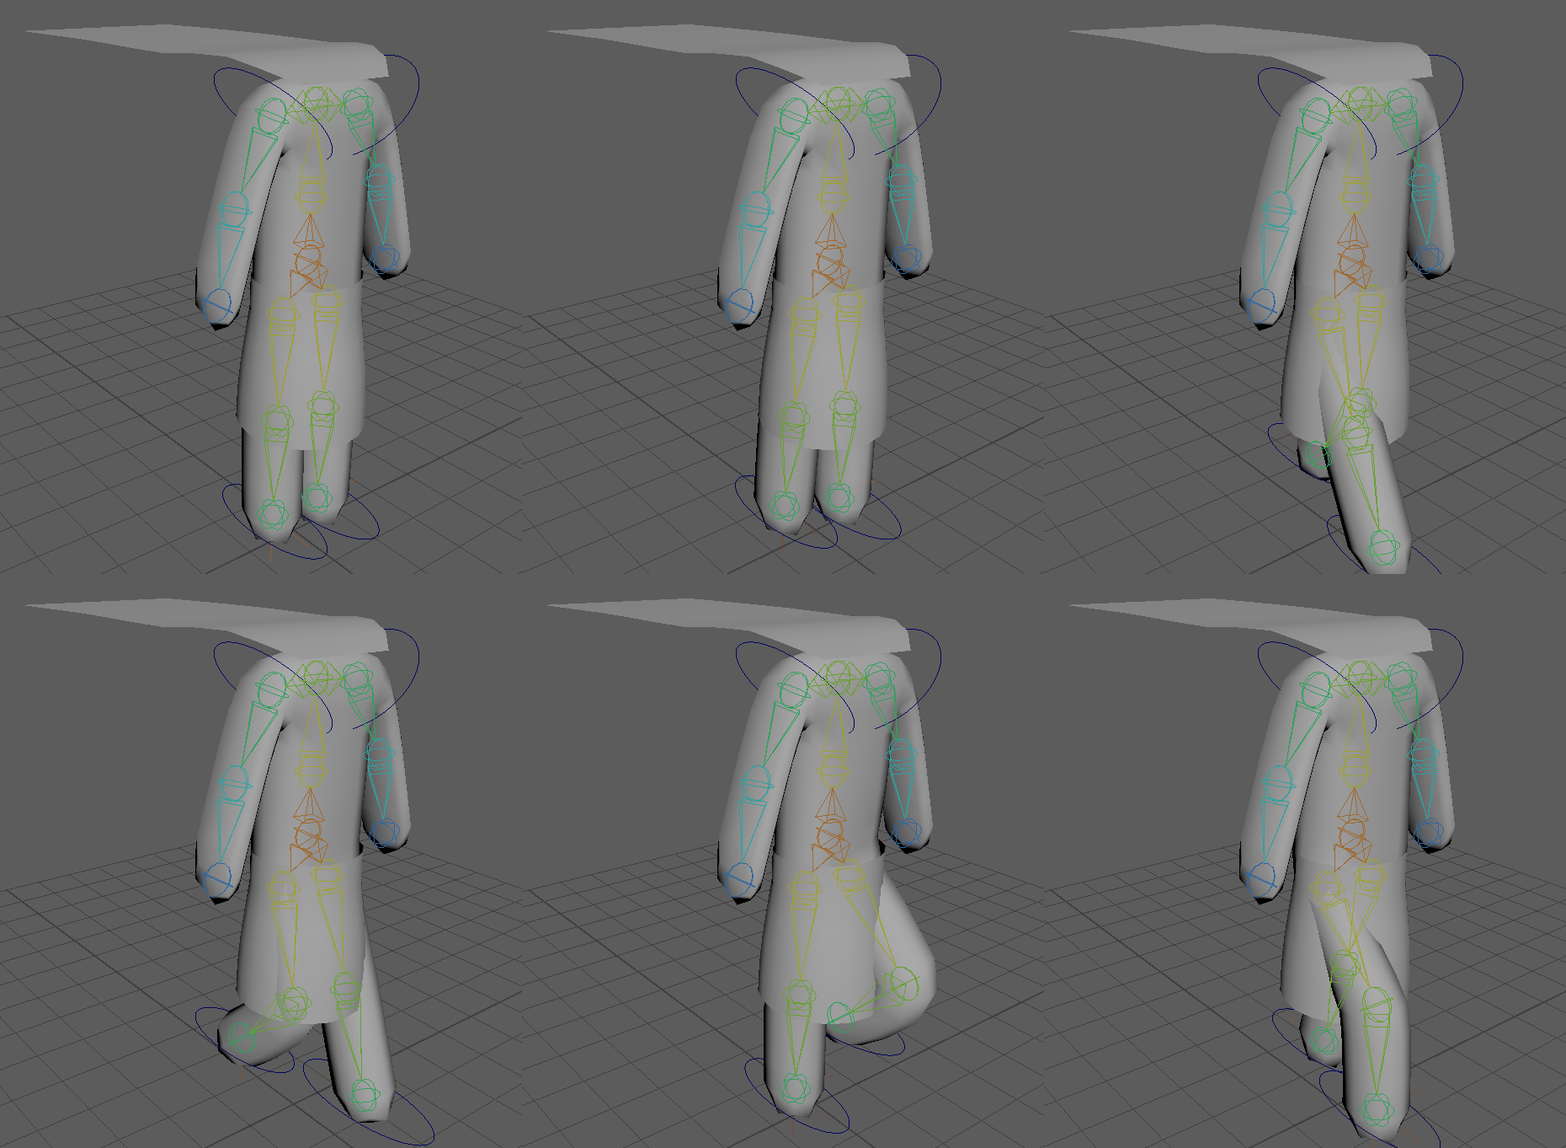
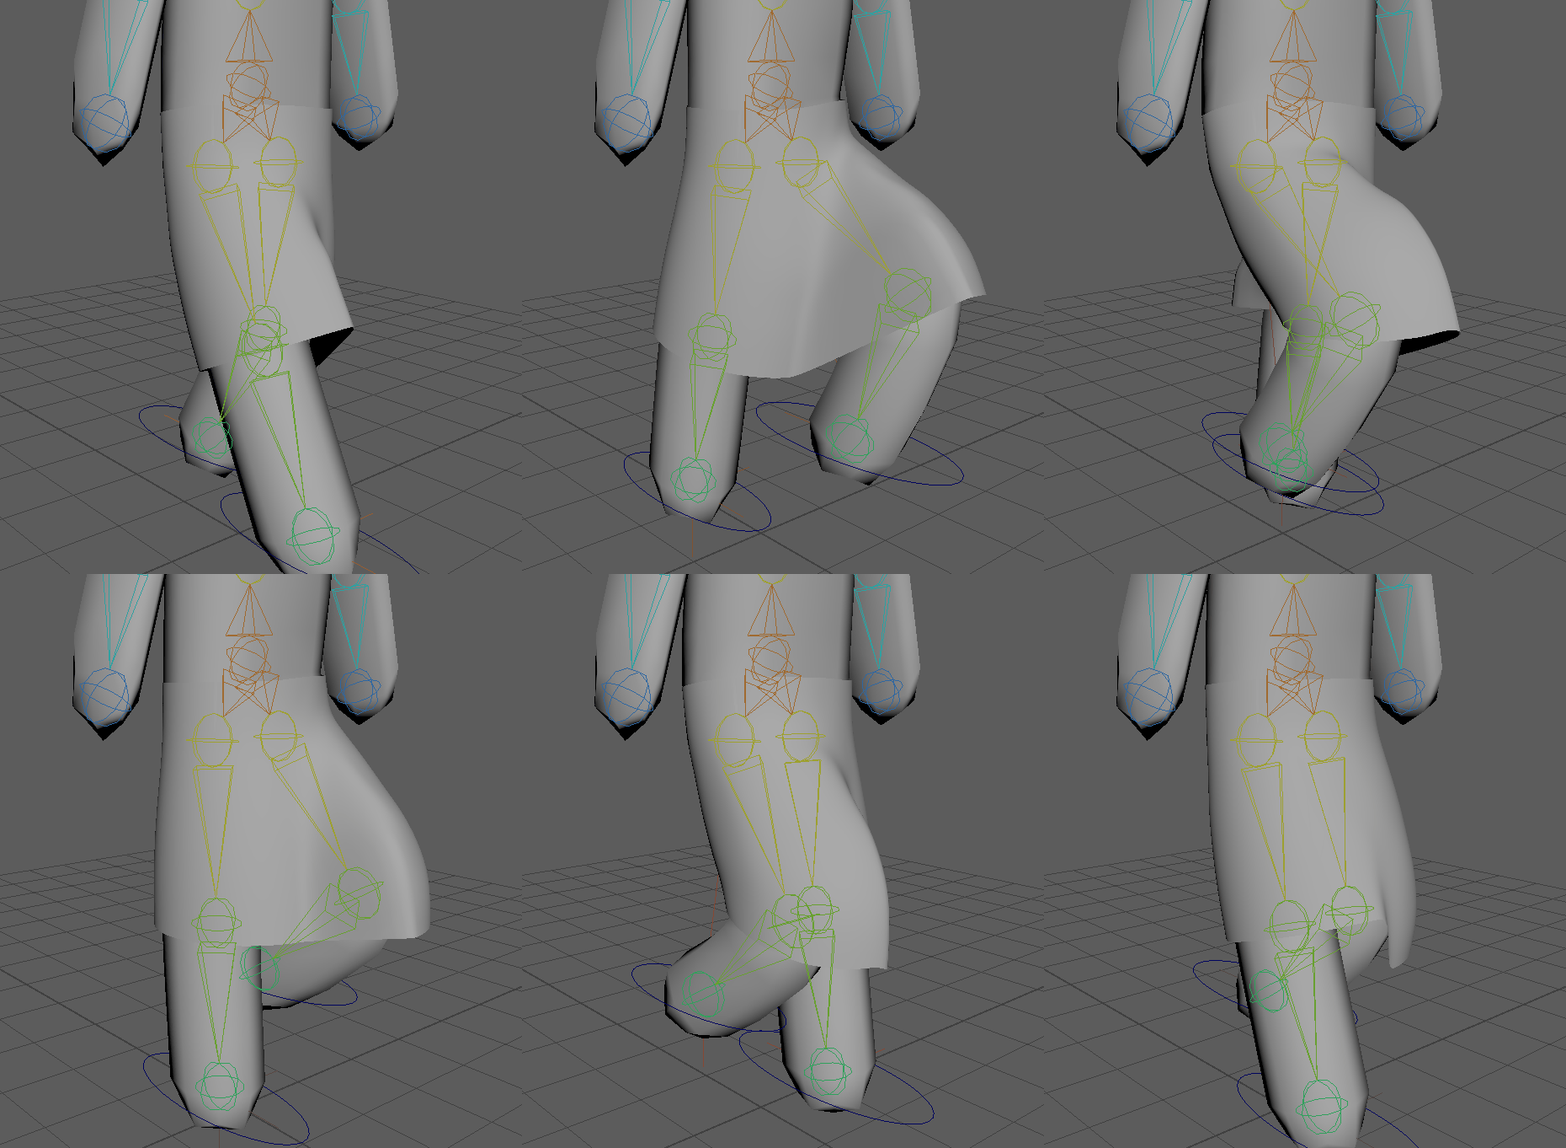
When you press Play, the skirt should follow the legs… sort of.
The cloth intersects with the body. This is largely due to the low-poly nature of the skirt. Reset the time slider to 0 and Delete History on the skirt (this removes any deformer).
Select the skirt, go to the Polygons menu, and press this button.
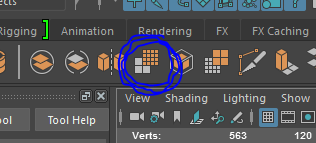
This is the Smooth Mesh button. Normally, we do not advise the use of this button, because it can very easily make a mesh high-poly without intelligently putting detail into places where detail is necessary. In this case, however, the entire skirt is uniformly low-poly enough that this is ok.
Apply the Wrap deformer again, and this time, there is no intersection.
However, you’ll notice that the cloth stretches very far in between the legs, and not at all on the sides of the hips. This looks unnatural and reflects the limitations of Wrap deformers.
nCLOTH SKIRT
Go back to frame 1. Delete history on the skirt again. This time, select FX menu in the upper left drop down, select the skirt and press nCloth -> Create nCloth.
Press play and watch what happens.
Two things are missing:
The cloth does not know to stick to the waist
The cloth does not know to collide with the mesh
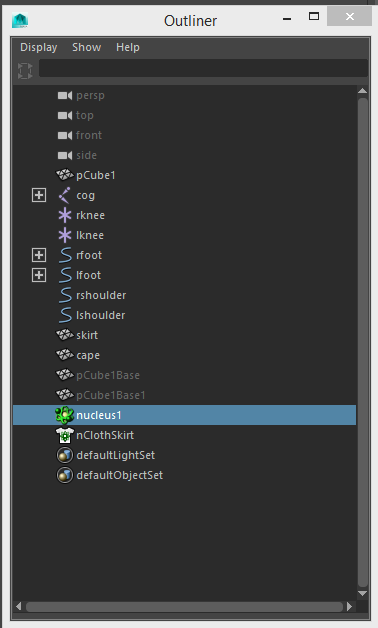
Before we fix those, let’s clean the outliner. You should see nCloth1 and nucleus1. Rename nCloth1 to nClothSkirt. If you look at the nClothSkirtShape in the Attribute Editor, you can see all the physical properties of the skirt. I’ll explain these in some detail later. The nucleus is the engine that does the actual calculations. If you check it out in the attribute editor, you can find parameters like Wind and Gravity (along with quality settings).
POINT TO SURFACE CONSTRAINT
Double click the edge loop around the top band of the skirt. Hold down Ctrl and right click -> to vertices. This is just a quick way to select a ring of vertices. You can select them the regular way if you want.
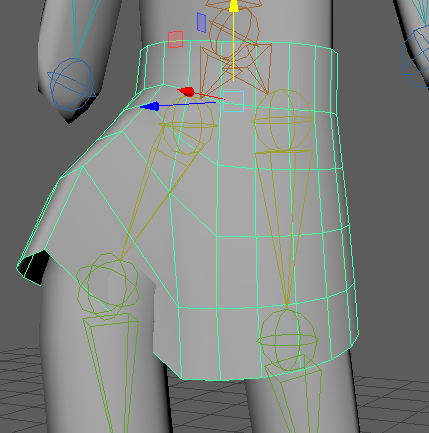
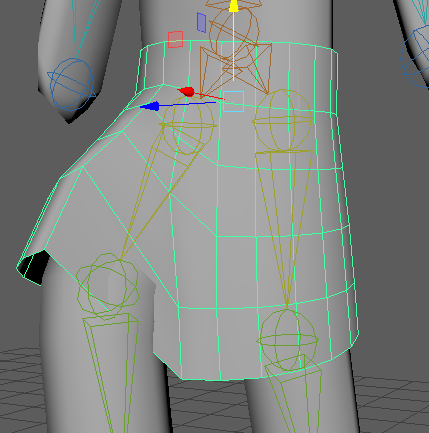
This next step is a little tricky and doesn’t work too reliably. Shift click the body mesh. The body mesh must be selected as an object (in other words, it must look green while your vertices are still visible on the skirt in vertex mode. If you don’t get it right the first time, try switching between object and vertex mode and clicking both things until you get something that looks like this:
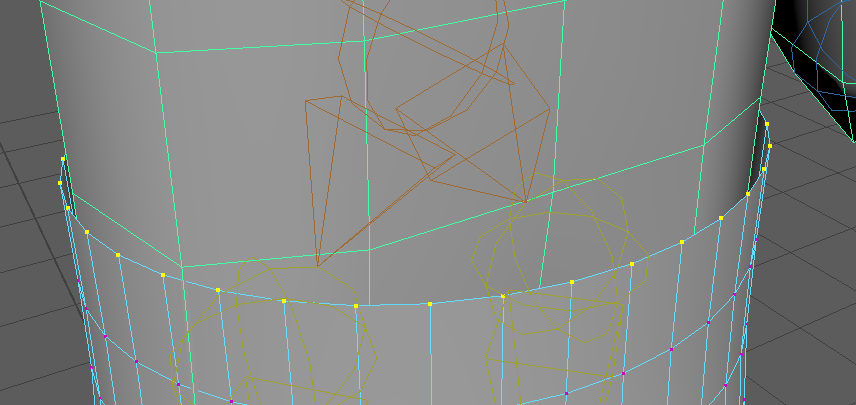
Once you have the correct things selected, do nConstrain -> Point To Surface. Now when you play, the cloth should stick to the waist. Notice that it still does not collide with the legs.
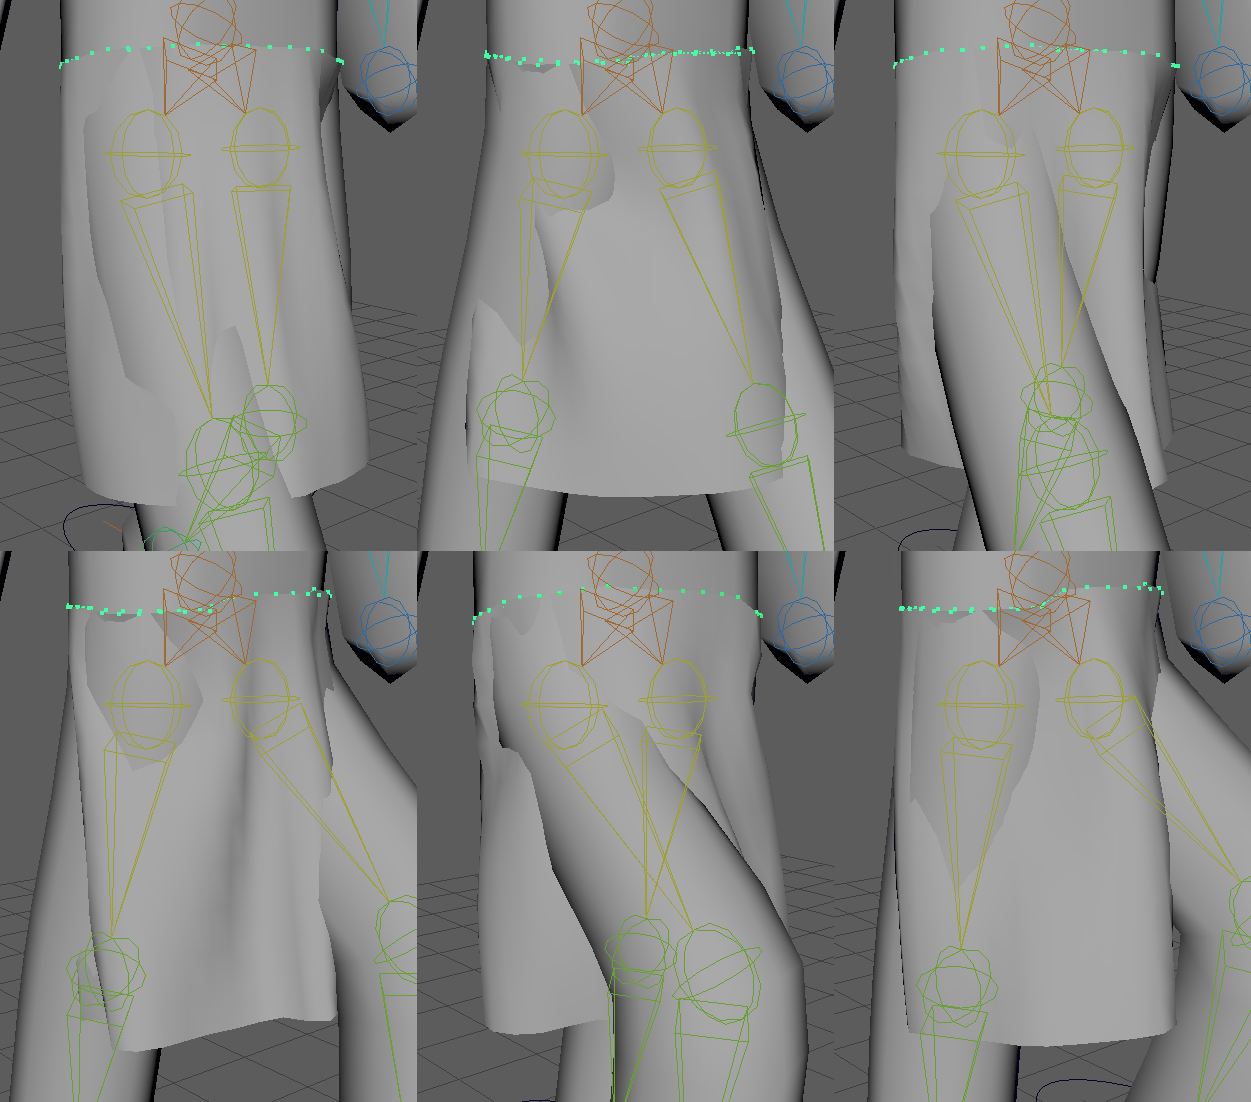
COLLIDE
Click the body mesh and do nCloth -> Create Passive Collider and click the option box. Make sure the Solver is set to nucleus1 (or whatever you named it). This is the only way to ensure your body collides with the skirt. Now if you play, your skirt should collide with the legs. Make sure you set your Playback Speed to Play Every Frame or your simulation will skip frames and complain.
CAPE
Follow the same steps to make the cape a cloth. Don’t forget to smooth the cape first (smooth button). Make sure you keep it under nucleus1. Mine looks like this:
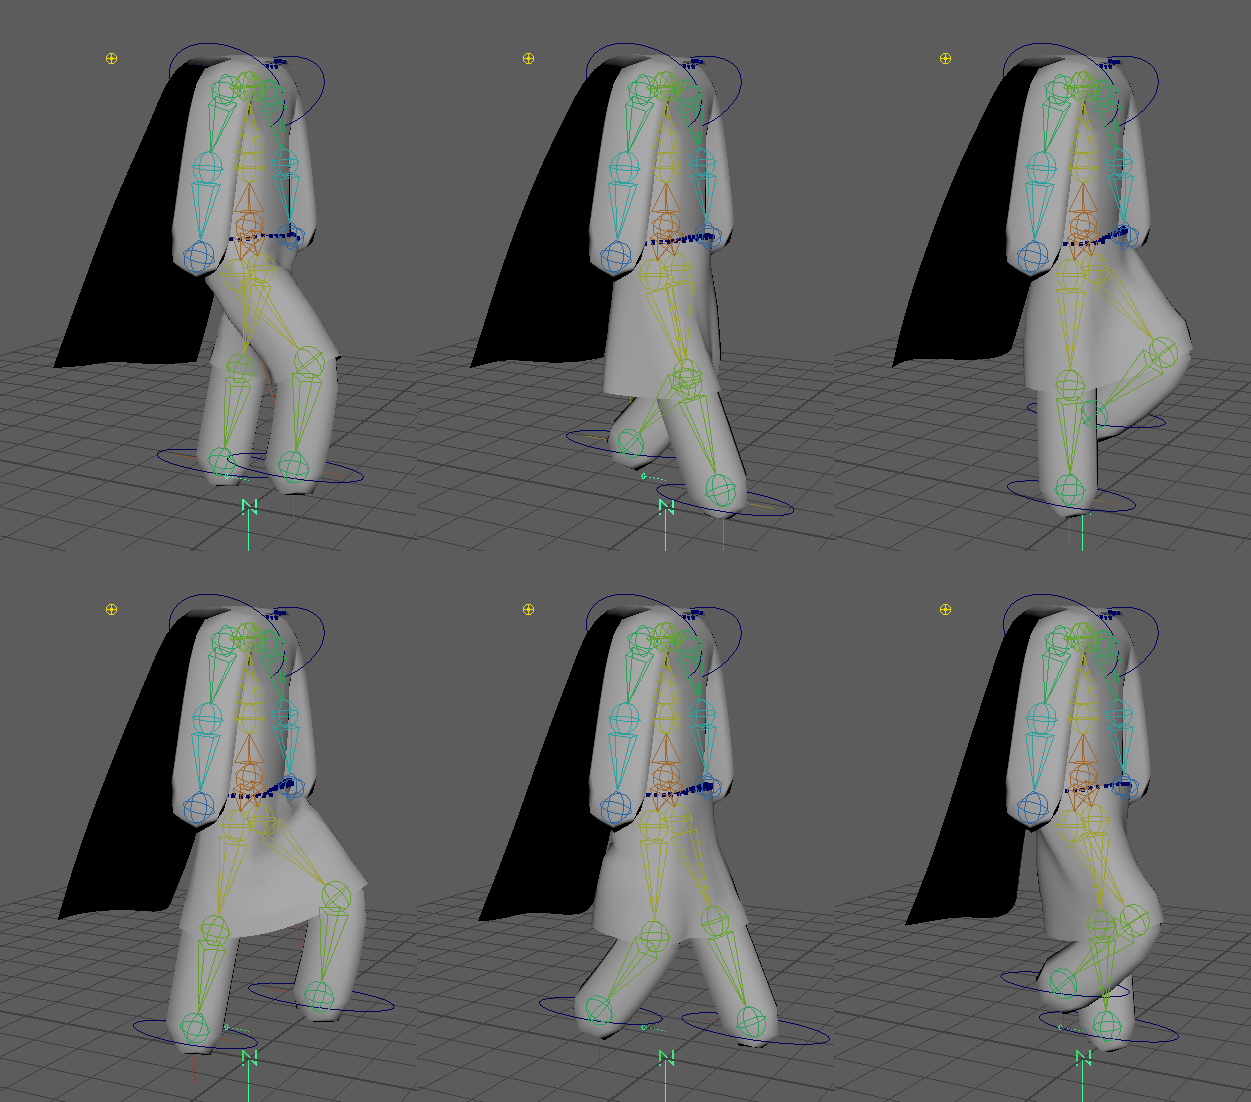
We want the cape to billow in the wind a bit. Open the nucleus in the Attribute Editor and add wind blowing in the negative X direction. I made the wind speed 2 and the direction (-1,0,0). The cape isn’t affected too much by the wind yet. I did that on purpose.
TWIDDLING THE CLOTH PARAMETERS
The cloth is too stiff and the skirt is too weird. Here are some parameters you can twiddle for each clothShape (one for the cape and one for the skirt) in the attribute editor. Twiddle whatever you’d like and move onto the next step.
I tried to include the most useful options. Make sure you only play with one setting at a time or your cloth will quickly get out of hand.
Here’s a useful website with detailed explanations and GIFs for every setting:
https://mottosso.github.io/ncloth-reference/
COLLISIONS
Collide - if this is not checked, it doesn’t collide with anything
Self Collide - if this isn’t checked, it doesn’t collide with itself.
Strength/Width Scale - if it collides too close to the mesh, increasing these will fix that
Bounce/Friction/Stickiness - change collision behavior
Dynamic Properties (the most useful one). Most of these are self explanatory.
Input Motion Drag vs Drag - Drag is for wind. Input motion resistance to its own motion
Quality Settings - If you have some very difficult cloth (tight pants, fast movement), then increasing these will help. Shouldn’t be necessary for this lab.
CACHING
You have probably noticed by now that if you scrub around, you get this complaint:
Warning: Nucleus evaluation skipped, frame change too large
This is because maya needs to calculate cloth sequentially frame by frame. To have it calculate once and save the calculation, select the cloth, go to nCache -> Create New Cache -> nObject. Do this for both the skirt and the cape.
SUBMISSION
Playblast your cloth and include a video with your submission.