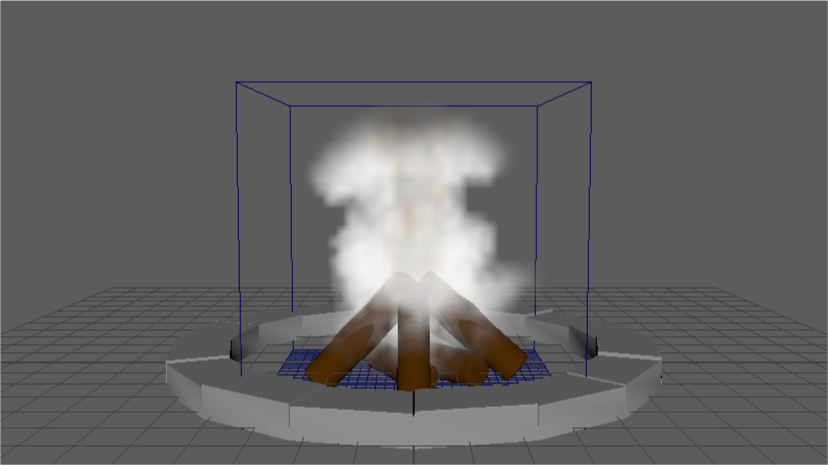
INTRODUCTION
Welcome to the fire lab!
… You might be a bit confused about why the fire lab is called “fluids”. This is because “fluids” refers to substances with no fixed shape, such as gas or liquids.
In this case, that also involves gases, clouds, smoke, water, viscous fluids (think molten lava or mud), and pyrotechnics (fire, explosions)!
While Maya Fluids can be used to make liquid fluids such as water, we recommend using Maya Bifrost instead for such purposes because it is a tool dedicated specifically to such simulations. Our Bifrost lab can be found here.
Download the starter file here:
(You may need to right click, hit “Save link as …”. If it takes you to a new page filled with text just right click on that page and “Save as”. If the file downloaded ends in “.ma.txt” or anything other than “.ma” rename it to have just “.ma” and ignore the warning)
fire.ma
SIMULATION SETTINGS
When it comes to character animation, the standard playback speed is 24 frames per second. This ensures that the animation will play at the real-time speed, possibly at the expense of dropping some frames that the computer cannot display quickly enough. Simulation engines, however, depend on taking a state of the system in one frame and doing the math to get to the next frame. Getting to this next frame might take several seconds, minutes, or hours, so we need to change the playback speed to play every frame. Early on, however, your simulation may be fast enough to play even faster than 24 frames per second, so the motion will look too fast. To avoid this, we need to cap the max playback speed at 24 frames per second. Do this by going to Windows > Settings > Preferences > Settings > Time Slider > Playback or clicking the running man and a gear icon at the bottom right of the screen. Set playback speed to Play Every Frame, and Max Playback Speed to 24 fps x 1.
In Maya, effects such as fire, explosions, flames, and smoke are created using dynamic fluid simulations system called Maya Fluids.
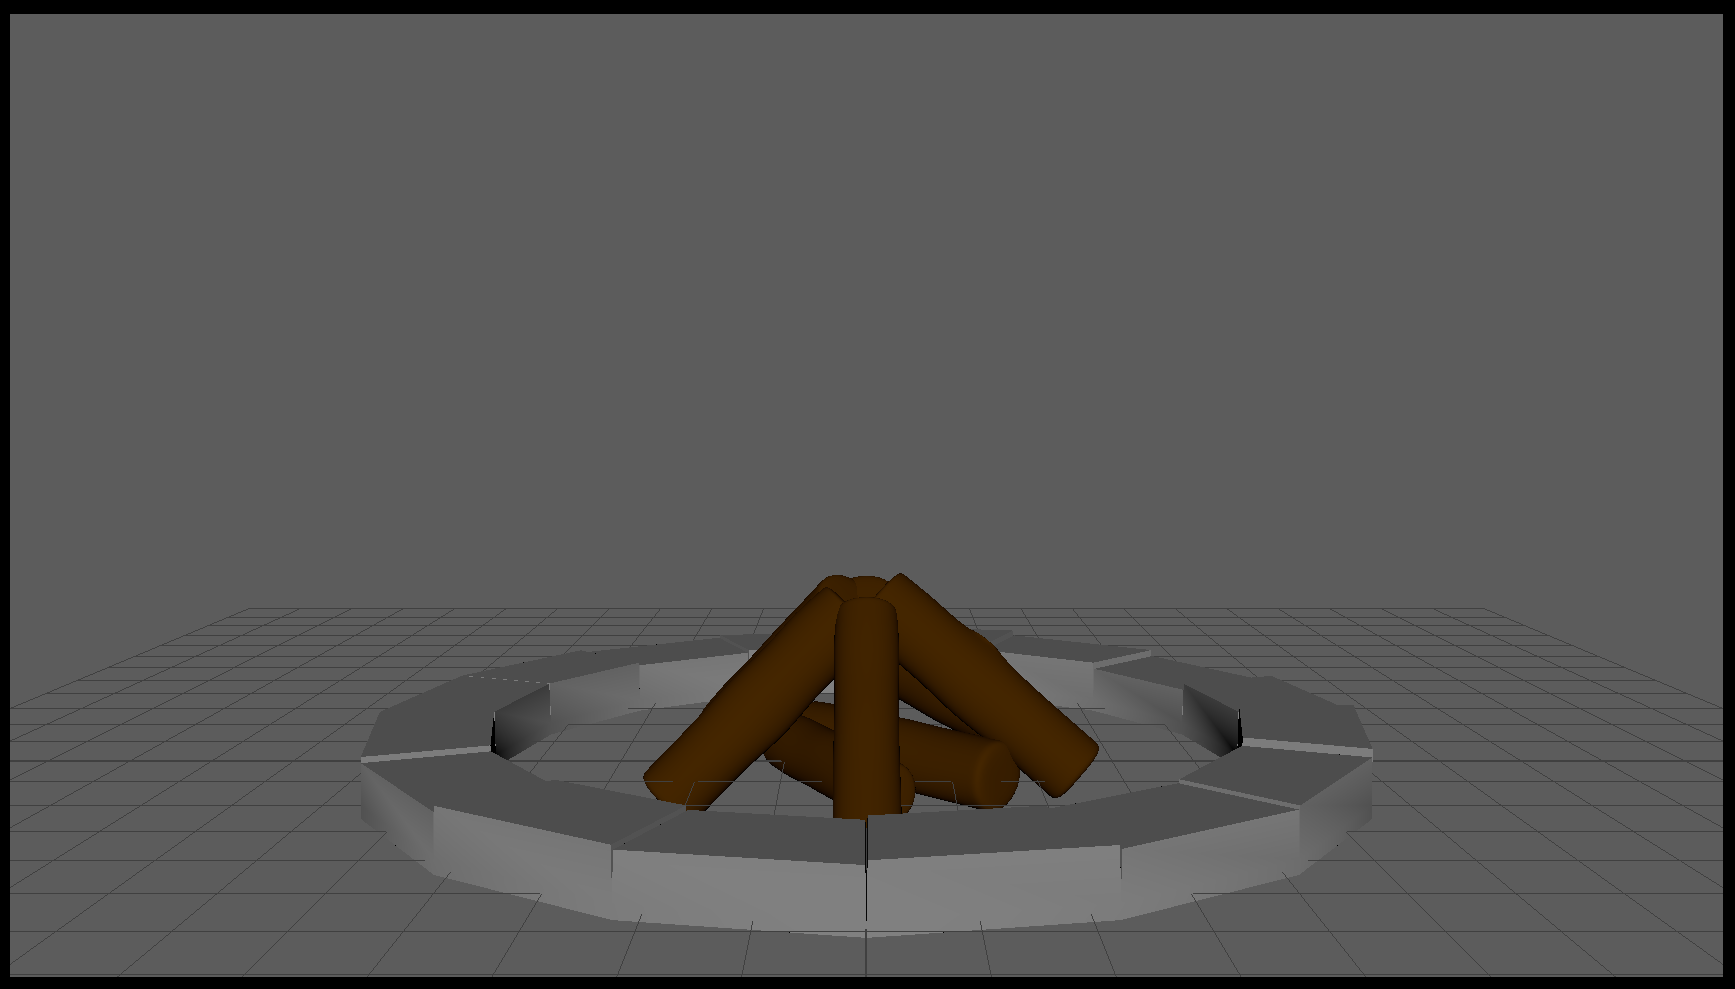
In this lab we will quickly create firepit using a preset. We could also create fire from scratch, but that may require hours of work and tweaking of numerous settings before we can achieve an acceptable look. Let us start by familiarizing ourselves with the scene. In the file provided you have a firepit mesh, a log mesh, and a camera set up for rendering. Start by duplicating the log and arranging the new copies into the shape you like. Here is an example.
FLUID FROM SCRATCH
All fluid simulations in Maya need a container within which the sim takes place. A container is a 3D boundary outside of which simulation cannot take place. This container is the main component of the simulation with the majority of the settings. It consists of voxels, which you can think of as the three-dimensional pixels - the basic units of a 3D space.
Decreasing the size of voxels, which is the same as increasing their number, results in a higher quality of simulation at the expense of simulation and rendering speeds.
Create a fluid by switching to FX menu set, and then going to Fluids > 3D Container > Option Box. Deselect Add Emitter and apply and close. This creates an empty container which you now need to fill with an emitter.
Since we want to emit from logs we need to add them as emitters. However, we should only emit from one mesh, not several, which means we should first Mesh > Combine all the logs (but leave out the pit). Select the combined log mesh and delete history, freeze transformations, and center the pivot.
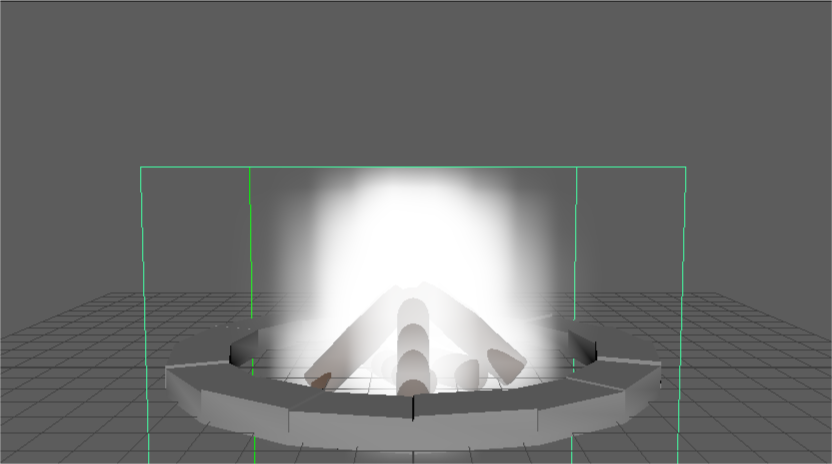
In the Outliner, select Fluid Container (fluid1) and the logs geometry, then click Fluids > Add/Edit Contents > Emit From Object > Option Box. Make sure emitter type is set for surface, Apply, and close. If you play the animation, the fire would neither behave like fire nor look like it. Since it will take forever to adjust everything to get the final look, we will use a preset instead, and apply it to our models.
FLUID FROM PRESET
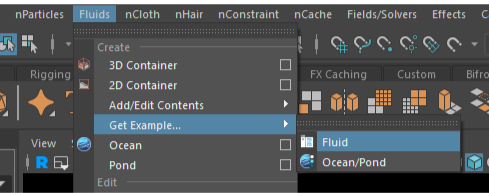
Import the preset by clicking Fluids > Get Example > Fluid.
Navigate to the Fire folder under the Fluid Examples. Right-click on the Turbulent Flame and press import.
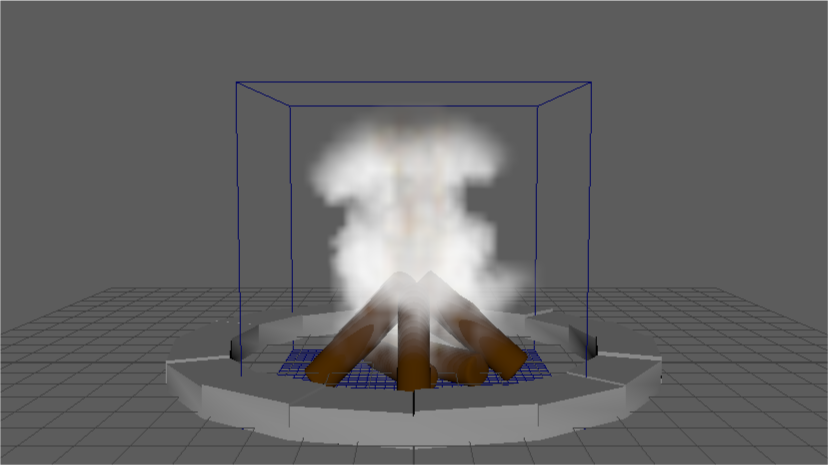
We now have two fluid containers and two fluid emitters. Delete your original fluid container (fluid1) and original emitter (fluidEmitter1), which should be parented under the logs in the outliner. Select the newly created fluid container (Flame), select the logs mesh, click Fluids -> Add/Edit Contents -> Emit From Object. The preset fluid container now emits from the logs and the torus which was imported as a part of the preset. Delete the torus and the emitter parented under it. You can now render the simulation and see how it looks.
MODIFICATIONS
There are a few things you may want to adjust or learn about in case you need further modifications. Situate the container so that the bottom part of it is at the floor. You need to do this because simulations cannot exist outside the container, so you want the flames of the bonfire to fit inside this box. You can adjust the look of the fire by selecting the container, going to the Attribute Editor, and under the FlameShape modifying parameters in the Shading tab.
You can adjust the quality of flames by manipulating the Base Resolution under Container Properties at the top of the attributes. If it is greyed out, check Keep Voxels Square options.
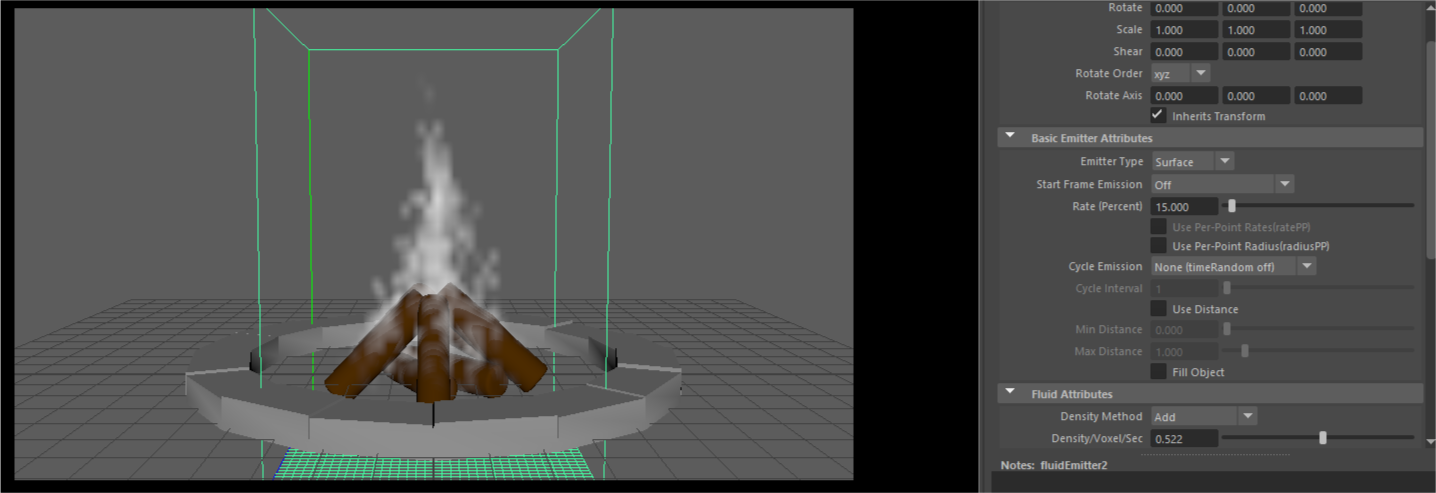
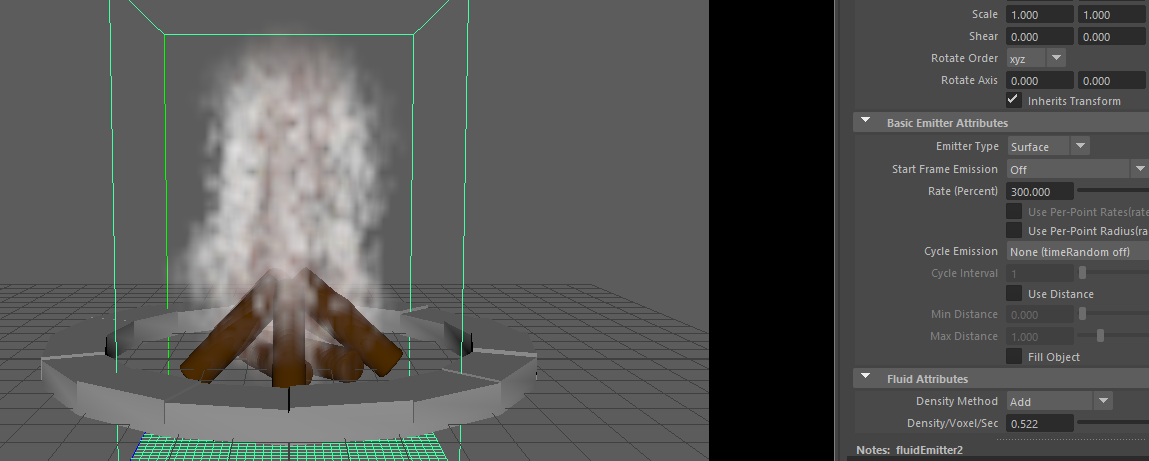
Selecting the fluidEmitter tab in the Attribute Editor will give you access to the emission parameters, one of the most useful of which is Rate (Percent), which you can adjust to modify the intensity of the flames.
SUBMISSION
To submit the lab, take a playblast of the first 60 seconds of your fire simulation and upload to bCourses.