INTRODUCTION
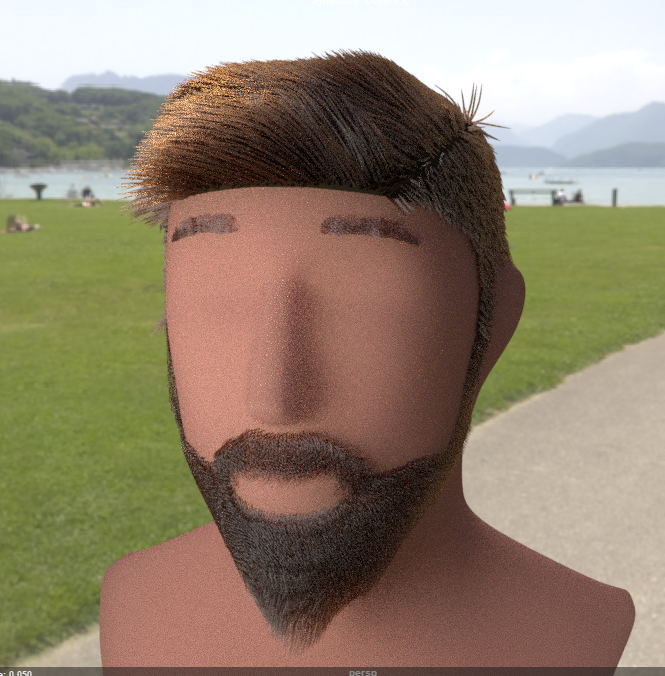
This lab will cover the basics of the XGEN hair system in Maya. We will just be going over the process of creating and shaping hair as well as rendering it. This tutorial will not go over doing dynamic hair with simulations but that can be done in XGen as well with a few more steps. There is a lot more that can be done with XGen, this lab is designed to just get your foot in the door as the setup and rendering with renderman can be annoying to figure out on your own.
(!info)
At the time of writing this lab there seems to be a problem with XGEN using Renderman in Maya 2022, you may need to be using Maya 2020 in order for it to work.
SETTING UP THE SCENE
XGEN is very picky about its file structure, in order to get it to work you will need to have your project set with the model you are working with in that project.
Make sure you have the xgenToolkit plugin loaded in the plugin manager.
Find an object that you want to apply hair to. This can be a model from your short or a simple sphere. In this demo, I will be using the head model from Maya’s built-in content browser. To find this go to Windows -> General Editors -> Content Browser. The model I’m using is in Modeling/Sculpting and Base Meshes/Bipeds/BasicHead.ma.
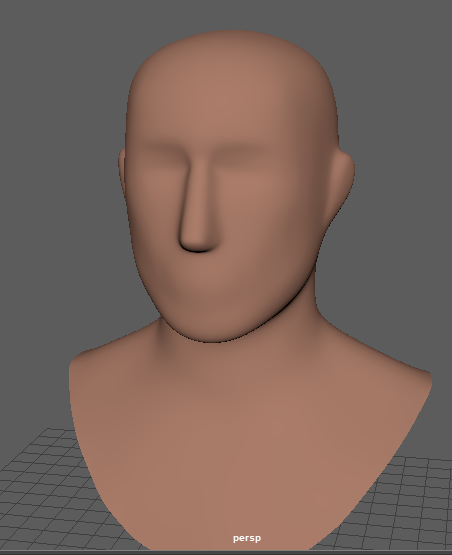
The next step is to separate out what parts of the geometry will have hair. If you are working on a model that is entirely covered in hair you can skip this step.
Make a duplicate of the geometry you want the hair to be on and select only the faces that will have hair (It may help to hide the original mesh while selecting these faces).
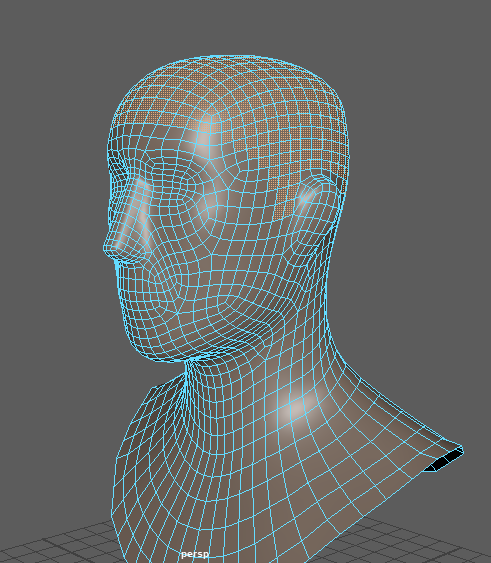
I changed the color of the duplicate mesh to make it clearer where I selected it.
Now press Ctrl-Shift-i to invert your selection.
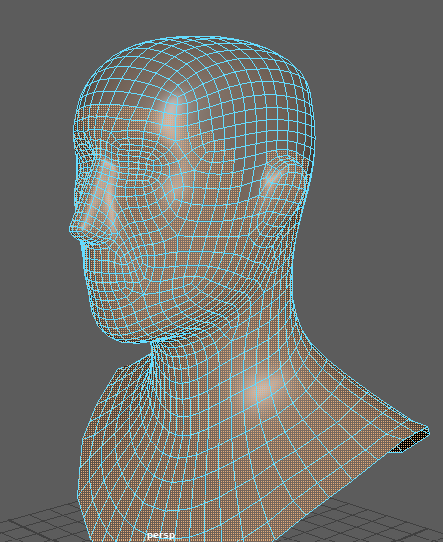
Delete those faces. This should leave you with just the faces that we want hair on, for our head that’s just the scalp.
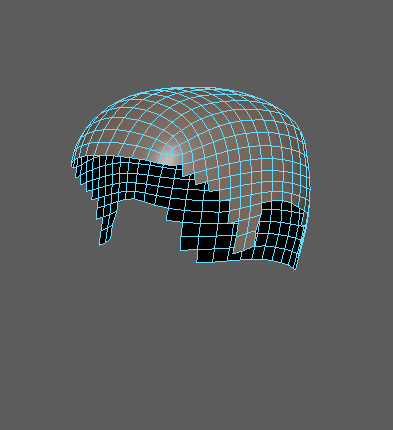
Unhide the base model and slightly scale up the scalp so that it sits slightly on top of the main mesh.
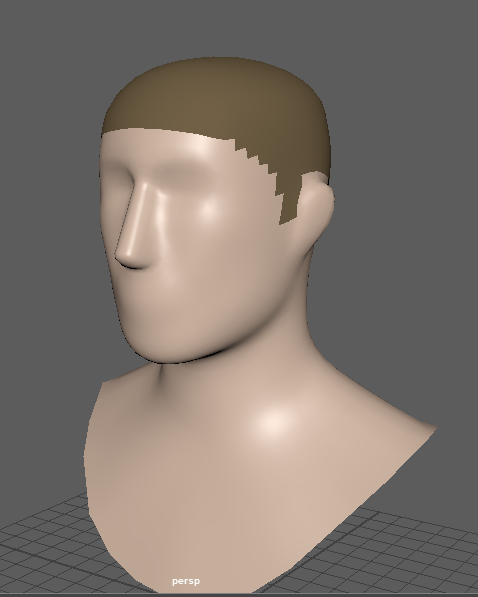
Now make sure you save your scene. Again, XGEN is very picky about file structure, this results in some features not working if the scene is not saved.
APPLYING THE HAIR
In the XGen tab on your shelf select the leftmost icon to open the XGen Window.
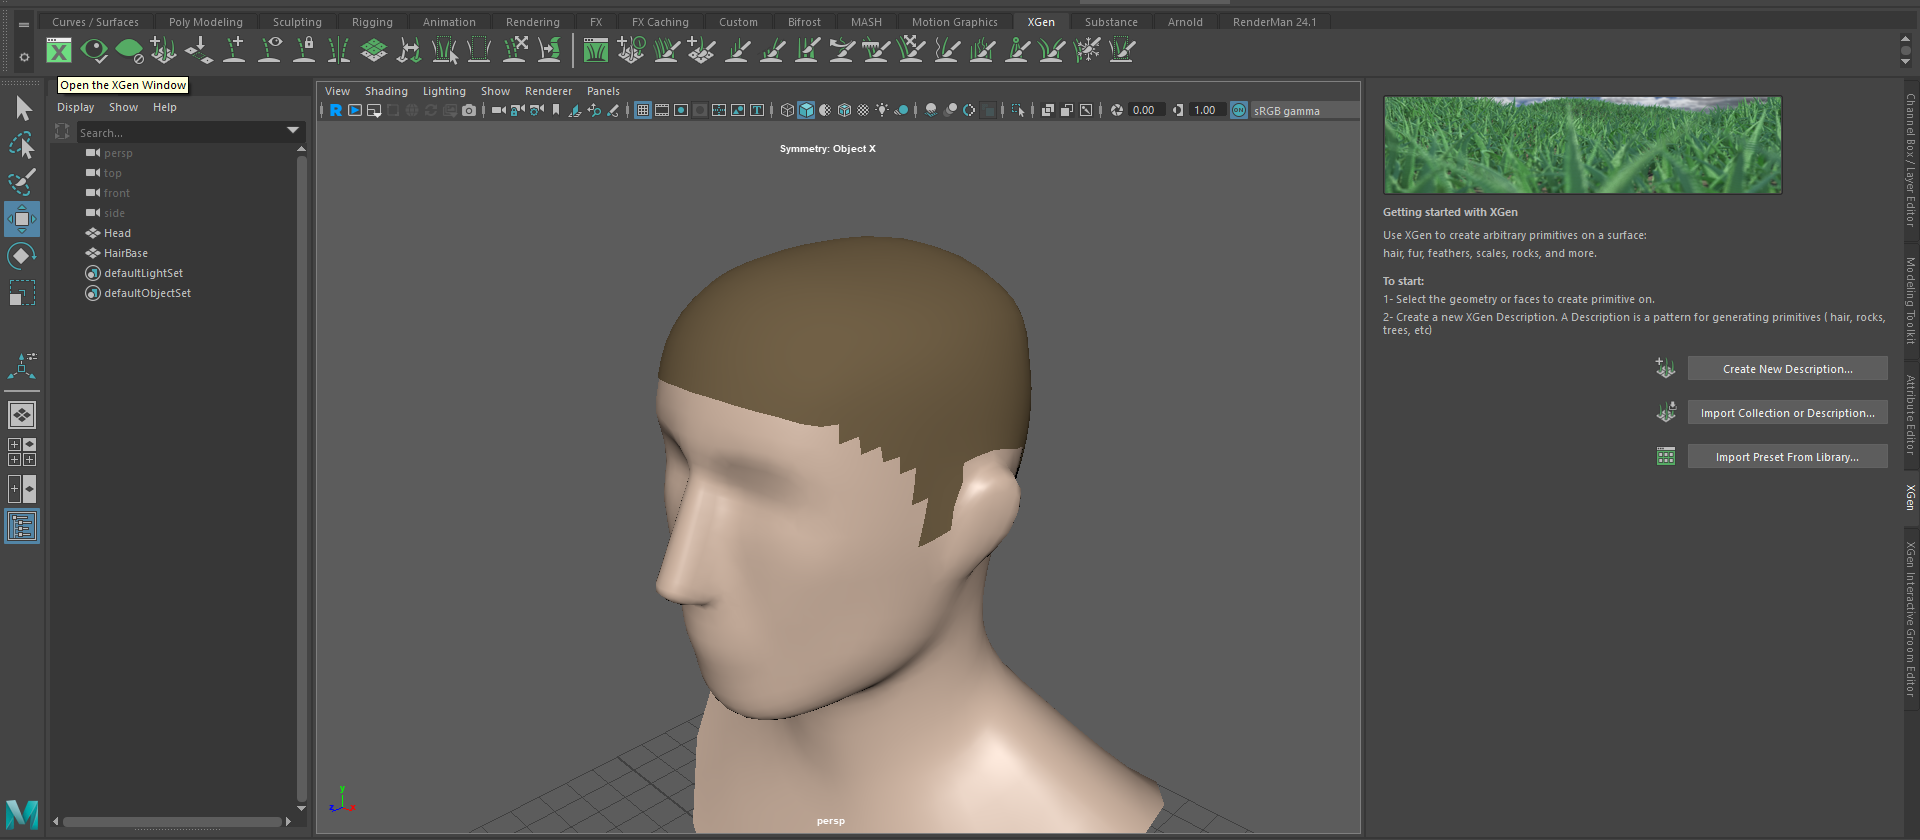
Select your mesh, and press Create New Description in the new window on the right.
For most of these settings we can leave the default values for now. For this demo, we will be using groomable splines so make sure that is selected. This will allow us to use paint tools to groom the hair into the shape we like. If you need longer hair, you will probably use the default splines.
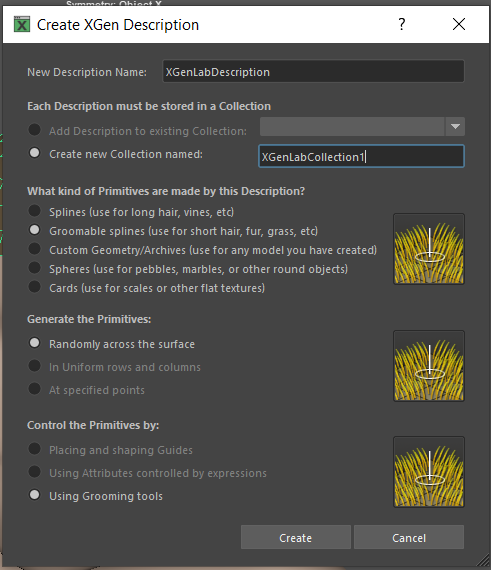
You should now see some hairs on your model.
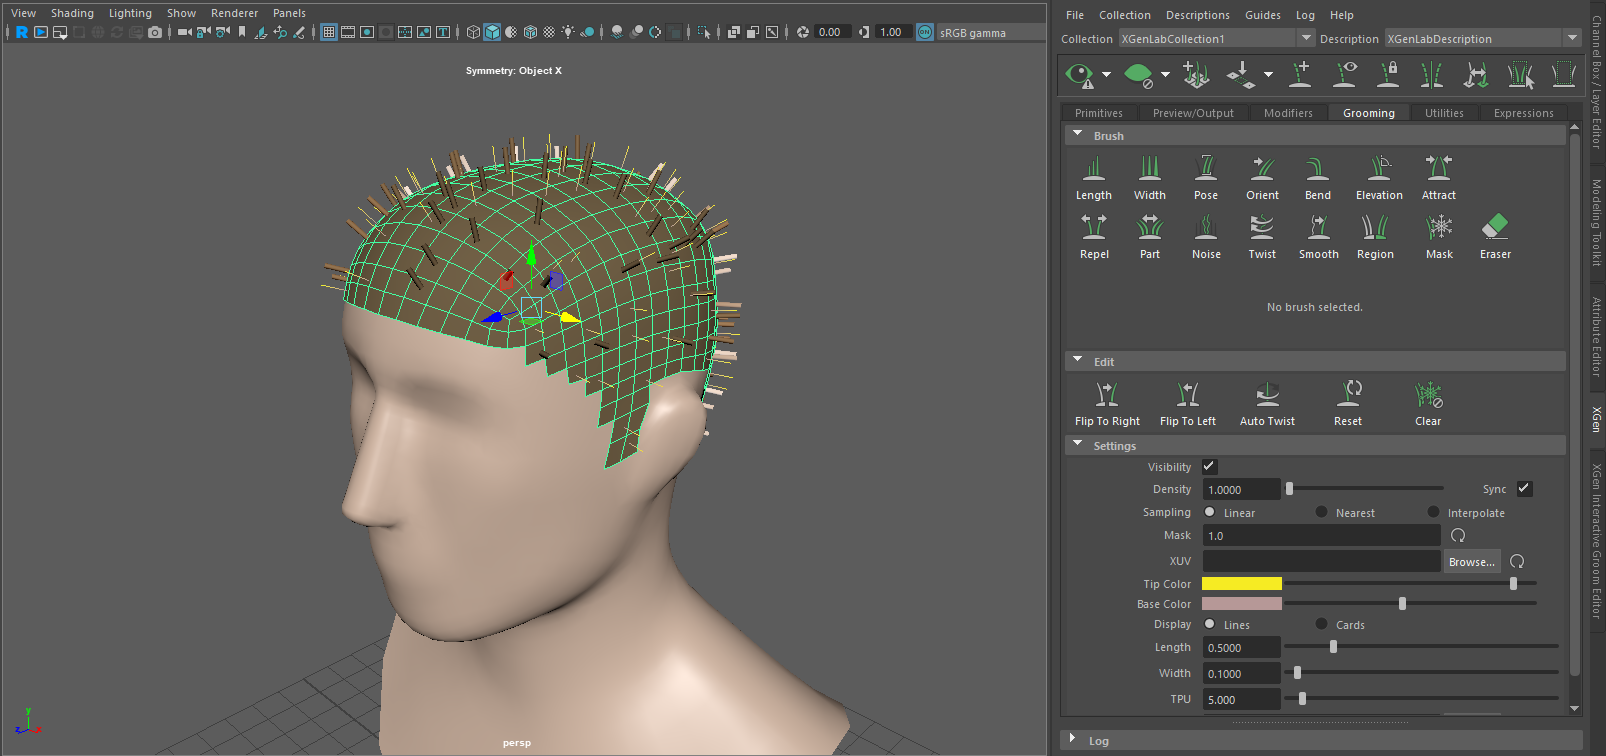
Let’s familiarize ourselves with some parts of this. The thin yellow lines will guide the direction of the hair. These are what you will work with while grooming so it doesn’t need to calculate all the hair. You can modify some parameters for these guide hairs here in the Grooming Tab.
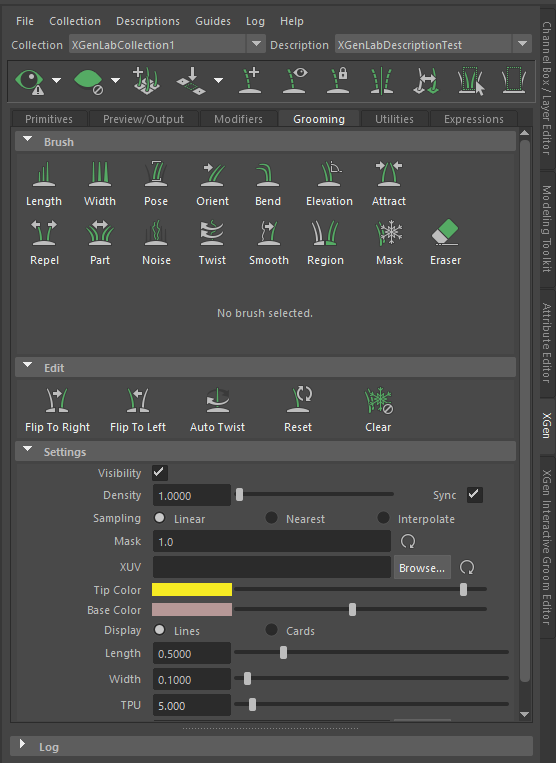
The main ones you will likely want to play with right now are Density and Length. If you uncheck the box labeled Sync next to Density that will allow you to have a different density of guide hairs to real hairs. If you do this you can change the actual density of the hair in the Primitives tab. Make sure you get the density right before grooming because changing the density can often mess up all your grooming.
At the top of the XGen tab, you will see these two eye icons.
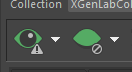
Pressing the left one will turn on / update the actual geometry of the hair. Pressing the right one will hide the hair. In general, while shaping the hair you will want to hide the hair geometry and work just with the guide hairs so hide the hair for now as we go into grooming.
GROOMING
Grooming is the process of cutting and shaping the hair similar to how you might in real life.
Here are some good resources for a brief description for some of the grooming tools and useful hotkeys. (This guide may have some extra tools that you don’t see in XGen when you use it)
https://knowledge.autodesk.com/guidref/MAYAUL/2020/learn-explore/GUID-A00D16BD-9ECC-4C63-BAB5-B0278BF596BB
https://knowledge.autodesk.com/support/maya/learn-explore/caas/CloudHelp/cloudhelp/2018/ENU/Maya-CharEffEnvBuild/files/GUID-4033B20E-7277-48FA-906A-77F1275B2648-htm.html
Most of these tools are fairly simple, just select the tool and start using the brush across the head to shape it. The length tool has a few parameters you need to get right.
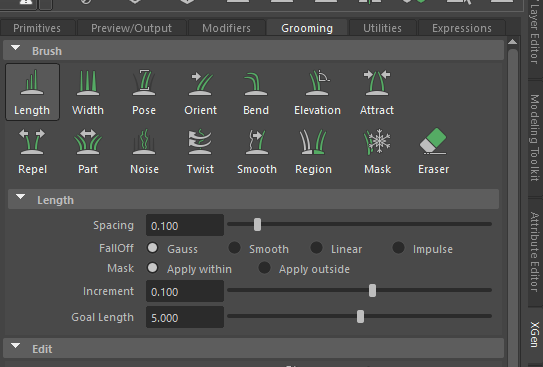
The goal length is the length you will be changing the hair to, and the increment determines how fast the hair changes, the main thing to note here is that in order to shorten the hair you need the goal length to be less than the current length, and the increment must be negative.
There are also effects like noise and coil which can be applied in the Modifiers tab.
Working with these tools for a bit I got this.
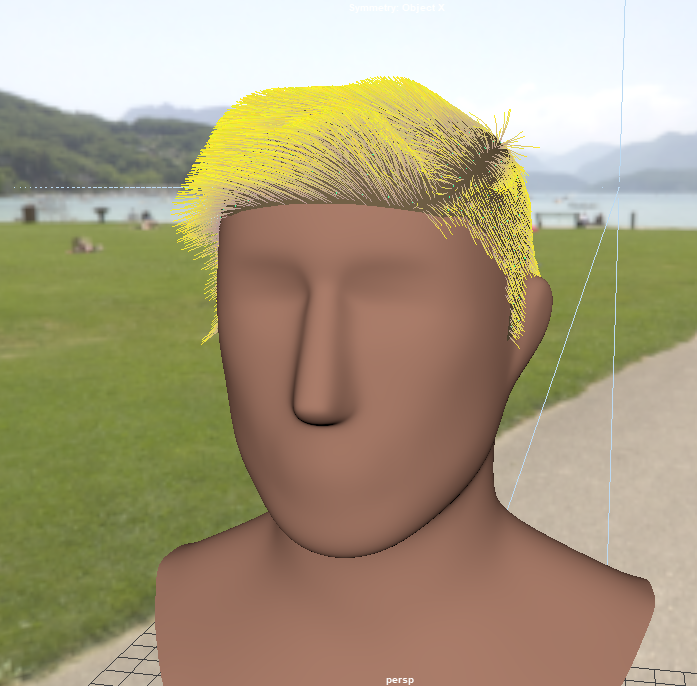
Following the same process, you can make other XGen descriptions for things like facial hair, or eyebrows.
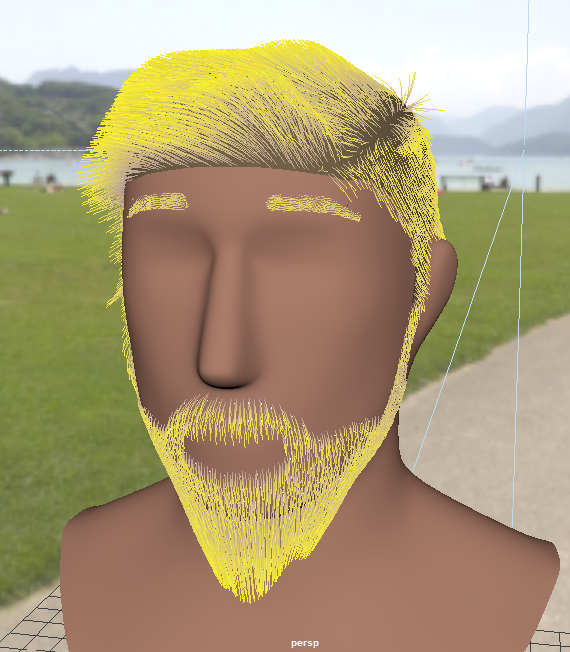
Turning off the visibility of the guide hairs and pressing the eye on the left I get this hair geometry.
RENDERING
If you were to try to render the hair we have now it will not work. First, we need to go into the Preview/Output tab in XGen and in Output Settings set our renderer to Renderman.
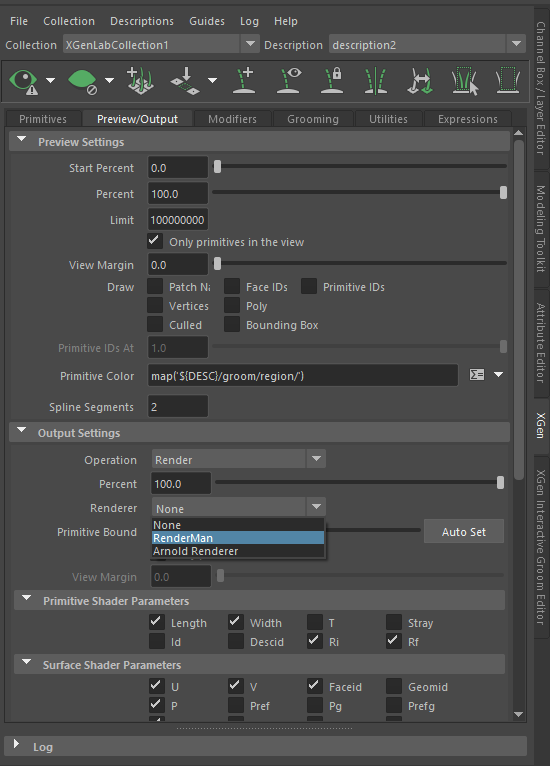
Scroll down to the Renderman Settings, click and hold the arrow next to the Pixar Ball to select a material.

Select Create PxrMarschnerHair.
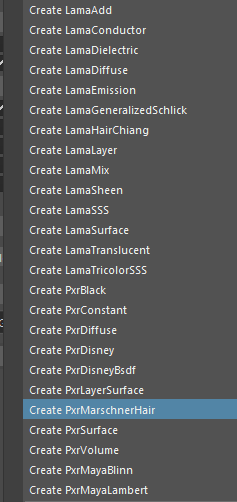
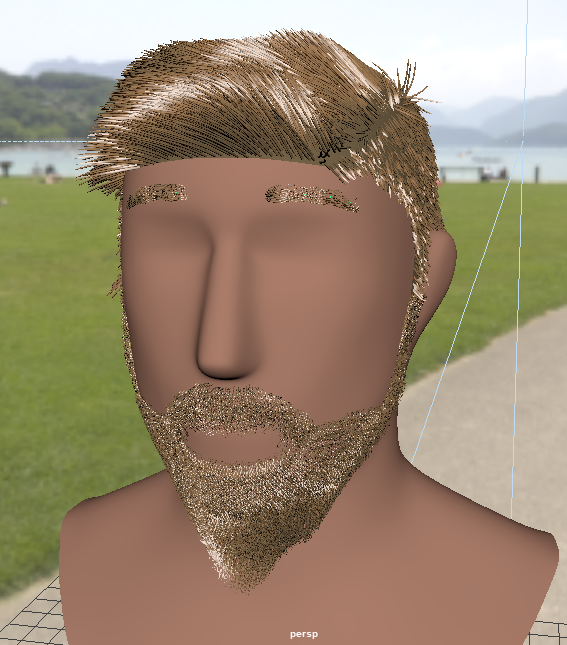
Unfortunately, this will turn the viewport hair into a solid black instead of the nicer texture it had before, but now Renderman will work.
This next part will require a small amount of work in Hypershade so take a peek at that lab if anything confuses you.
In theory the PxrMarschnerHair material on its own is enough to shade the hair, but you will likely find it very difficult to get the parameters right. Luckily there is a PxrHairColor node designed to simplify this.
Graph the PxrMarschnerHair that you created and add a PxrHairColor node, connecting the outputs like shown.
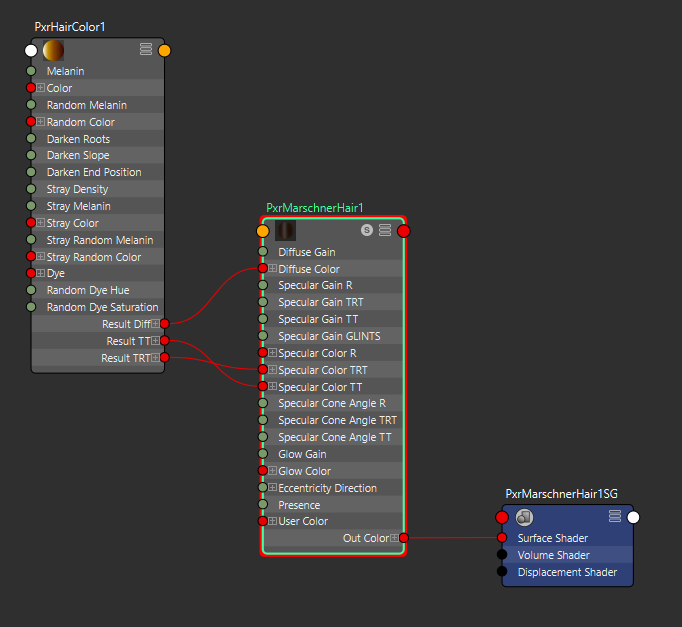
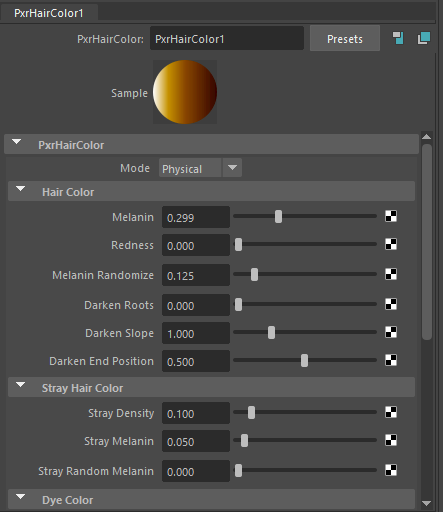
Now you should be able to modify the parameters in the PxrHairColor node to achieve the hair color you are going for. For natural hair you will likely only need to touch the melanin and maybe redness parameters, but there is also a section at the bottom to dye the hair.
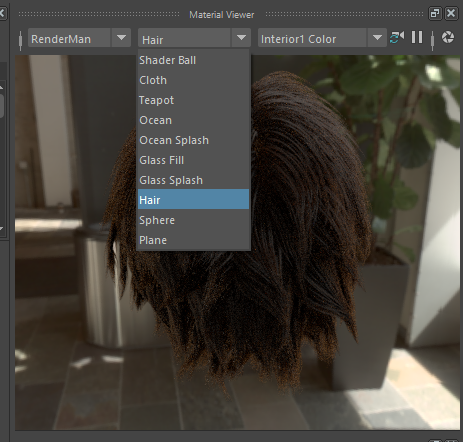
BTW you can change the object in the material viewer to Hair in order to get a better example to look at while working in Hypershade.
Now you should be able to see your hair in Renderman! Make sure you light your scene well, a rim light is super important for fur and other fuzzy hair because it allows stray hairs to catch the light.
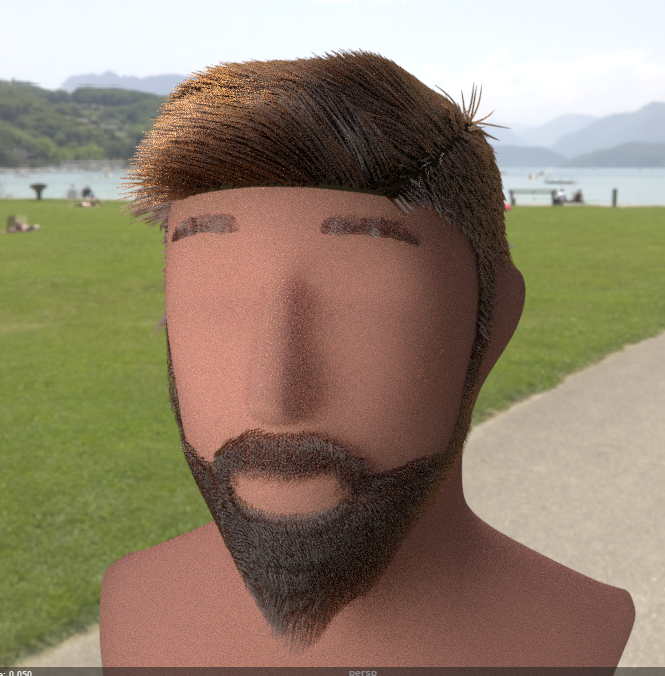
Render your hair and submit that to BCourses along with the .ma file.