INTRODUCTION
So you want to give your character facial expressions? Fix issues in your mesh after skinning? Transform one mesh into a different shape? You can do all of that and more with blendshapes.
We are going to provide you two different methods to approach creating blendshapes. In Method 1, the more modern and streamlined process, we will be learning to use Maya’s Shape Editor, which allows you to transform your mesh without having to create several duplicates of your mesh. If you just need to fix blips in your skinning or create facial expressions, then Method 1 will give you the easiest time.
Method 2 is an older version of making blendshapes by using duplicate meshes to indicate to Maya how the mesh should deform. Even though this method is outdated for general blendshape creation, it’s still viable in other situations, namely, if you want to transform your mesh into a different shape (assuming that shape has the same topology, but we’ll go more into that later)
WHAT ARE BLENDSHAPES?
In the most basic sense, blendshapes offer us a way to deform a mesh without having to select individual vertices. Maya then remembers that deformation and allows you to switch between your original and deformed versions at any time.
METHOD 1
Before starting Method 1 for blendshapes, please download the following file into the scenes directory of your current maya project.
(You may need to right click, hit “Save link as …”. If it takes you to a new page filled with text just right click on that page and “Save as”. If the file downloaded ends in “.ma.txt” or anything other than “.ma” rename it to have just “.ma” and ignore the warning)
blendshape_bunny.ma
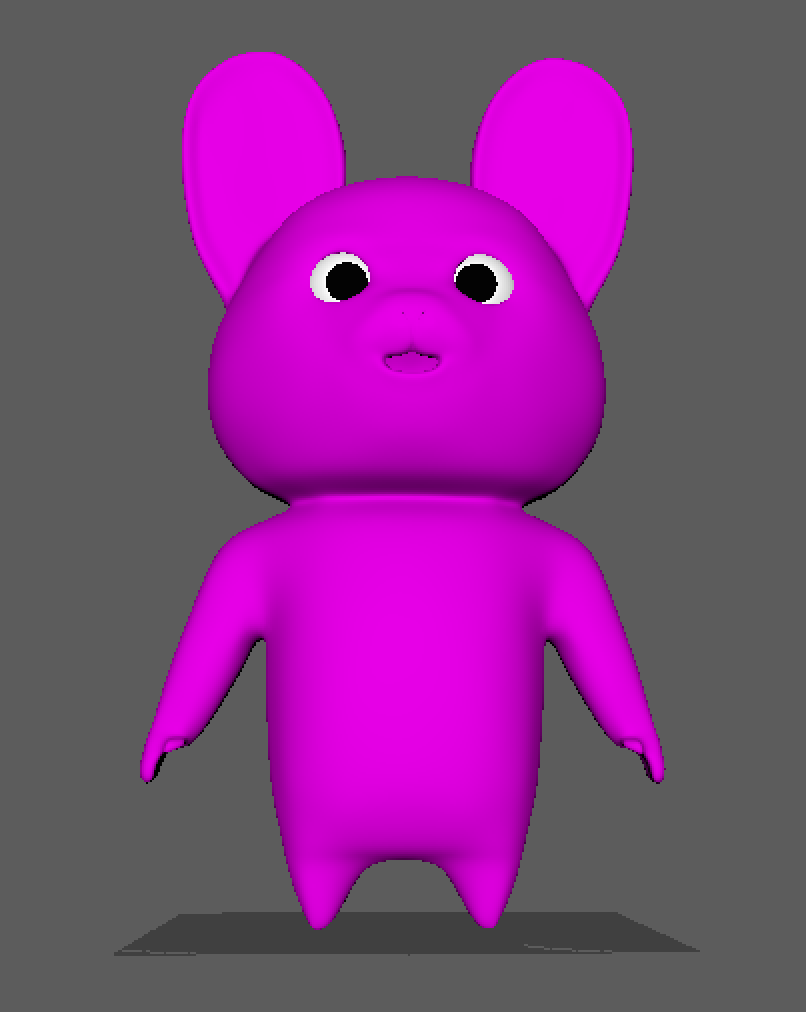
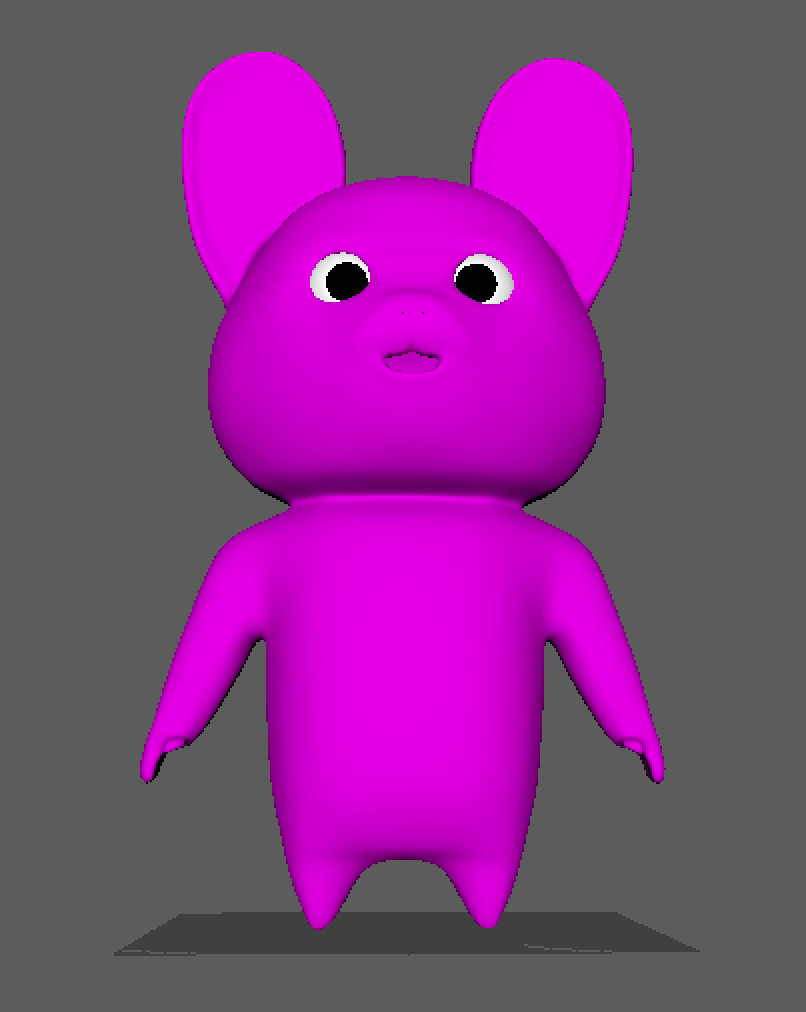
Open up the blendshape_bunny file. You should see an obnoxiously pink bunny mesh staring into your soul.
Next, go to windows > animation editors > shape editor. Select the object mesh and then click create blendshape. This should create a new shape in the editor called blendshape1. You’ll see a slider next to blendshape1. If you move right now, nothing will happen. This is because we haven’t deformed our mesh yet, so there’s no shape saved for our mesh to shift into. Now click the add target button and we will see a node pop up underneath the blendshape—let’s name that “leftBlink”
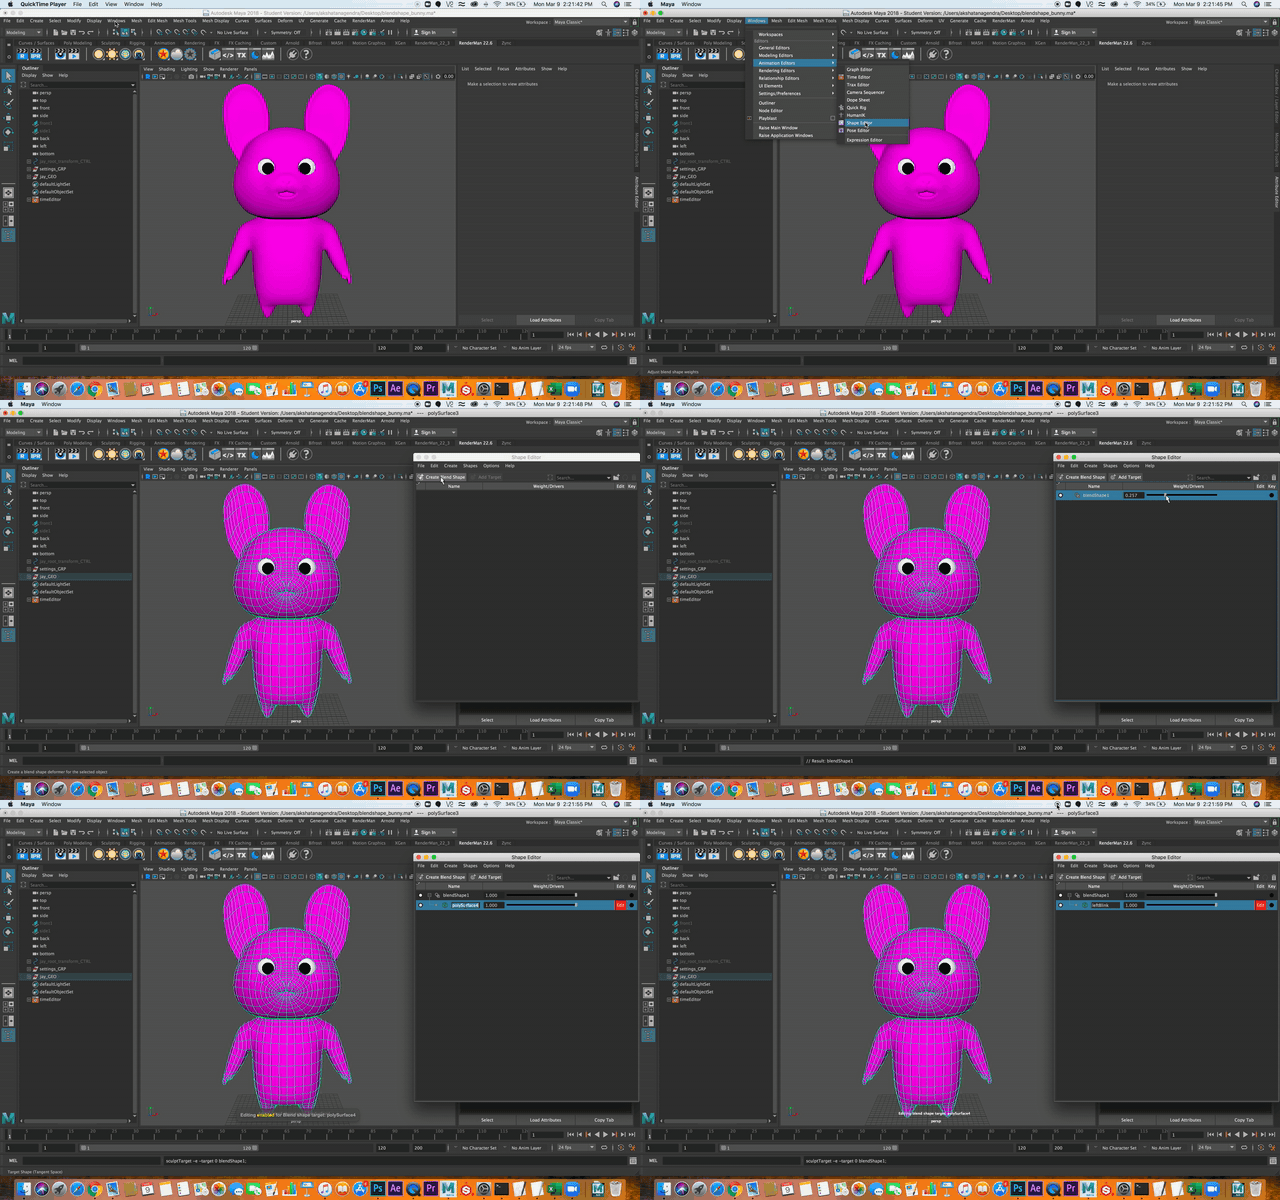
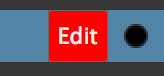
Now that we have our target, we can start deforming our mesh to the action we want, which in this case is a blink. MAKE SURE THE EDIT BUTTON ON THE RIGHT IS RED OTHERWISE MAYA WILL NOT SAVE THE ORIGINAL MESH AFTER YOU DEFORM IT.
It’ll also help to be in rough mode and shaded mode (press 1 and 6) so you can see exactly where you are altering your topology and prevent any weird anomalies from happening to your mesh as you are deforming it.
We are going to be making our edits on the left eyelid to close it by altering the mesh. It can be helpful to use sculpting tools or soft select (press B) during this process so you can affect more vertices at once to make the process more efficient. Just make sure if you are using soft select to adjust your brush size (with a vertex selected, hold down B and drag w/ right mouse button) so that you aren’t affecting the bottom of the eye opening, because that shouldn’t be moving during the blink.
Also, even though I said to start in rough mode, after you are done with your shape, SWITCH TO SMOOTH MODE to make sure that the shape looks alright. Usually in the case of blinks, the eye won’t be as closed as it was in rough mode, so edit again to make sure the eye is fully closed. Continue this process until you are satisfied with the closed eye.
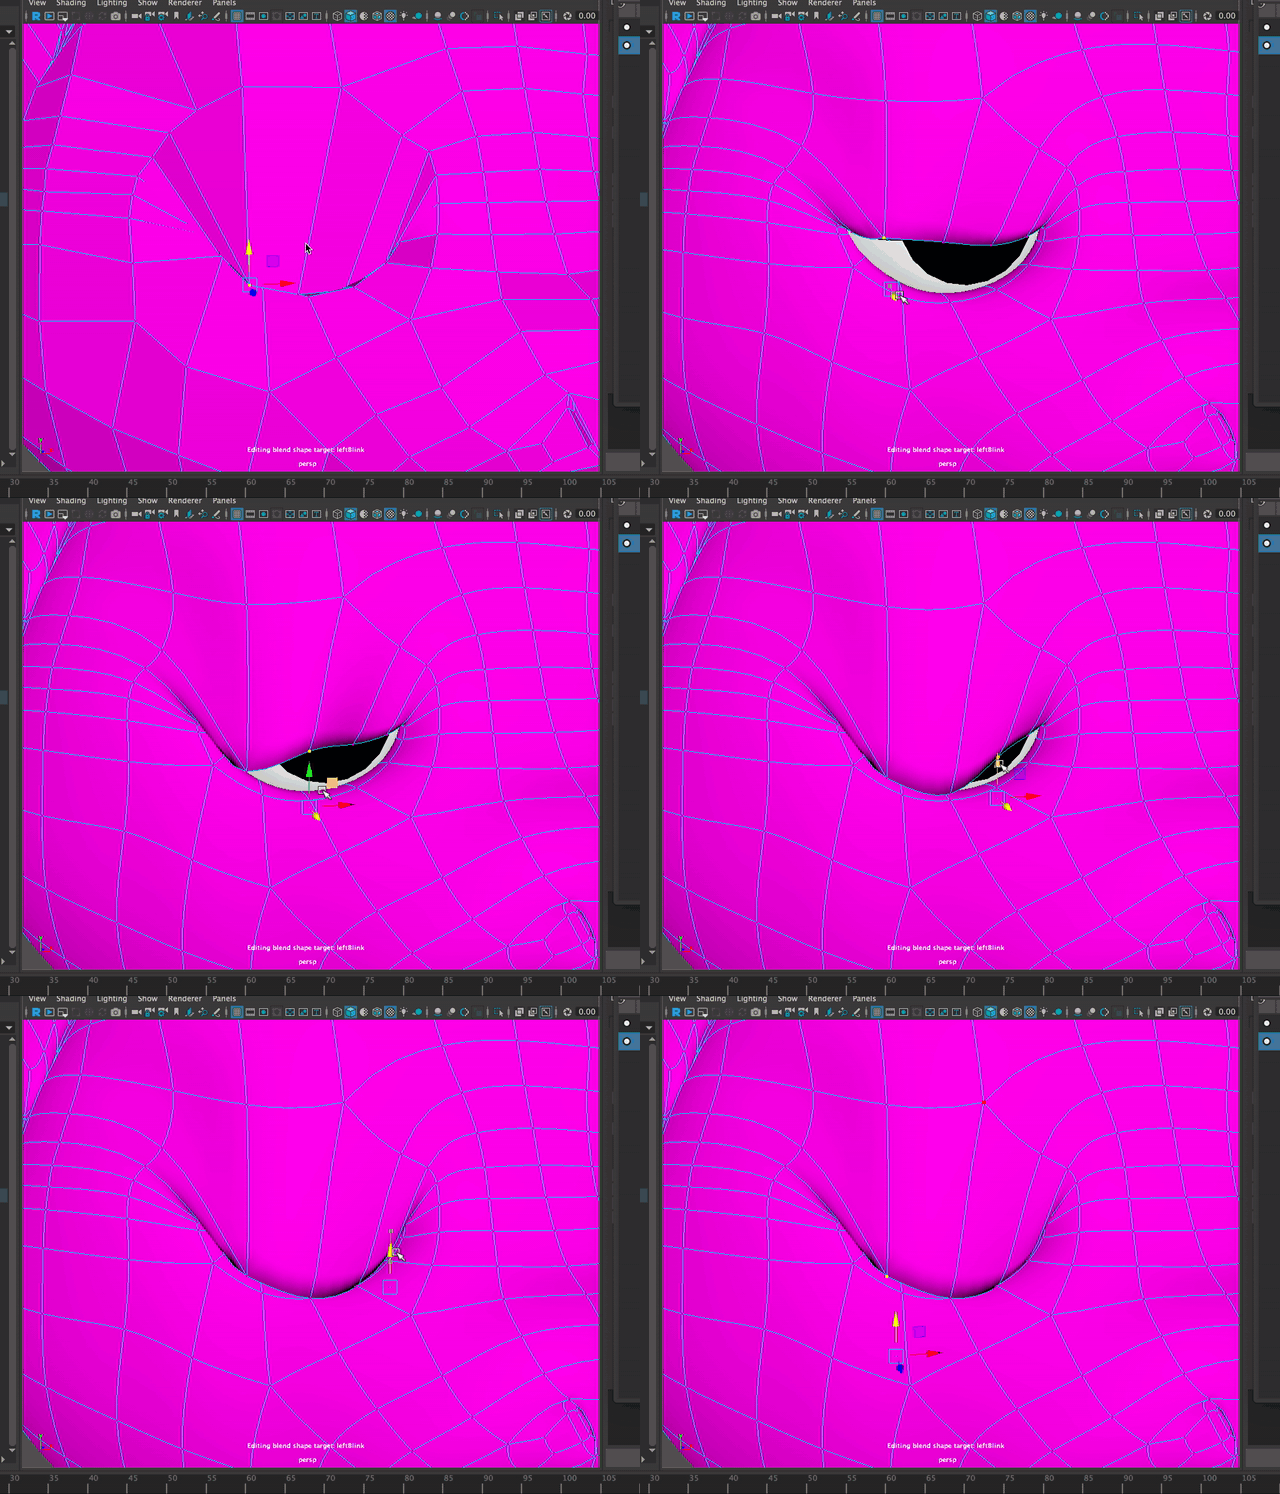
Once you are semi-satisfied with your shape, TURN OFF EDIT (this way any changes you make later on your mesh won’t be added to your shape) and move the slider, you’ll see the mesh changes from its original shape to the state you just created. But wait, the eyelid is clipping through the eyeball when it moves up and down. Depending on how you changed your vertices when you were deforing the mesh, this is another common scenario to encounter. How can we fix it?
Find the point on the slider where the clipping is the most severe and set the slider to that point. Go to Create > add in-between target. This will create another notch at the point in the slider range that you previously indicated. From here, edit the mesh so that the eyelid isn’t clipping through the eye. Once you are done, deselect edit on the in-between target. If we move our original slider again, we see that now the mesh will pass through our in-between target and avoid clipping through the eye.
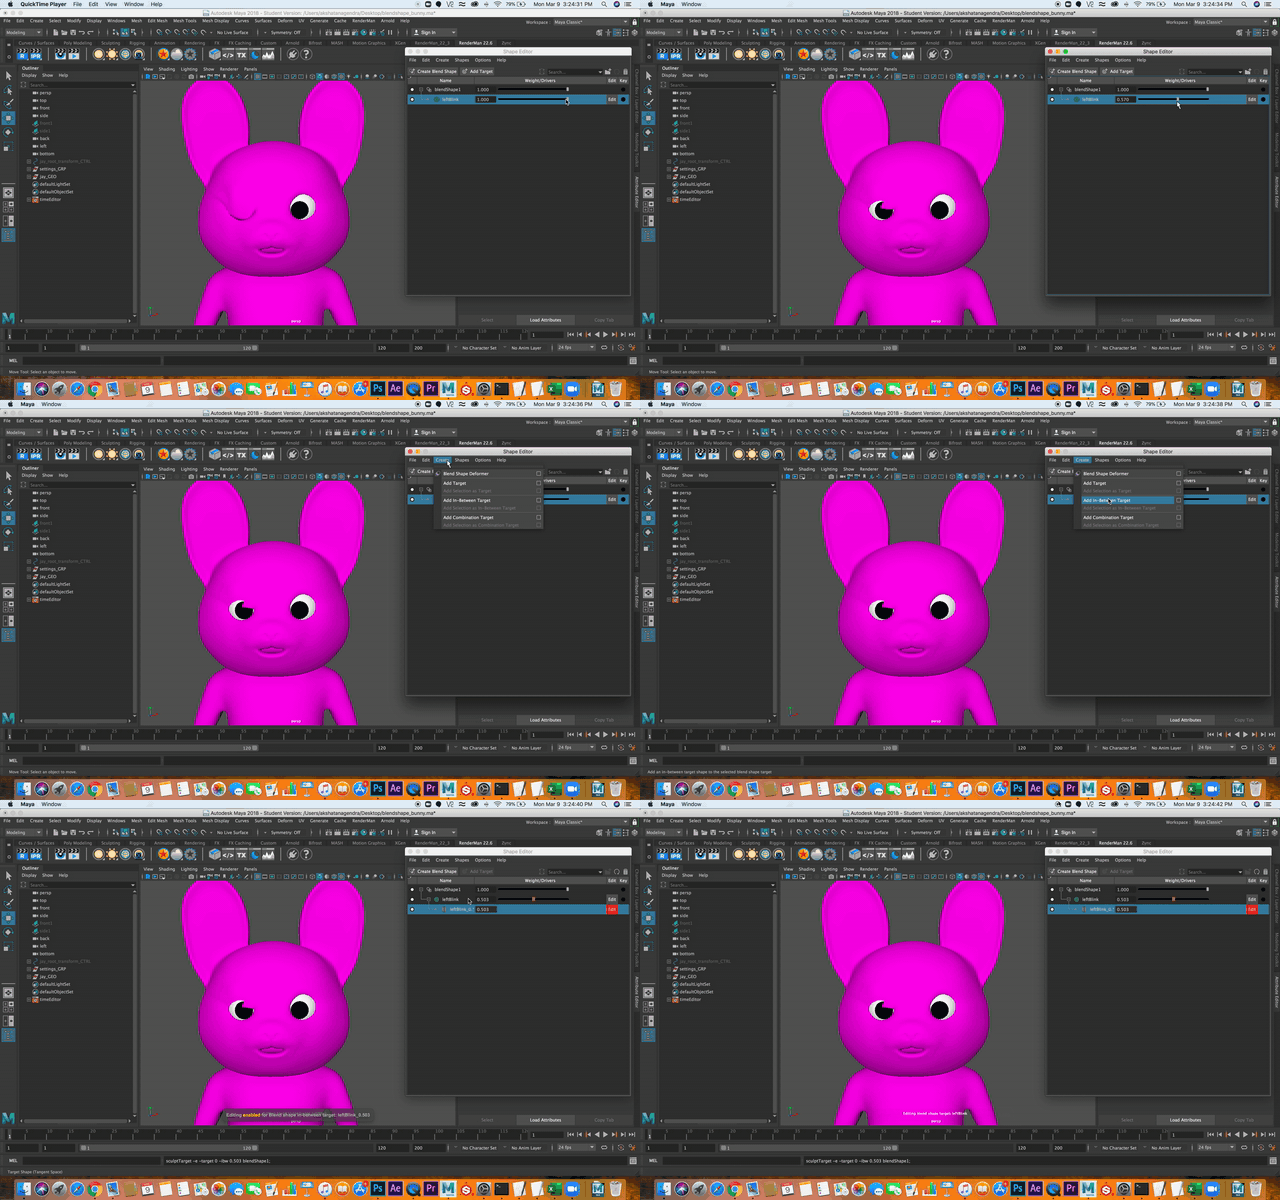
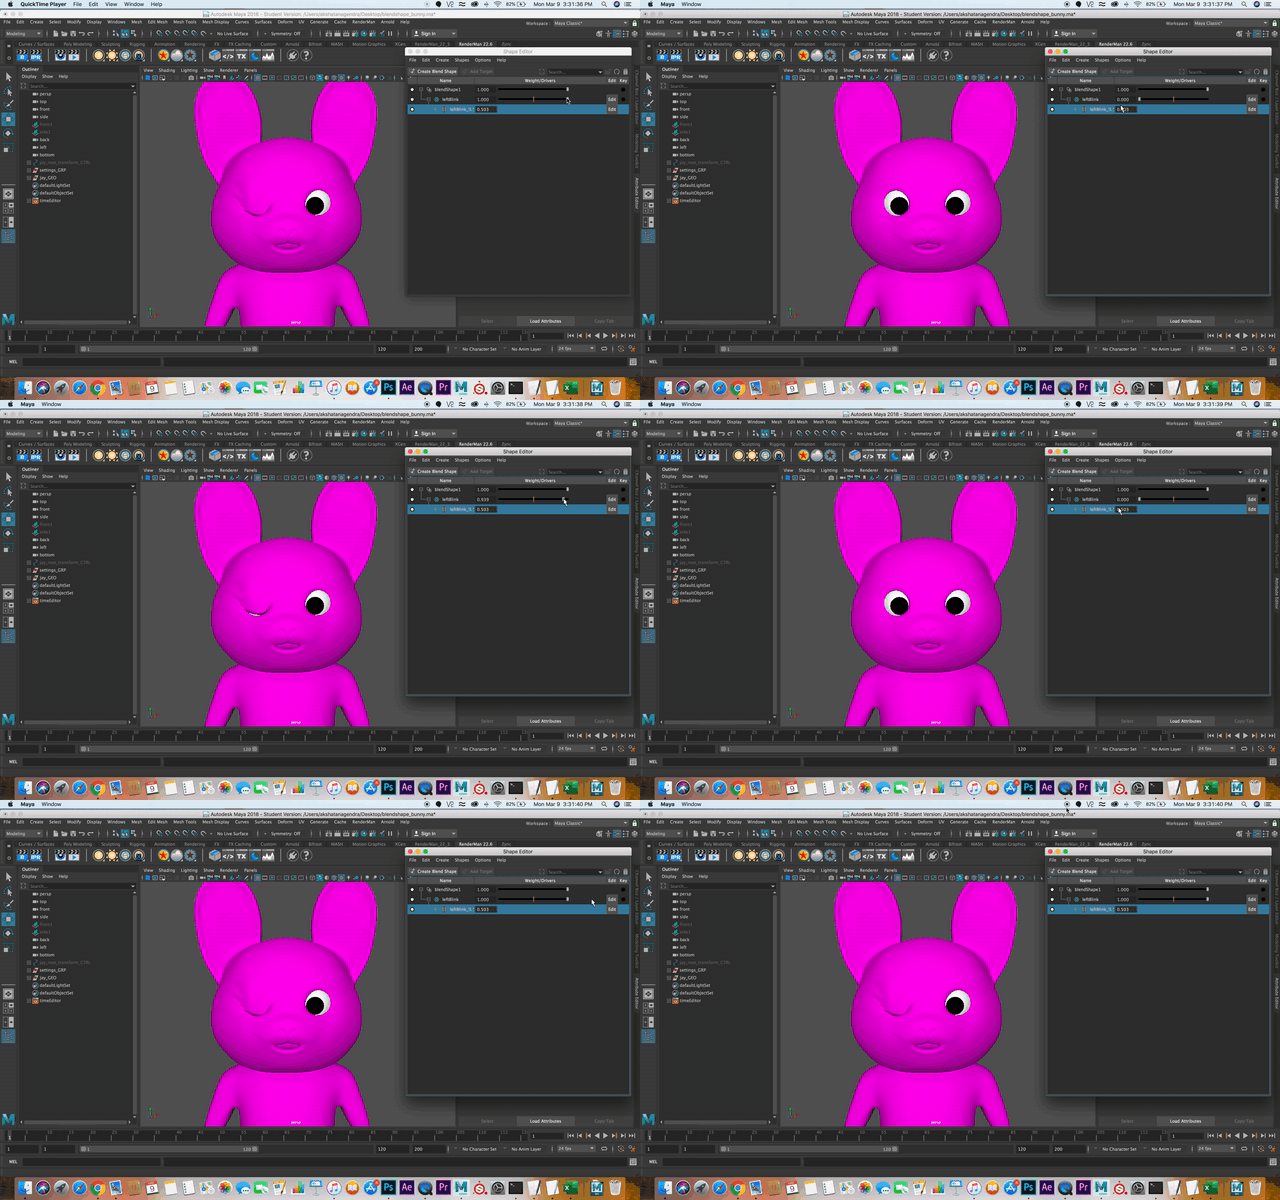
This concept is actually super useful for animation purposes as it lets you manipulate the pathway by which your mesh is deforming, so definitely make a note of this method.
Now that our leftBlink looks good, we have to make a corresponding rightBlink, right? Do you have to do all that work again on the other side? The answer is “NO!” because we can flip and mirror targets to save ourselves some time.
(!important)
flipping and mirroring targets will only work if your mesh is symmetrical, so unfortunately if this is not the case you are going to have to create the opposite blendshapes by hand.
Let’s right click on the leftBlink target AND ITS IN-BETWEEN TARGET and select duplicate target. This way we won’t lose our original leftBlink when we start flipping/mirroring. Your mesh should look pretty funky right now because we just doubled the transformation values by duplicating the original shape. Rename the duplicated target rightBlink.
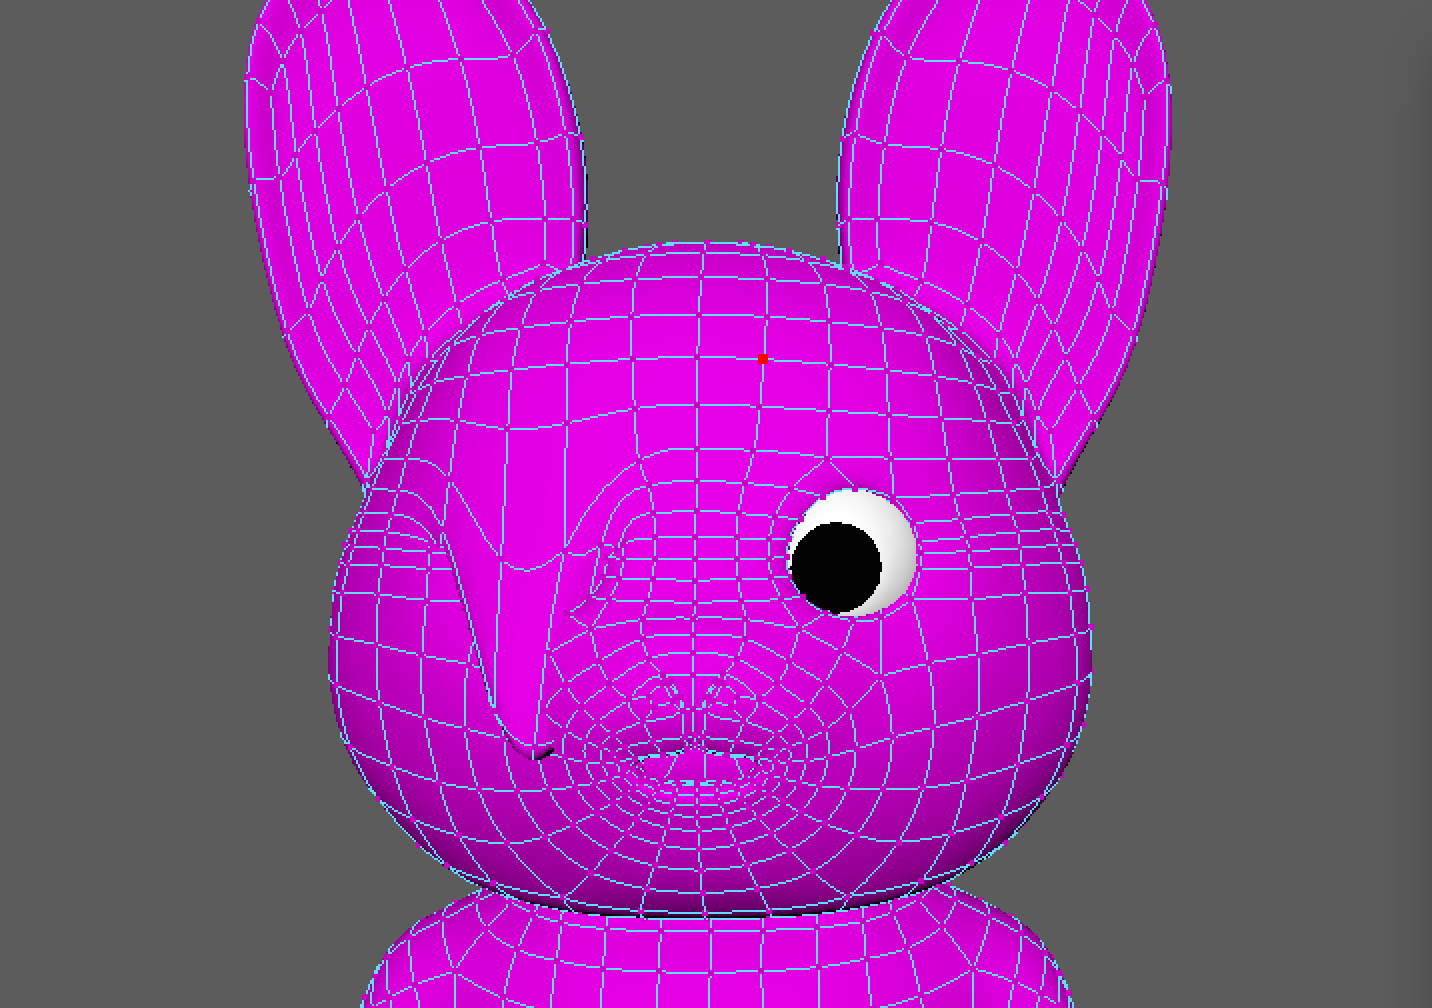
Right click on rightBlink and select “flip target.” Now the right eye is also able to open and close with the rightBlink slider, including the in-between target. If the flip isn’t perfect and there are some minor blips in the topology, you can always edit rightBlink by clicking on the edit box next to the shape, fixing the shape, and then unchecking the box again. Now you should have one target for both the left and right eye.
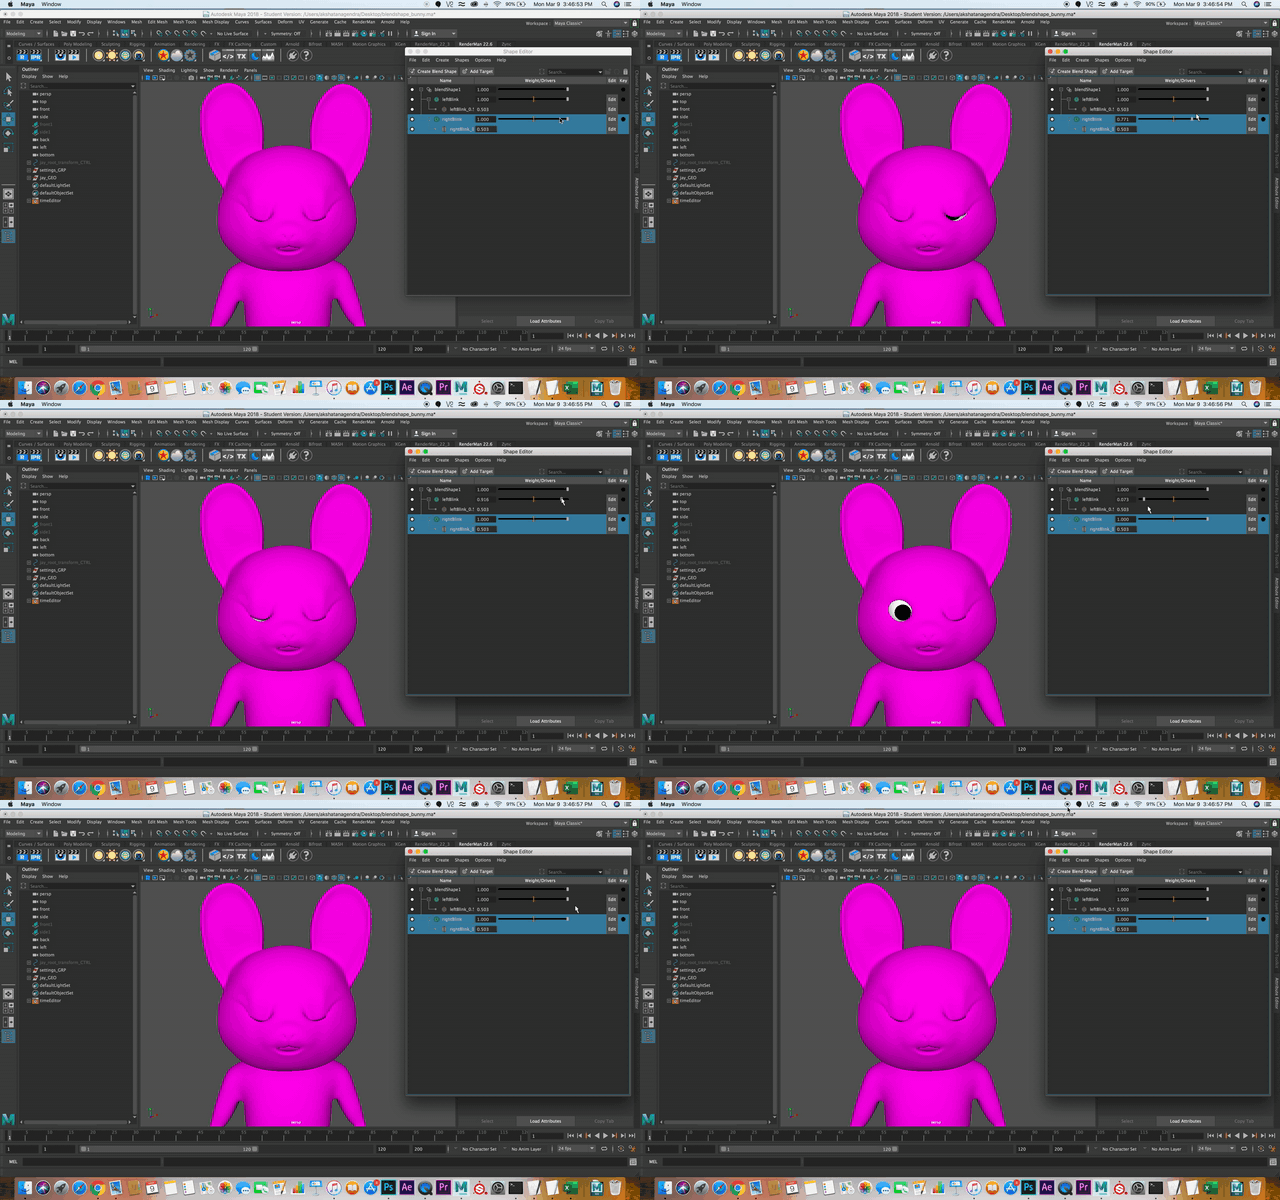
You want to have two individual sliders for each eye so that you can have much more refined control over the eyes. Having two movements exactly mirrored can appear really unnatural, so having the ability to separate and adjust the movements is super important for creating more believable animations.
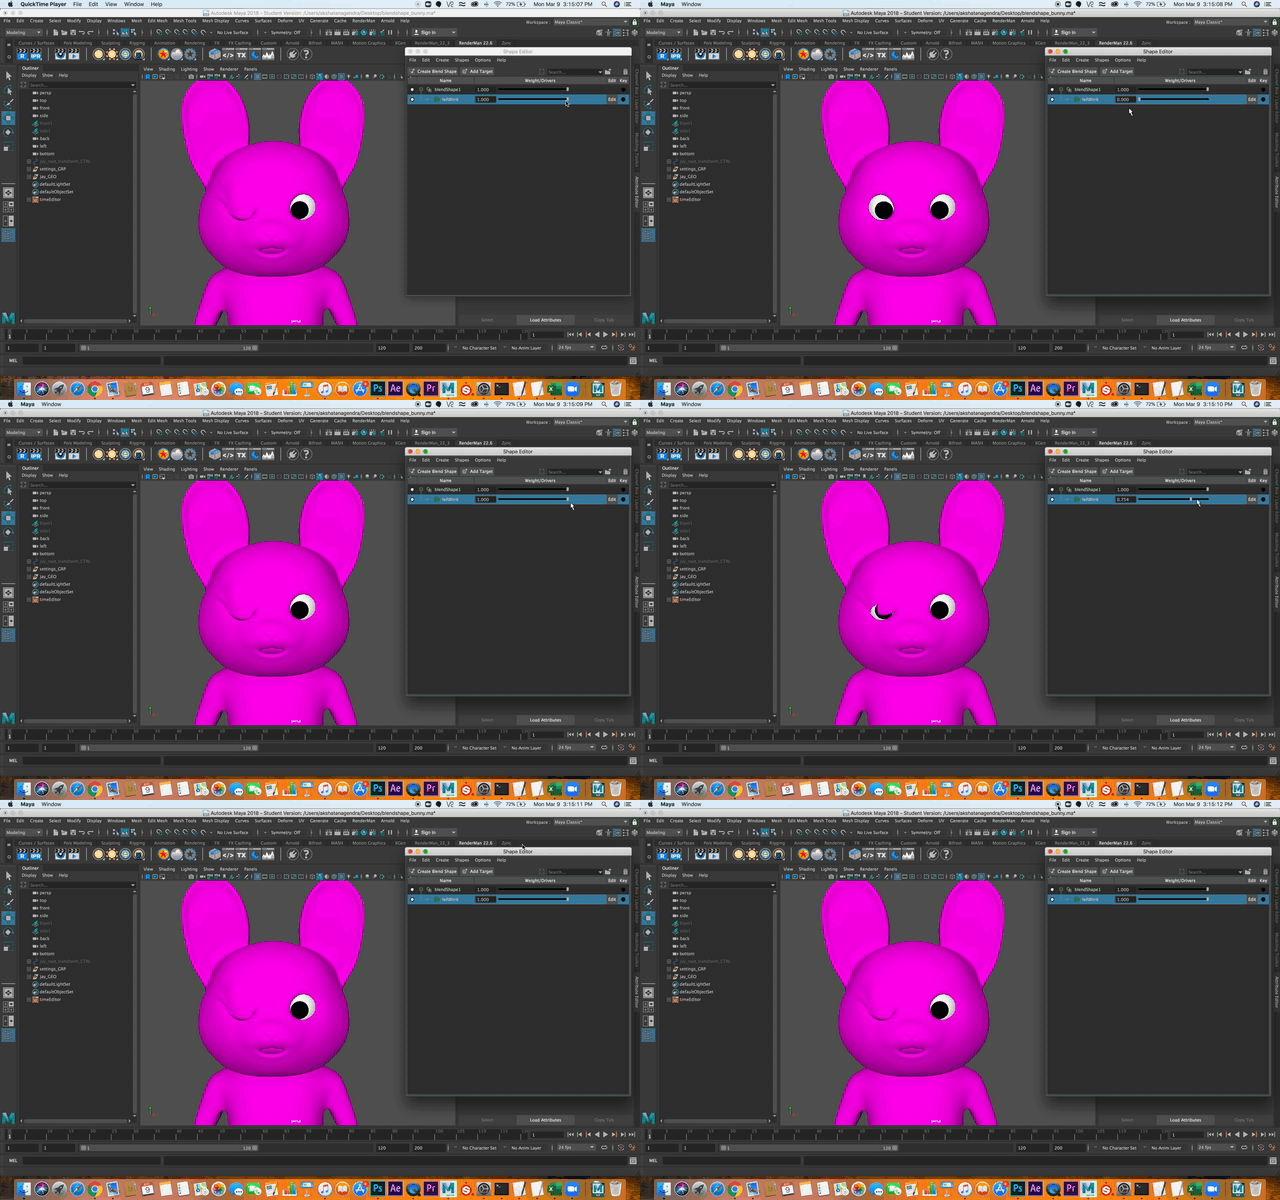
But also since this is a blink, an action that happens very quickly and often during a scene, you might want to have an easy way to change both eyes at once. Now we will revisit the shape we created in the beginning of the lab, “blendshape1.” Now let’s rename it “blink.” If you move the shape slider up and down it will activate all the targets before it, thus creating a seamless blink.
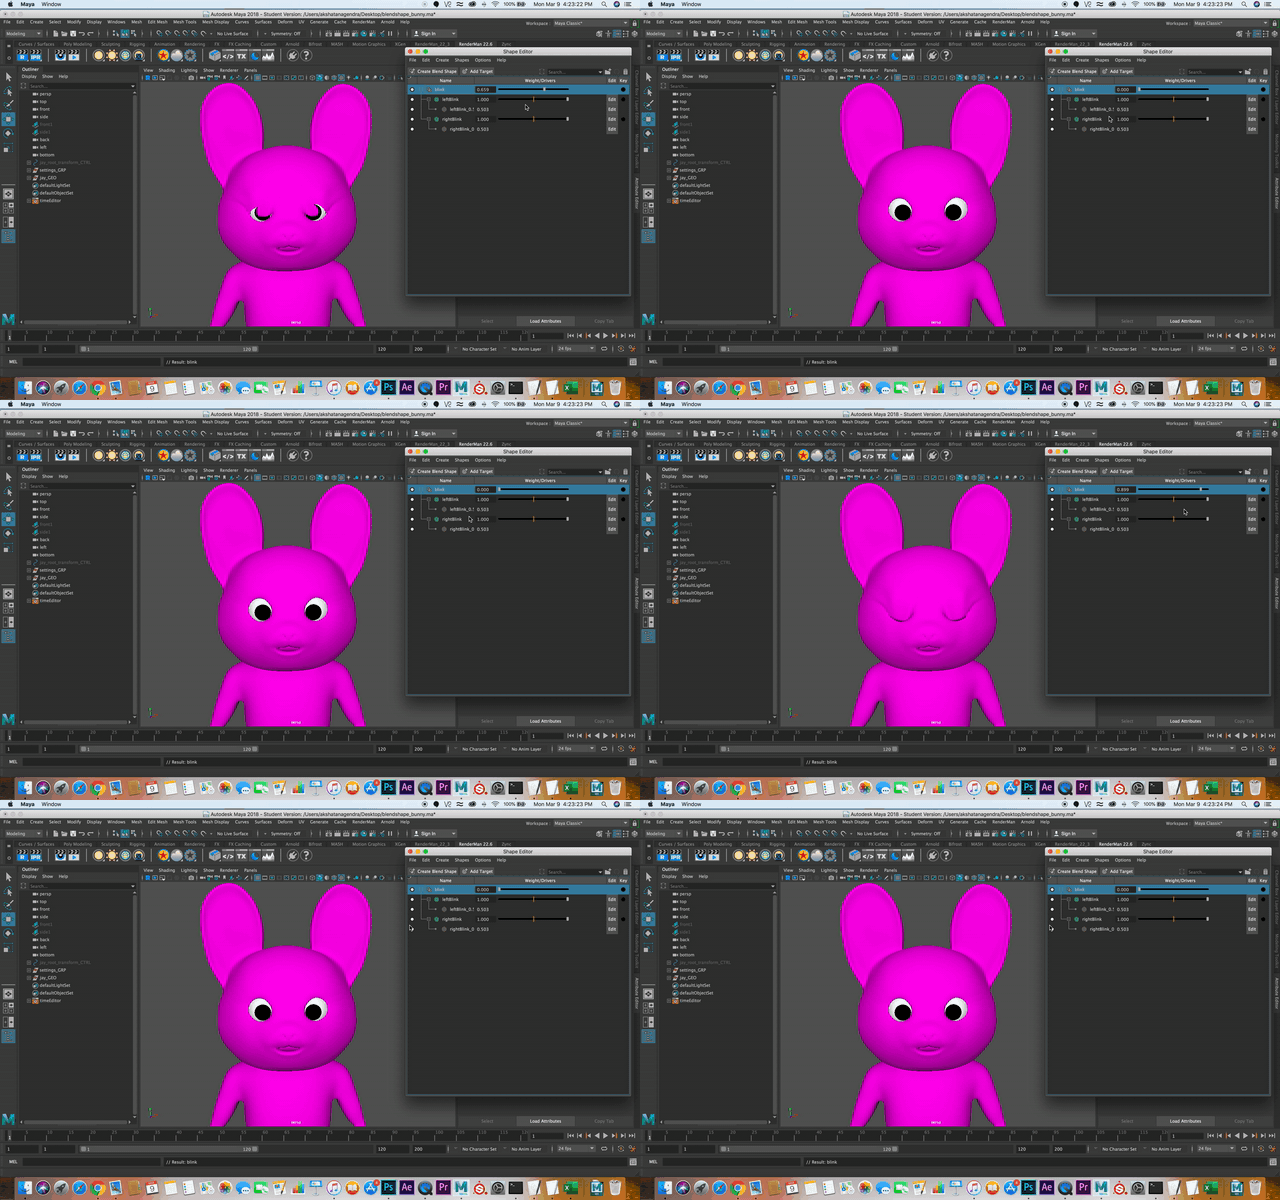
Let’s say you move the rightBlink slider to zero and then move the blink slider. Now instead of creating a blink, you will get a wink with the left eye instead. By manipulating the individual targets and then using the shape slider, you can get many more nuanced facial expressions. For example, with the process you learned in this lab, you could create an “angry” shape and have targets that tilt the eyebrows down, slightly close the eyes, create a frown, or even open the mouth. You can then adjust these to get different degrees of anger, and use the shape slider to seamlessly move to that position. This will allow you to create all sorts of expressions and change them as needed to match the needs of your short.
METHOD 2
Method 2 will also show how to create blendshapes for a face, but in a different way. Before getting started, download this file to the scenes directory in your current Maya project:
(You may need to right click, hit “Save link as …”. If it takes you to a new page filled with text just right click on that page and “Save as”. If the file downloaded ends in “.ma.txt” or anything other than “.ma” rename it to have just “.ma” and ignore the warning)
faces.ma
Most important rule for this method: when you create your duplicates, do NOT add/remove faces, edges, or vertices! They all have to be the same exact number of faces, edges, and vertices for this to work.
Also, do NOT freeze transformations on the duplicates! Otherwise when your main model makes an expression as you move the slider, it’ll also translate, which you do not want.
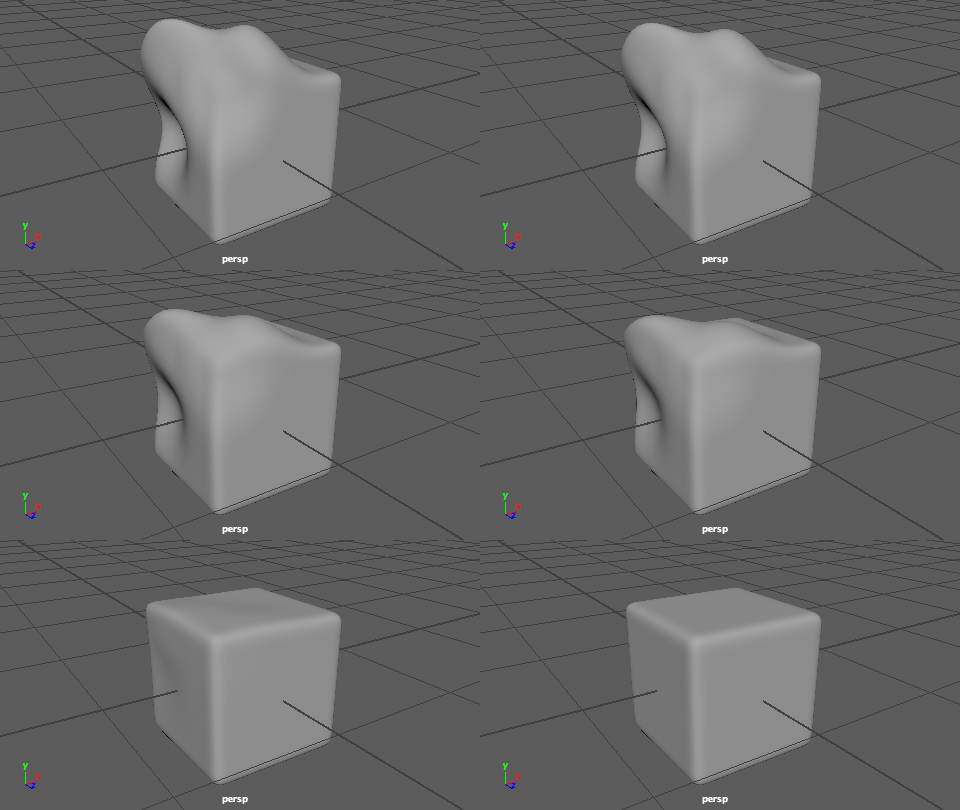
First, open up the faces.ma scene you downloaded in Maya. The scene consists of eleven models. The center model (selected below) is the neutral pose. Each one of the other model represents a specific facial expression on one side of the face:
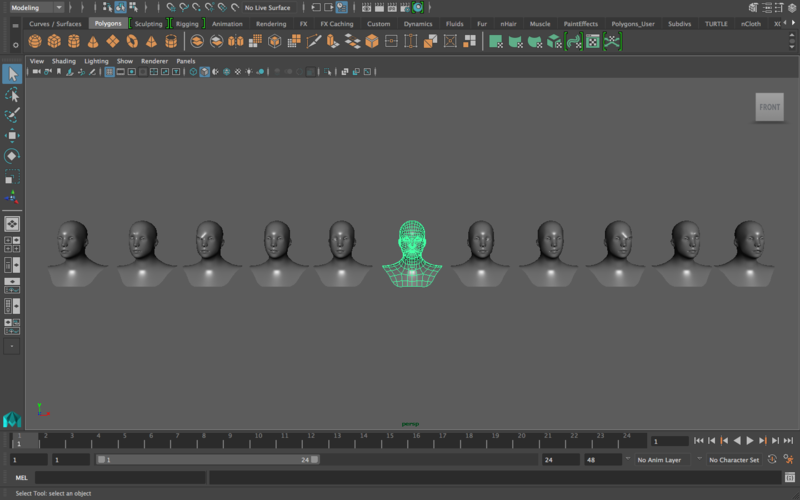
The right side (relative to the image) of the face is smiling.
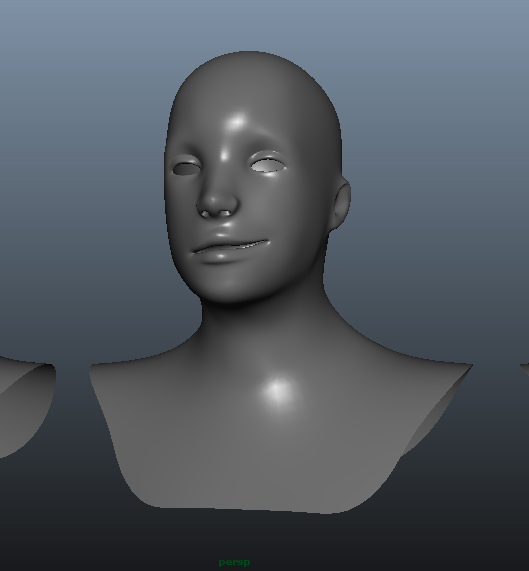
To create your blend shape, first select all the expression models (except the center, neutral expression). Make sure to select the neutral expression last. If this model isn’t selected last, the blend shape won’t work correctly.
With the models selected select Window → Animation Editors → Blend Shape.
Select Edit → Create BlendShape. The window will populate with a number of sliders.
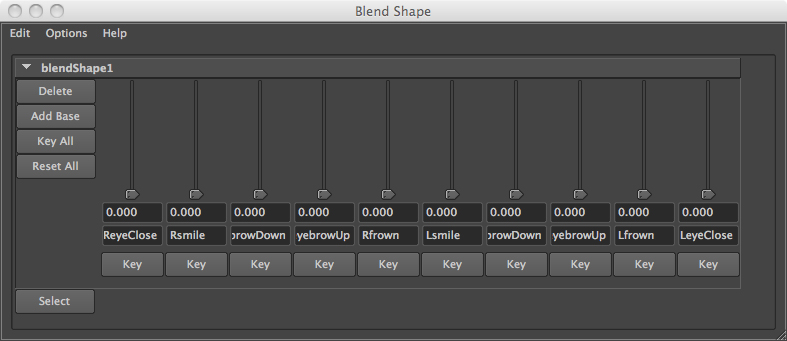
Center the screen on the middle face model (Select the model and press F). Play around with the newly-created sliders, sliding them up and down and back again. The face model should respond accordingly, closing its eyes, lowering its brow, and changing its mouth. Each slider controls the amount of blending between the base model and the targeted model. These sliders can be animated, a topic which will be covered later in the course.
Try to get your face model to match mine
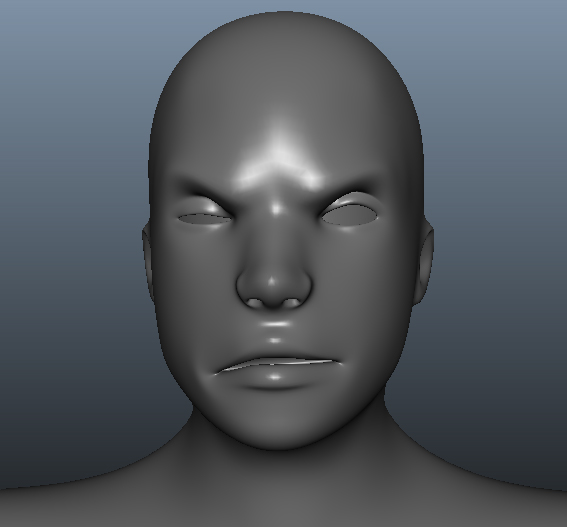
After blend shape creation, hide all the models used to create your blend shape. Do not delete these models. After creating the blend shape, you may want to update one of these models later. If you delete the models, you will not be able to change your blend shape.
Like we mentioned earlier, in terms of making expressions, Method 1 is much more effecient. But this method still has value if you want to show the transformation from one shape to another, so still keep this method in mind.
ANIMATING BLENDSHAPES
*Only do this section after you’ve done the animation lab
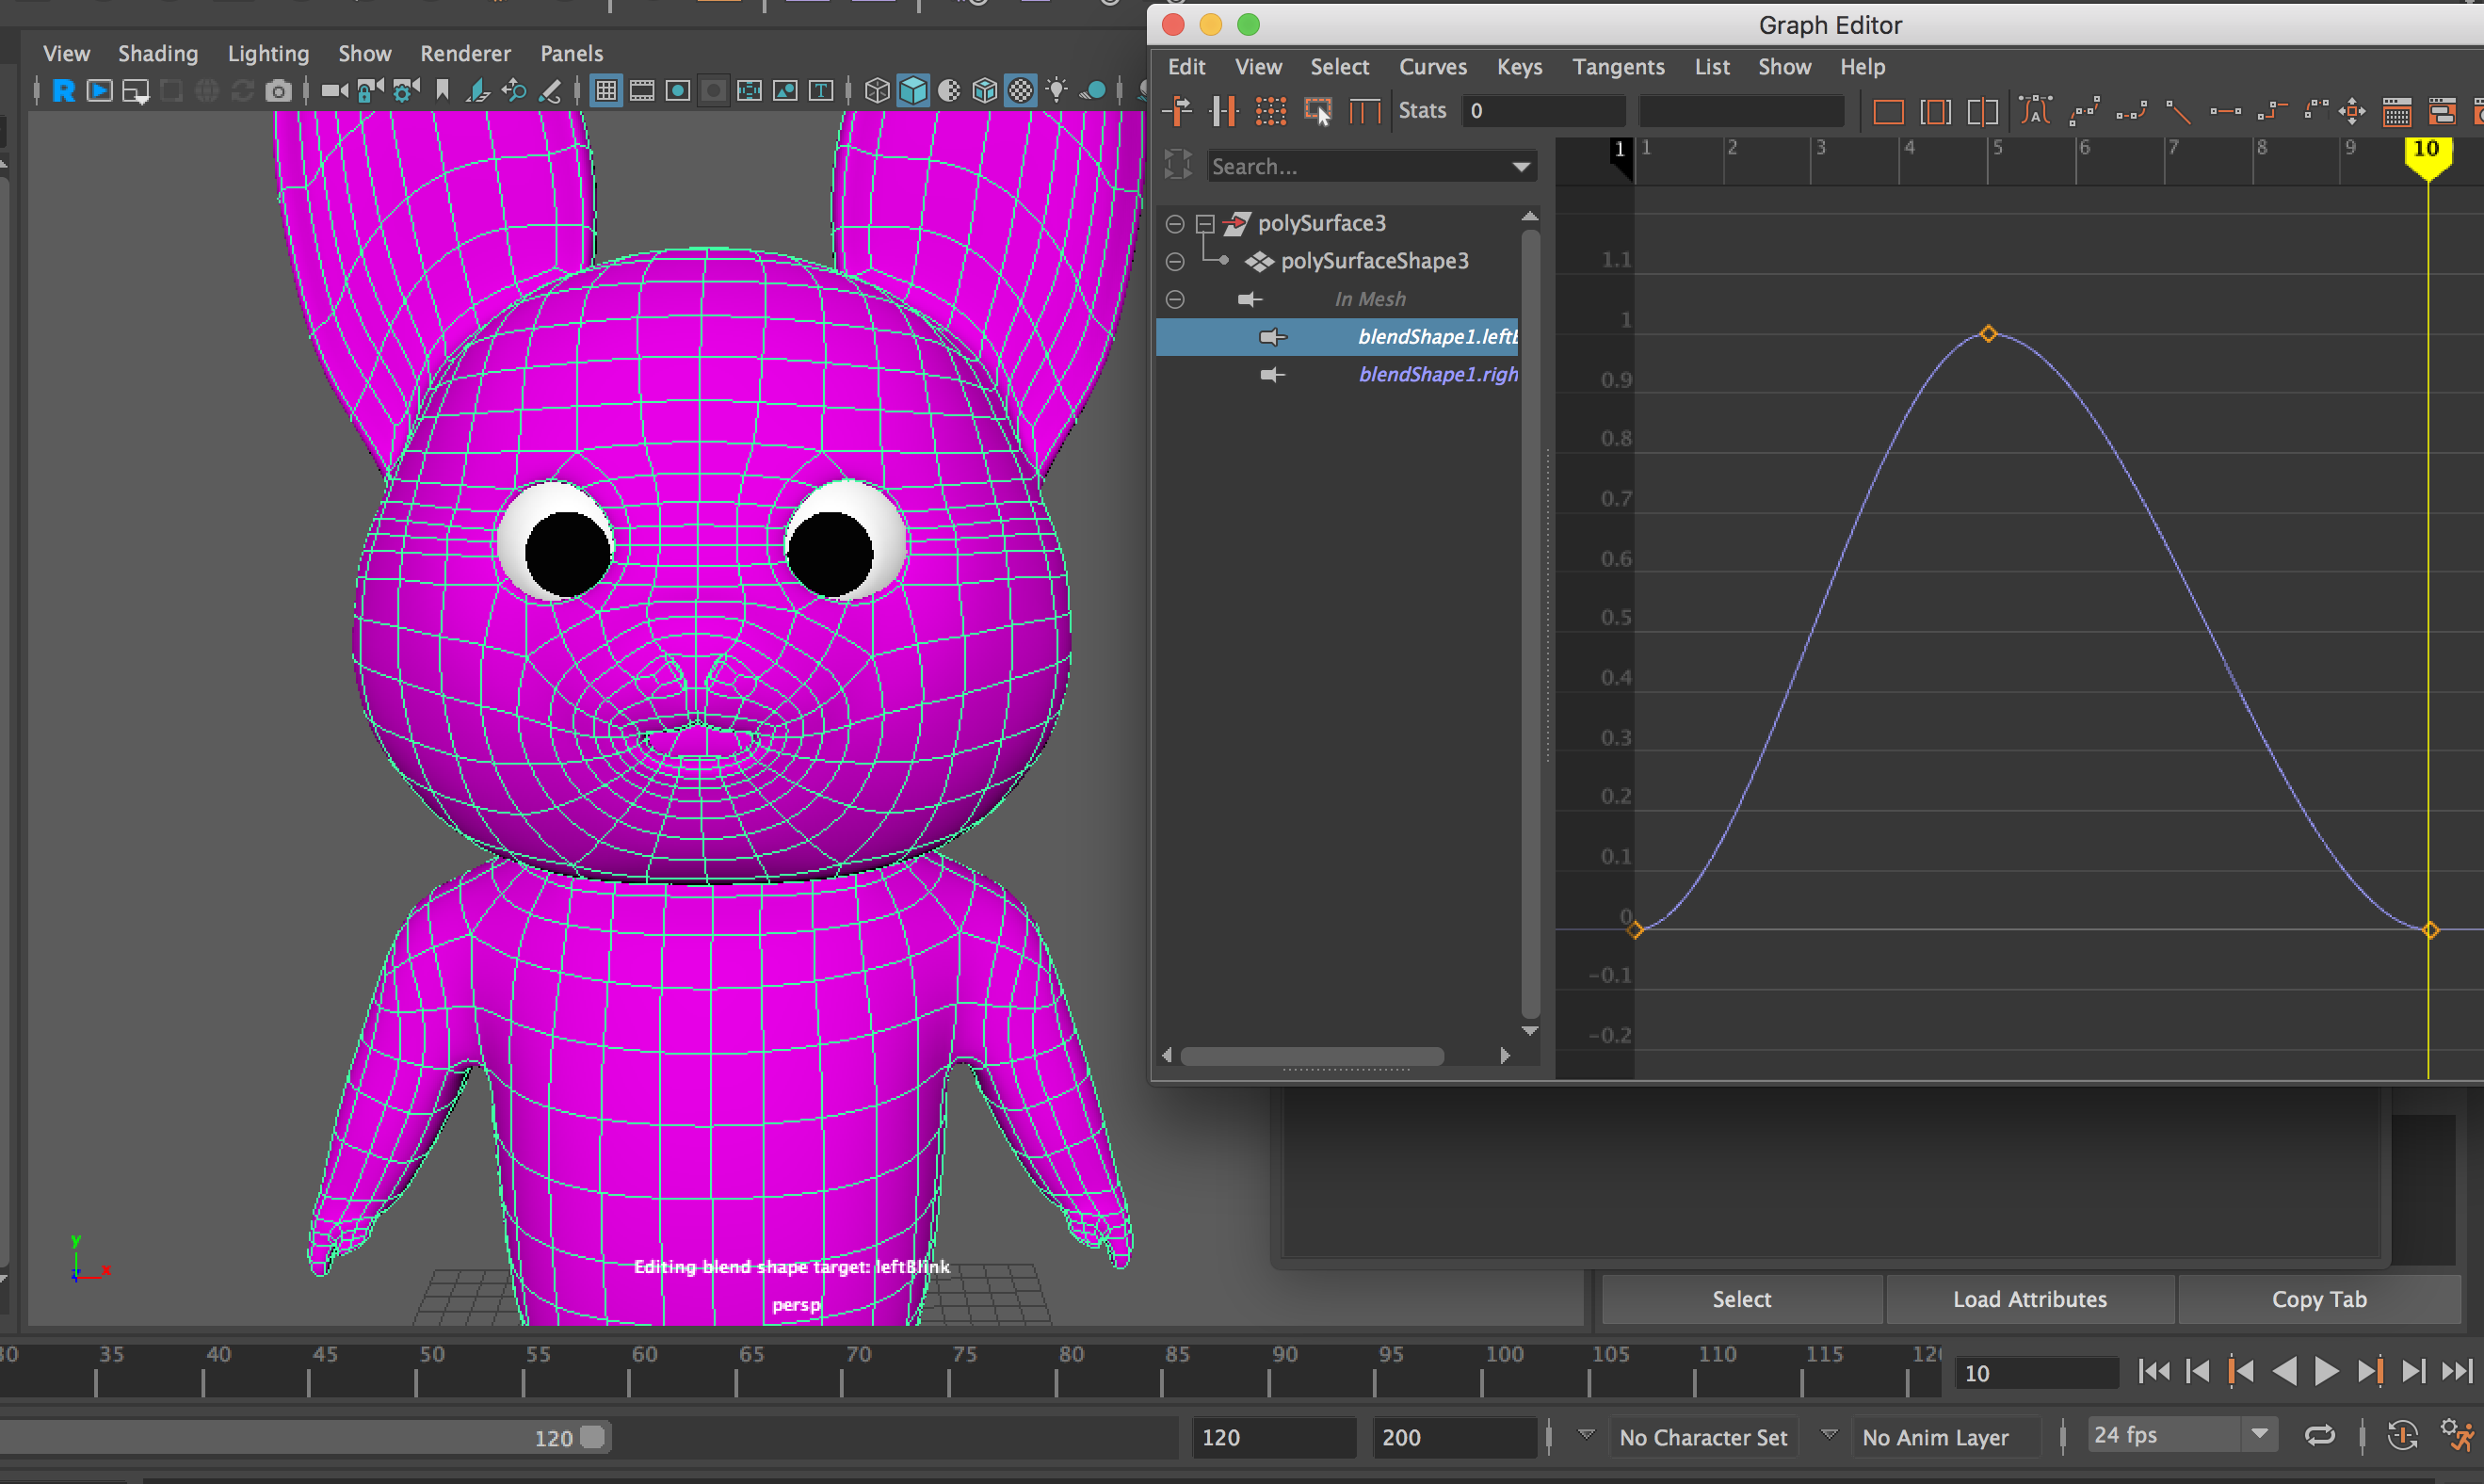
Now that you have your blendshapes, you’re ready to animate them! In the shape editor, next to the EDIT button you should see a column that says key and a circle. Let’s say we want our bunny to wink on frame 5. Start by selecting frame 1 in the time slider. Select the circle in the key column of the shape editor next to leftBlink. This will key the eye open at frame one. Do the same for rightBlink (even though the right eye won’t be moving, it’s still good practice to always key the first frame so that way if you animate later you won’t have to rekey the starting position).
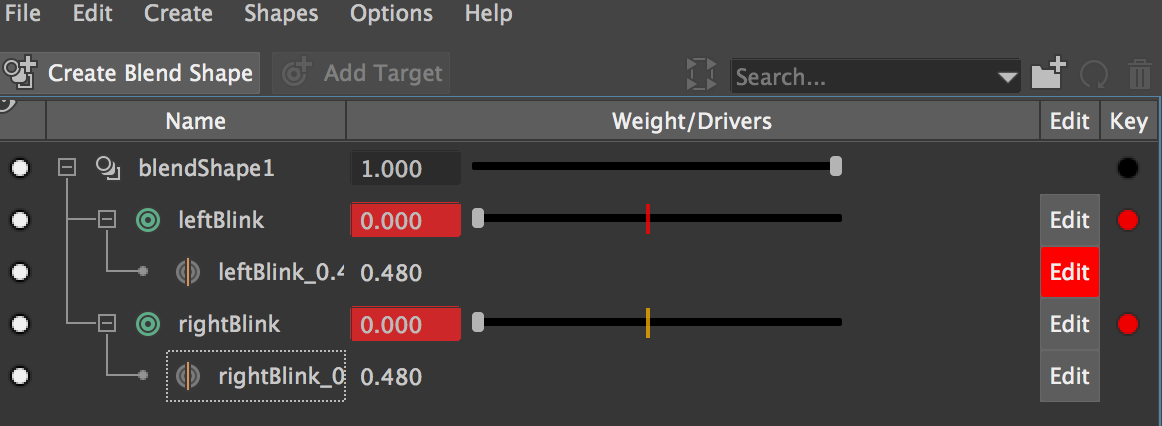
Now let’s move to frame 5 in the time slider. Move the leftBlink slider to max, and press key again. To finish up the animation, let’s move to frame 10 and key the leftBlink slider back at 0. If you press play in the time slider, you should see the complete action.
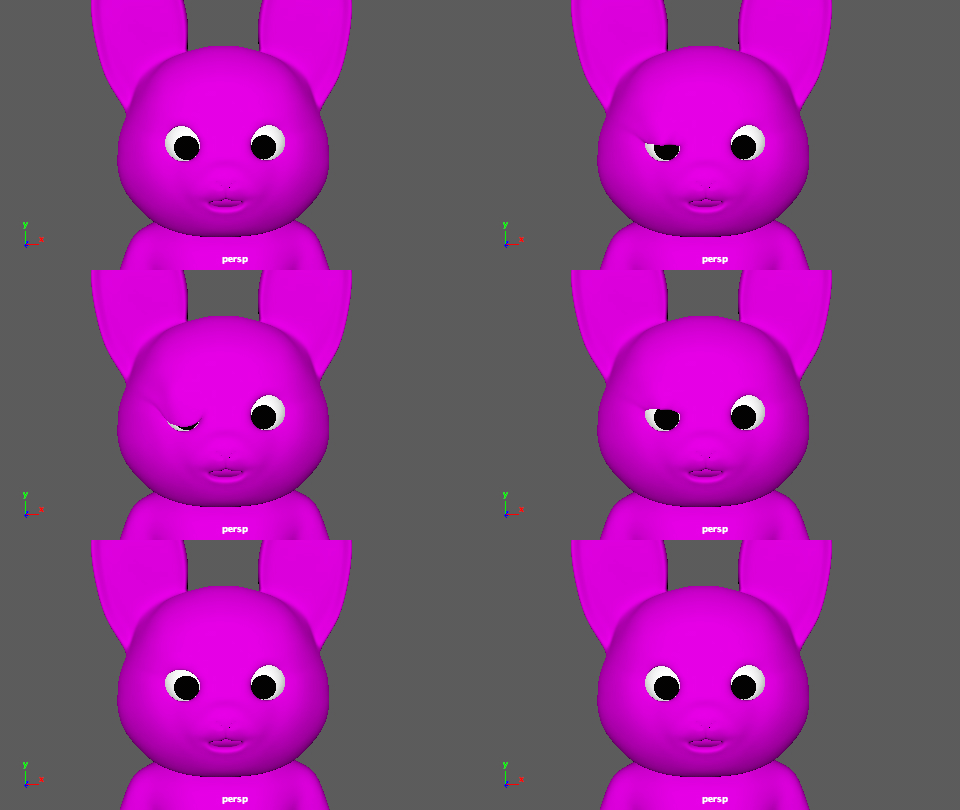
For the sake of this lab, this is a very barebones demonstration, but let’s say you want to edit the timing of this wink. I’m sure you’ve noticed that when you key blendshapes you don’t see them in the time slider like regular blendshapes. You can, however, see them in the graph editor (which is the one that really matters anyways.) If you select the mesh and then click Windows > Animation Editors > Graph Editor. This will allow you to see the blendshape keyframes and edit the timing between them as you see fit.